Solo Backpacking for Beginners: How I Got Started (and What I Wish I Knew)

Solo backpacking the Lake Ann trail in August 2024.
😊 Heads up! This post contains affiliate links. If you purchase through them, I may earn a small commission at no extra cost to you. I only recommend gear I actually use and thank you for helping to fuel my adventures!
The thought of solo backpacking used to genuinely terrify me. What if I got lost, got hurt? What about the bears? But the more time I spent outdoors, the more I craved something harder to name. Perhaps it was a kind of solitude that only wild places can offer. A chance to be fully present - with no one else’s pace or energy to match except for my dog.
Solo backpacking has given me that. And more than anything, it has also made feel capable in a way I didn’t expect. Not fearless, just capable and more myself.
This guide is for anyone who’s been curious but hesitant, or who’s tried and turned around (I did, twice). Whether you’re still in the dreaming stage or you’re already halfway through your gear list, I hope something here gives you the nudge you need.
How I Got Started with Solo Backpacking

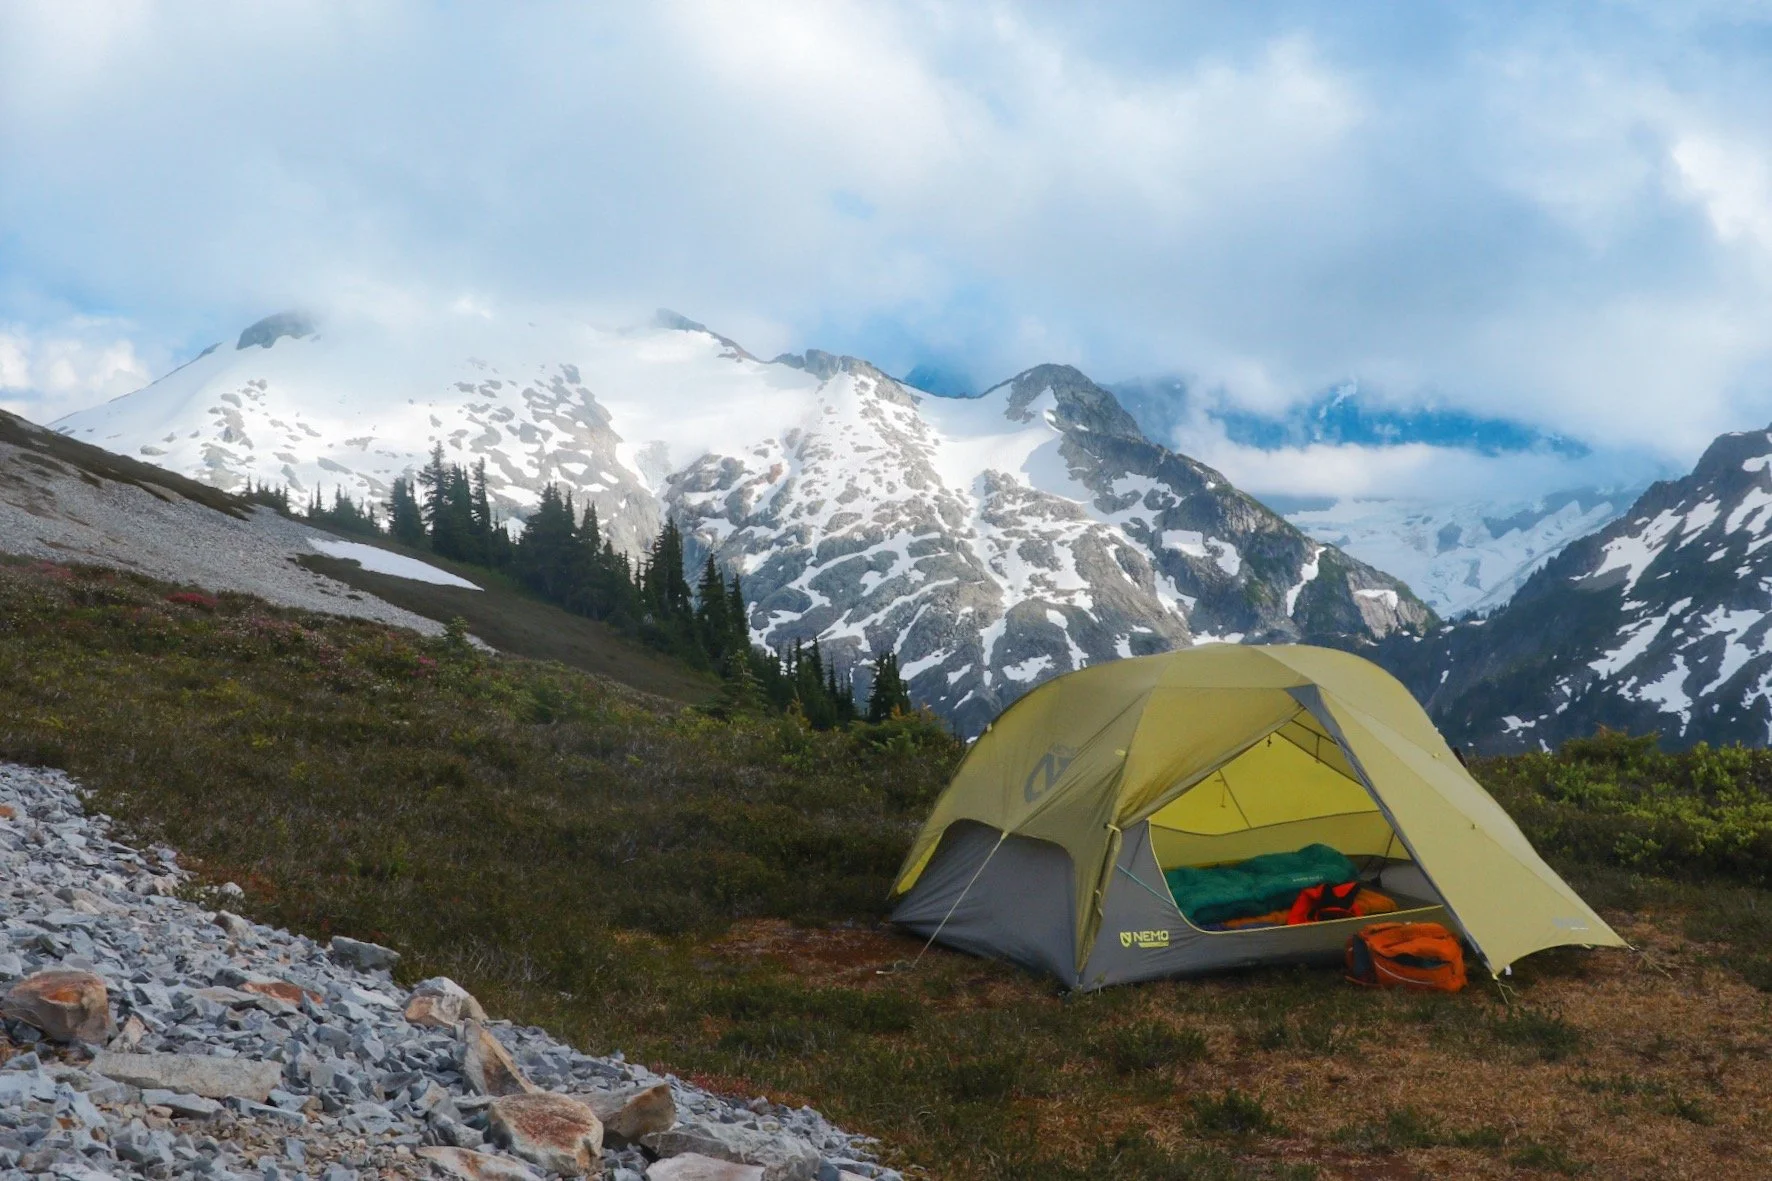
My REI Quarter Dome SL 1 on the Chain Lakes Loop trail in the Mount Baker Wilderness.
My first attempt was in 2020. I had scored a backcountry permit for Upper Crystal Lake in Mount Rainier National Park. Back when it was as simple as checking a calendar on the NPS website and emailing a ranger, before the lottery era. I had everything planned out. Or so I thought.
I booked a campsite just outside one of the park’s entrances, at La Wis Wis Campground. I had all my backpacking gear packed as well. The stoke was still high. What I didn’t plan for was the wave of anxiety that hit me when I got on the trail. I was about a mile in before I decided to turn around. Once I got cell service, I called the ranger station to release my permit so someone else could use it.
At the time I felt like a failure. Looking back, I think that moment taught me something more valuable than any gear list could: listening to your gut is a skill, not a weakness. Turning around doesn’t mean you can’t do it. It means you’re paying attention. There’s always next time.
It took me two more attempts before I finally made it out there alone. And when I did, on the Chain Lakes Loop in the Mount Baker Wilderness, it was everything I had hoped for. And with no surprise, that area has become one of my most-returned-to places. There’s something about it that feels like coming home.
How to Pick Your First Solo Backpacking Trip
Hannegan Peak
My first successful solo overnight wasn’t epic. It didn’t happen until after a year I turned around on the Upper Crystal Lake trail. It was modest, intentional, and a little nerve-wracking and that was exactly right.
I chose the Chain Lakes Loop near Artist Point in the Mount Baker Wilderness for a few specific reasons that I’d recommend anyone apply to their own first trip:
It’s a popular, well-trafficked trail, I knew I wouldn’t be entirely alone
I had hiked it before, so the terrain wasn’t a surprise
It was well within my physical abilities
The distance and elevation gain were manageable for one night out ((~7 miles roundtrip, less than 2000 feet of elevation gain), it wasn’t a far hike back to the car if I absolutely needed to bail
One of the biggest things that psyched me out in earlier attempts was the fear of being completely alone overnight in the backcountry. Choosing a well-trafficked trail helped me build confidence before I was ready for true solitude and that is totally okay!
8 Tips for Your First Solo Backpacking Trip

Herman Saddle overlooking Mount Shuksan on the Chain Lakes Loop
1. Build Up to It, Don’t Skip the Steps!
Before you solo backpack, try solo hiking. Before you solo hike, get comfortable hiking with groups in unfamiliar terrain. Each step builds a different kind of confidence.
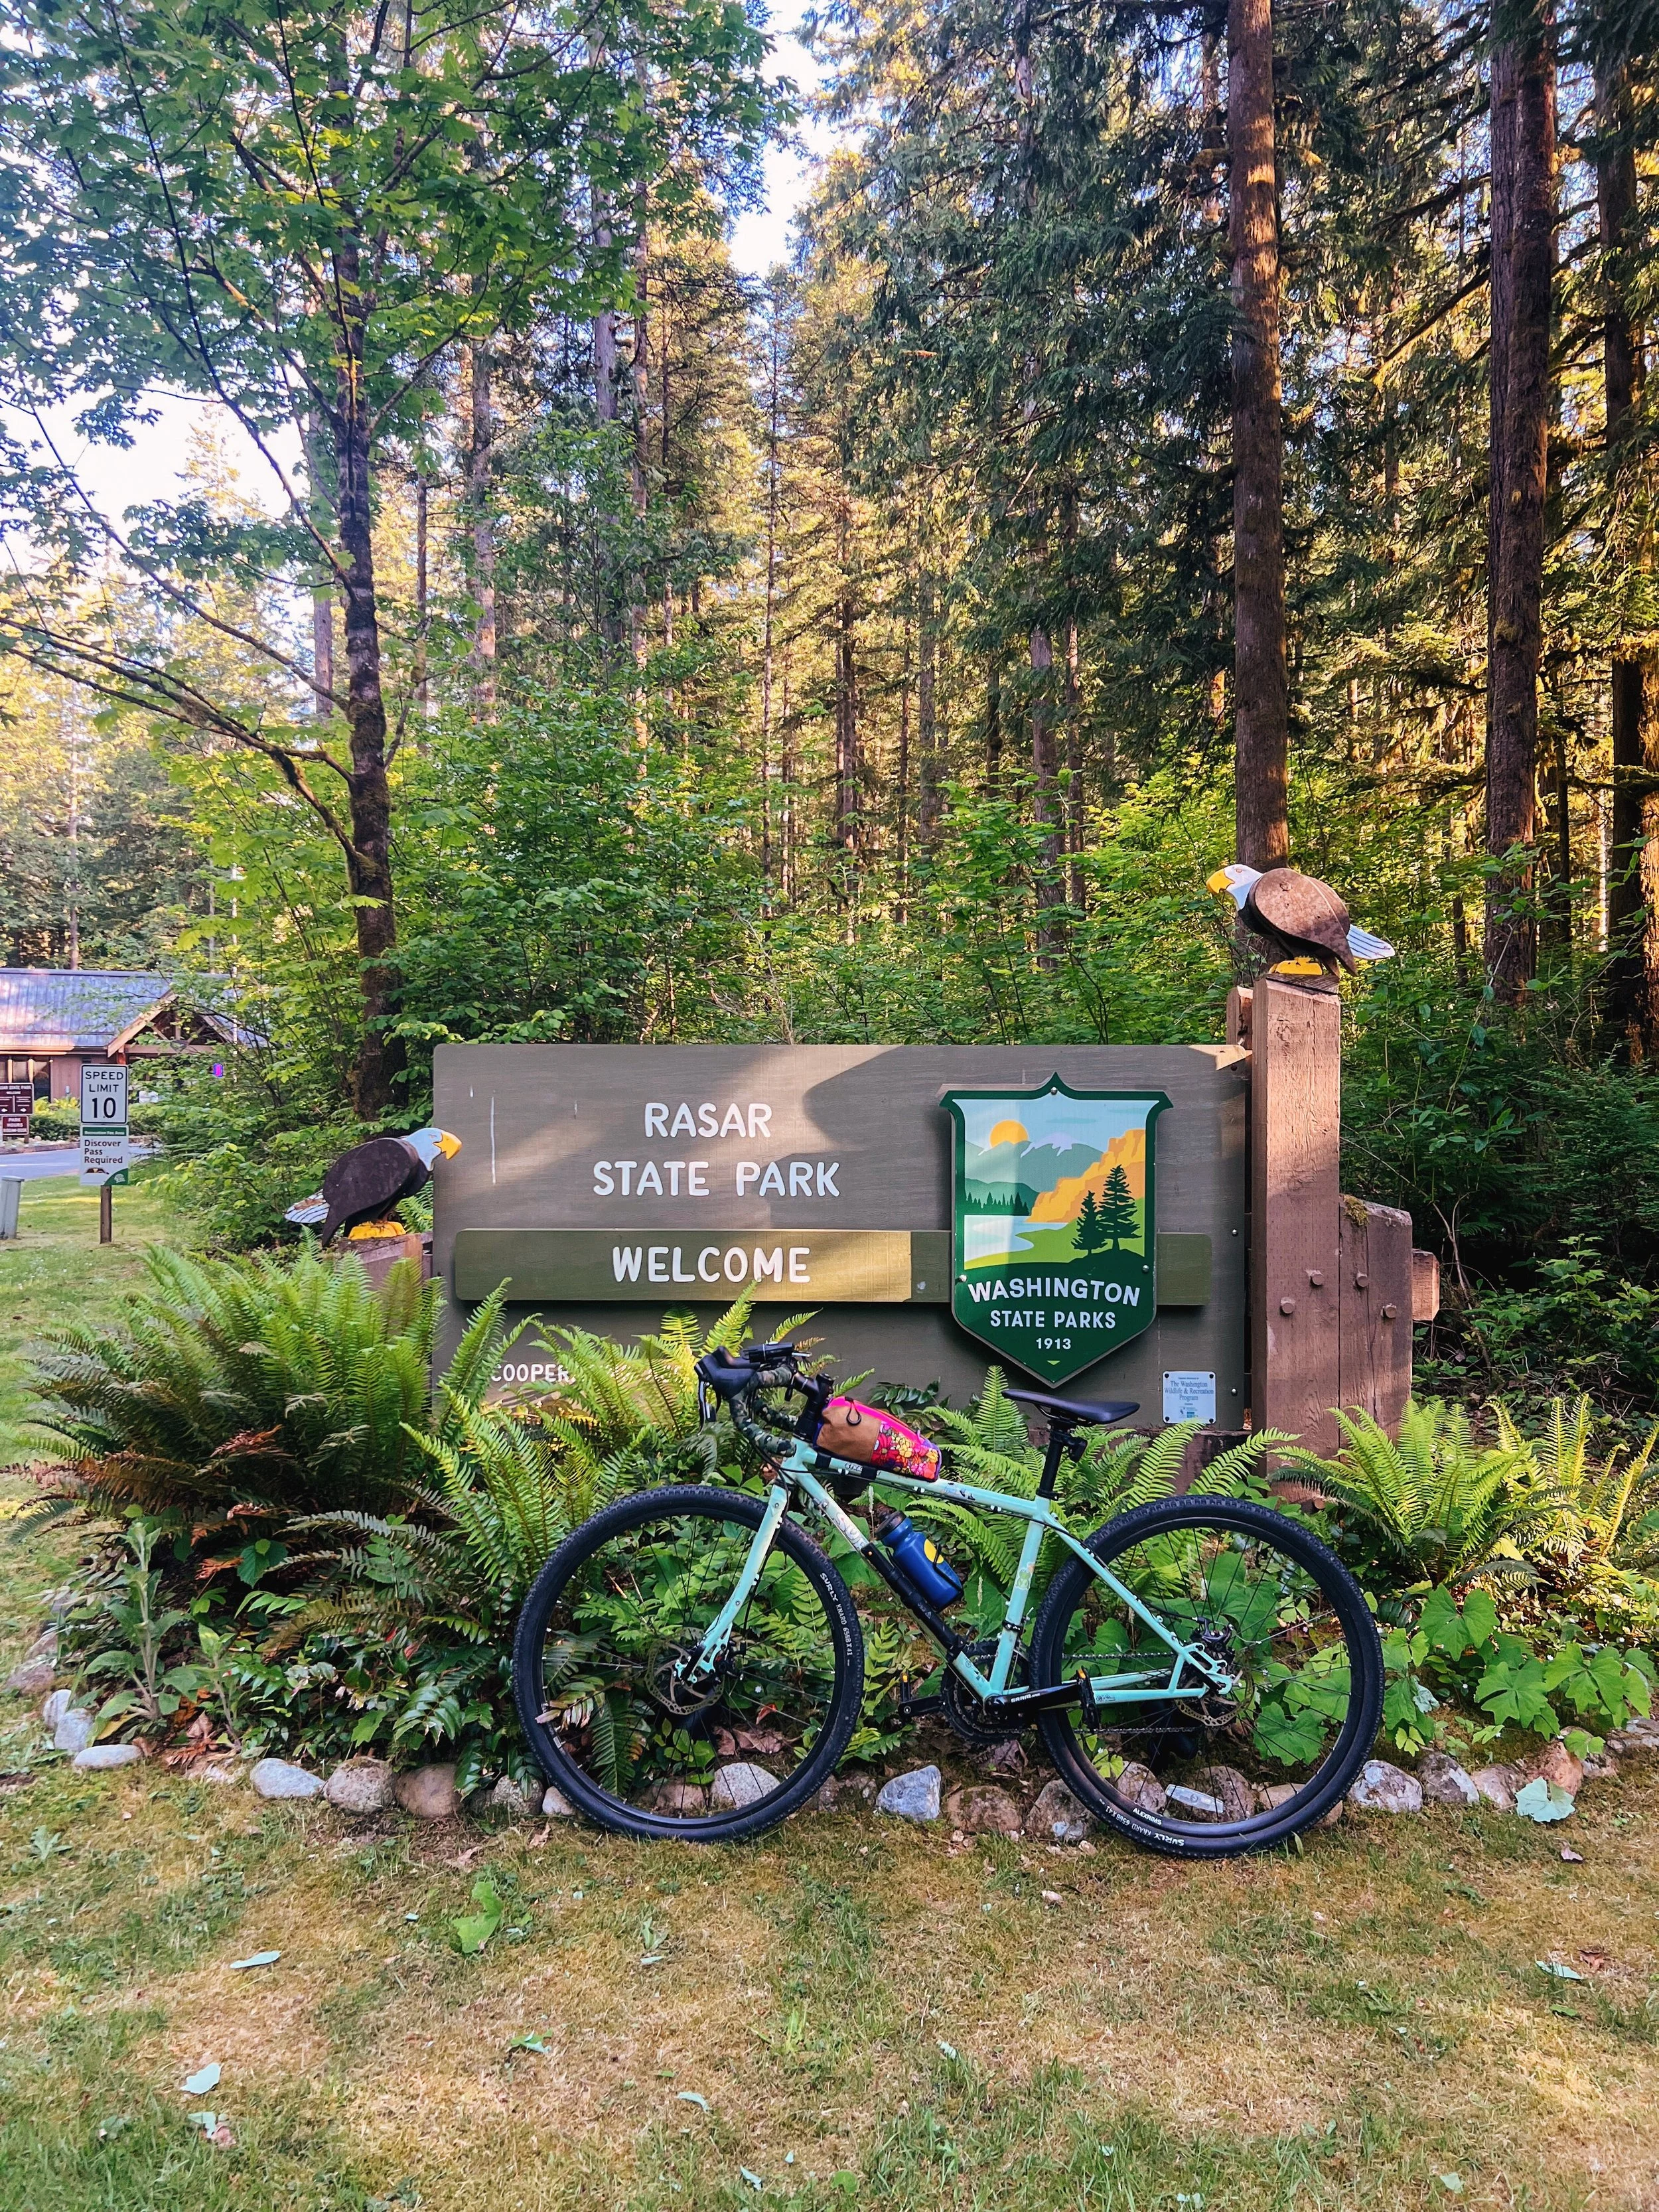
Solo camping is also useful. You can spend a night alone in a tent at an established campground without the logistical weight of a full backpacking trip. Washington State Parks offers walk-in campsites at several state parks that mimic the experience. Try this before committing to a backpacking that requires a hike in
When you do go for your first solo overnight: start small! One or maybe two nights. A trail that’s well within your ability. Familiar terrain if possible.
2. Choose a Well-Trafficked, Familiar Trail
A popular trail means you are rarely truly alone, which matters a lot on your first trip. Or at least I think it is. I specifically picked the Chain Lakes Loop because I knew I would be sharing the trail with other hikers and campers. It is also a relatively easy to moderate hike, so there were a lot of families backpacking as well. I would save the remote, permit-required wilderness for when you’ve built some confidence. There’s no shame in starting somewhere well-travelled.
3. Do Your Homework on Conditions
I use a few tools in combination before every trip:
Washington Trails Association (WTA): for detailed trail descriptions and recent trip reports; trip reports will sometimes let you know where the water sources are and if there are obstacles (i.e. blowdowns) on the trail
AllTrails: for quick recent reviews from other hikers
Gaia GPS: for pre-trip route planning, elevation profiles, and offline navigation
NOAA: for weather forecasts (more accurate than phone weather apps in the mountains)
InciWeb: for wildfire and smoke updates, especially important in summer and fall
No trip should be a surprise. The more you know about what to expect, the calmer your headspace will be when you’re actually out there.
4. Tell Someone Your Plan. Every Time.
Share your route, trailhead location, where you plan to camp for the night, and expected return time with someone you trust. This is non-negotiable.
When I first started solo backpacking, I preferred national parks because when you pick up your permit, the rangers generally have an idea of where you’re headed.
For wilderness trips without permit systems, a GPS satellite communicator like a Garmin InReach Mini is worth the investment. It has an SOS function and you can also communicate your whereabouts with folks. Some trailheads also provide a trail registry. Even though most of these are for the USFS to determine trail usage, I always find peace of mind in writing my name and information down just in case something does happen to me on the trail.
5. Pack Light, But Don’t Skip the Essentials
You’ll be carrying everything on your own, so every ounce matters. But this isn’t the place to cut corners on safety gear, always carry the 10 essentials:
Navigation: map, compass, and a GPS app like Gaia GPS or OnX Backcountry with downloaded offline maps
Headlamp + extra batteries: I personally use the Black Diamond Storm 450
Sun protection: sunscreen, SPF lip balm, sunglasses, a hat
First aid kit: including blister care, QuikClot gauze, pain relievers, personal meds
Knife or multi-tool: great for gear repairs, food prep, and emergencies
Fire starter: waterproof matches + lighter (carry both)
Shelter: I’m talking more than your tent. Have an emergency bivy as backup
Extra food: more than you think you need
Water filter: I use the HydraPak water filter
Extra layers: rain jacket, insulation, dry socks, gloves
Don’t forget comfort items, your favorite trail snack or a small journal can be surprisingly grounding. Camp has a lot of downtime, especially when you get an early start to beat the crowds. I also love bringing my string lights even though it adds a few extra ounces but I love having ample illumination in the backcountry.

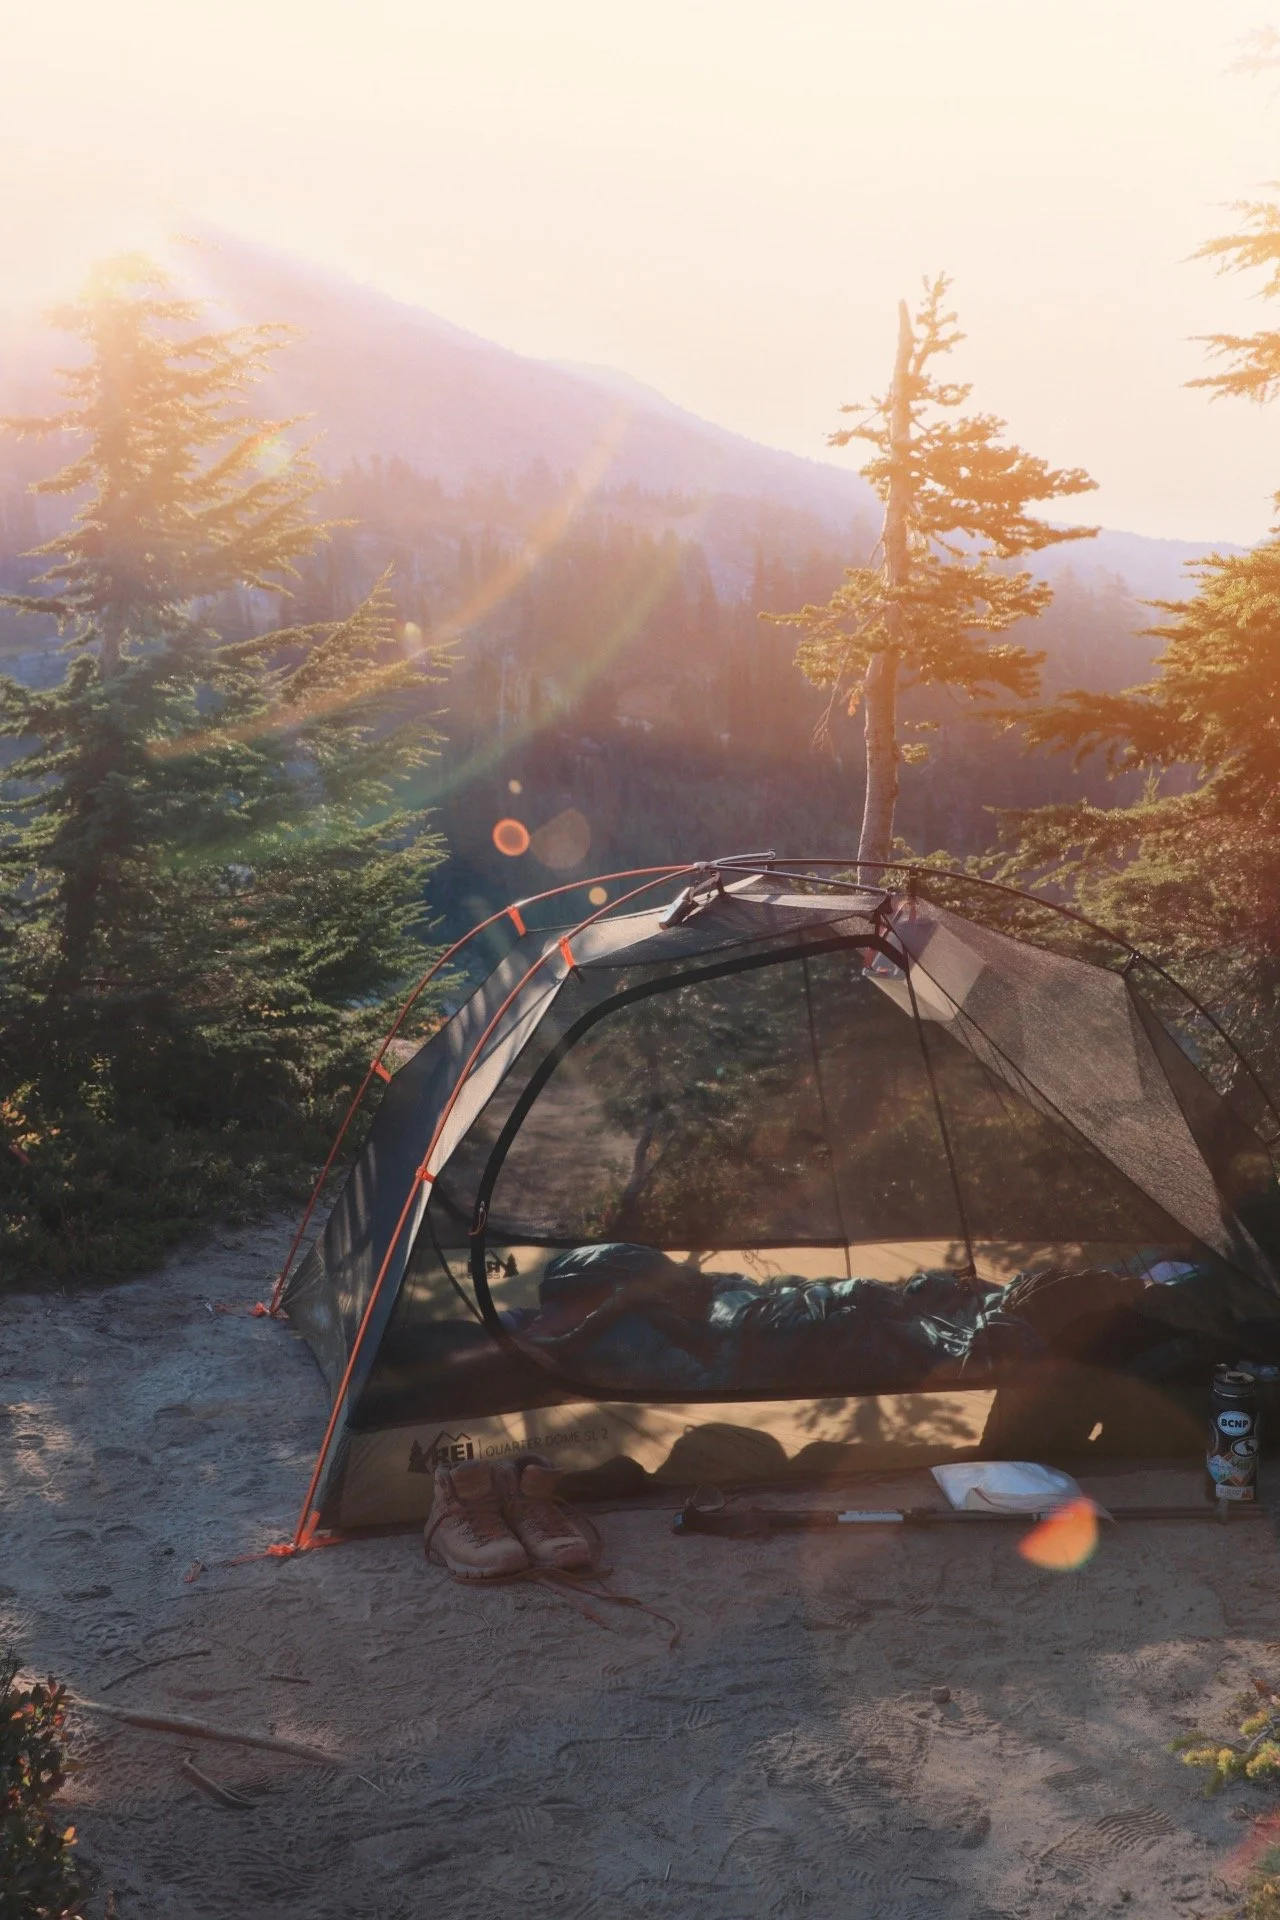
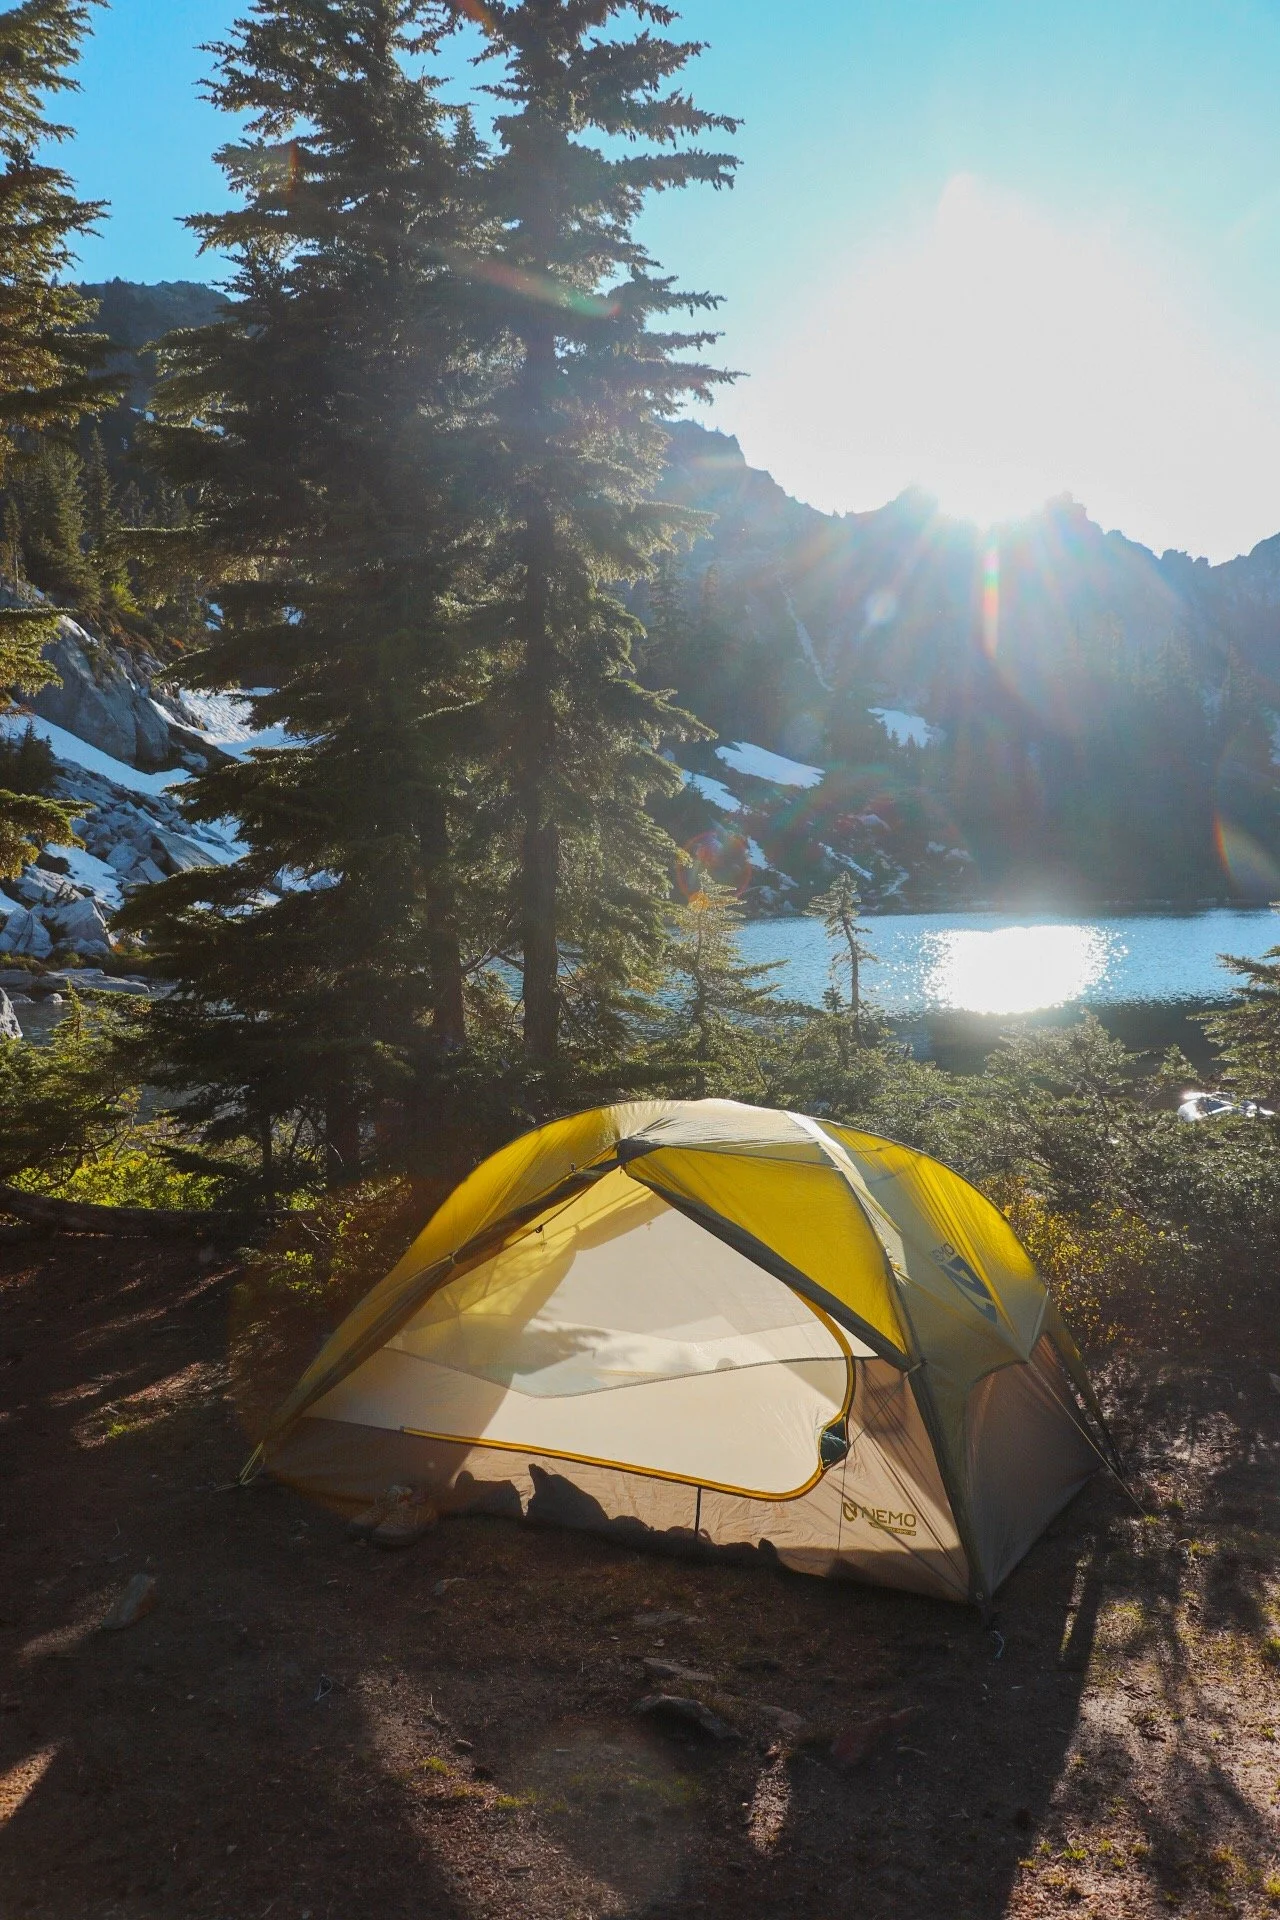
Solo camping on the Ptarmigan Ridge trail
6. Plan. But Stay Flexible.
Have a clear itinerary: know where you’re camping, where your water sources are, what the elevation profile looks like. But leave room for things to shift. Weather changes. Your body has an opinion. Sometimes the trail does too.
Flexibility isn’t lack of planning, it’s part of the skill set. If something doesn’t feel right, you are allowed to change course.
7. Trust Your Gut (SERIOUSLY)
I turned around twice before I finally made it. At the time it felt like failure. Now I know it was good judgment.
If your head isn't in the right place, if something feels off, trust that. Your instincts aren't weakness, they're data. The trail will still be there.
"Solo backpacking starts before you even step onto the trail. It begins with self-trust and experience."
8. Make It Yours
There’s no template for what solo backpacking has to look like. I know often times there is the pressure to go hard, especially in the Pacific Northwest, to push the mileage, to bag the most epic alpine lake, to suffer a little.
But you don’t have to do any of that. If solo backpacking means stopping to take photos every 20 minutes and gasp at the beauty around you, crying happy tears, or journaling for two hours at camp, so be it! It's your trip, you set the terms.
Closing Thoughts

Solo backpacking isn’t always easy but that’s part of what makes it so worthwhile. It’s all about the learning experience. Every trip teaches you something about your own limits, your instincts, and your capacity to handle the unexpected.
You don’t have to be fearless either. It is okay to be afraid and anxious. You just have to be willing to take the first step, and then the next one. Nature always has a way of meeting you exactly where you are.
So pack your bag, check your map, tell someone where you’re going, and go. You’ve got this!
Resources
Gear List: gear I bring on my backpacking trips
Washington Trails Association: trip reports and trail conditions
Gaia GPS: offline route planning
InciWeb: wildfire updates
NOAA: mountain weather forecasts
Washington State Parks: walk-in campsites for practice overnights