
Best Bike Rides In and Around Seattle — From City Trails to Hidden Forest Roads
On cycling, overthinking, and finding some version of stillness on two wheels

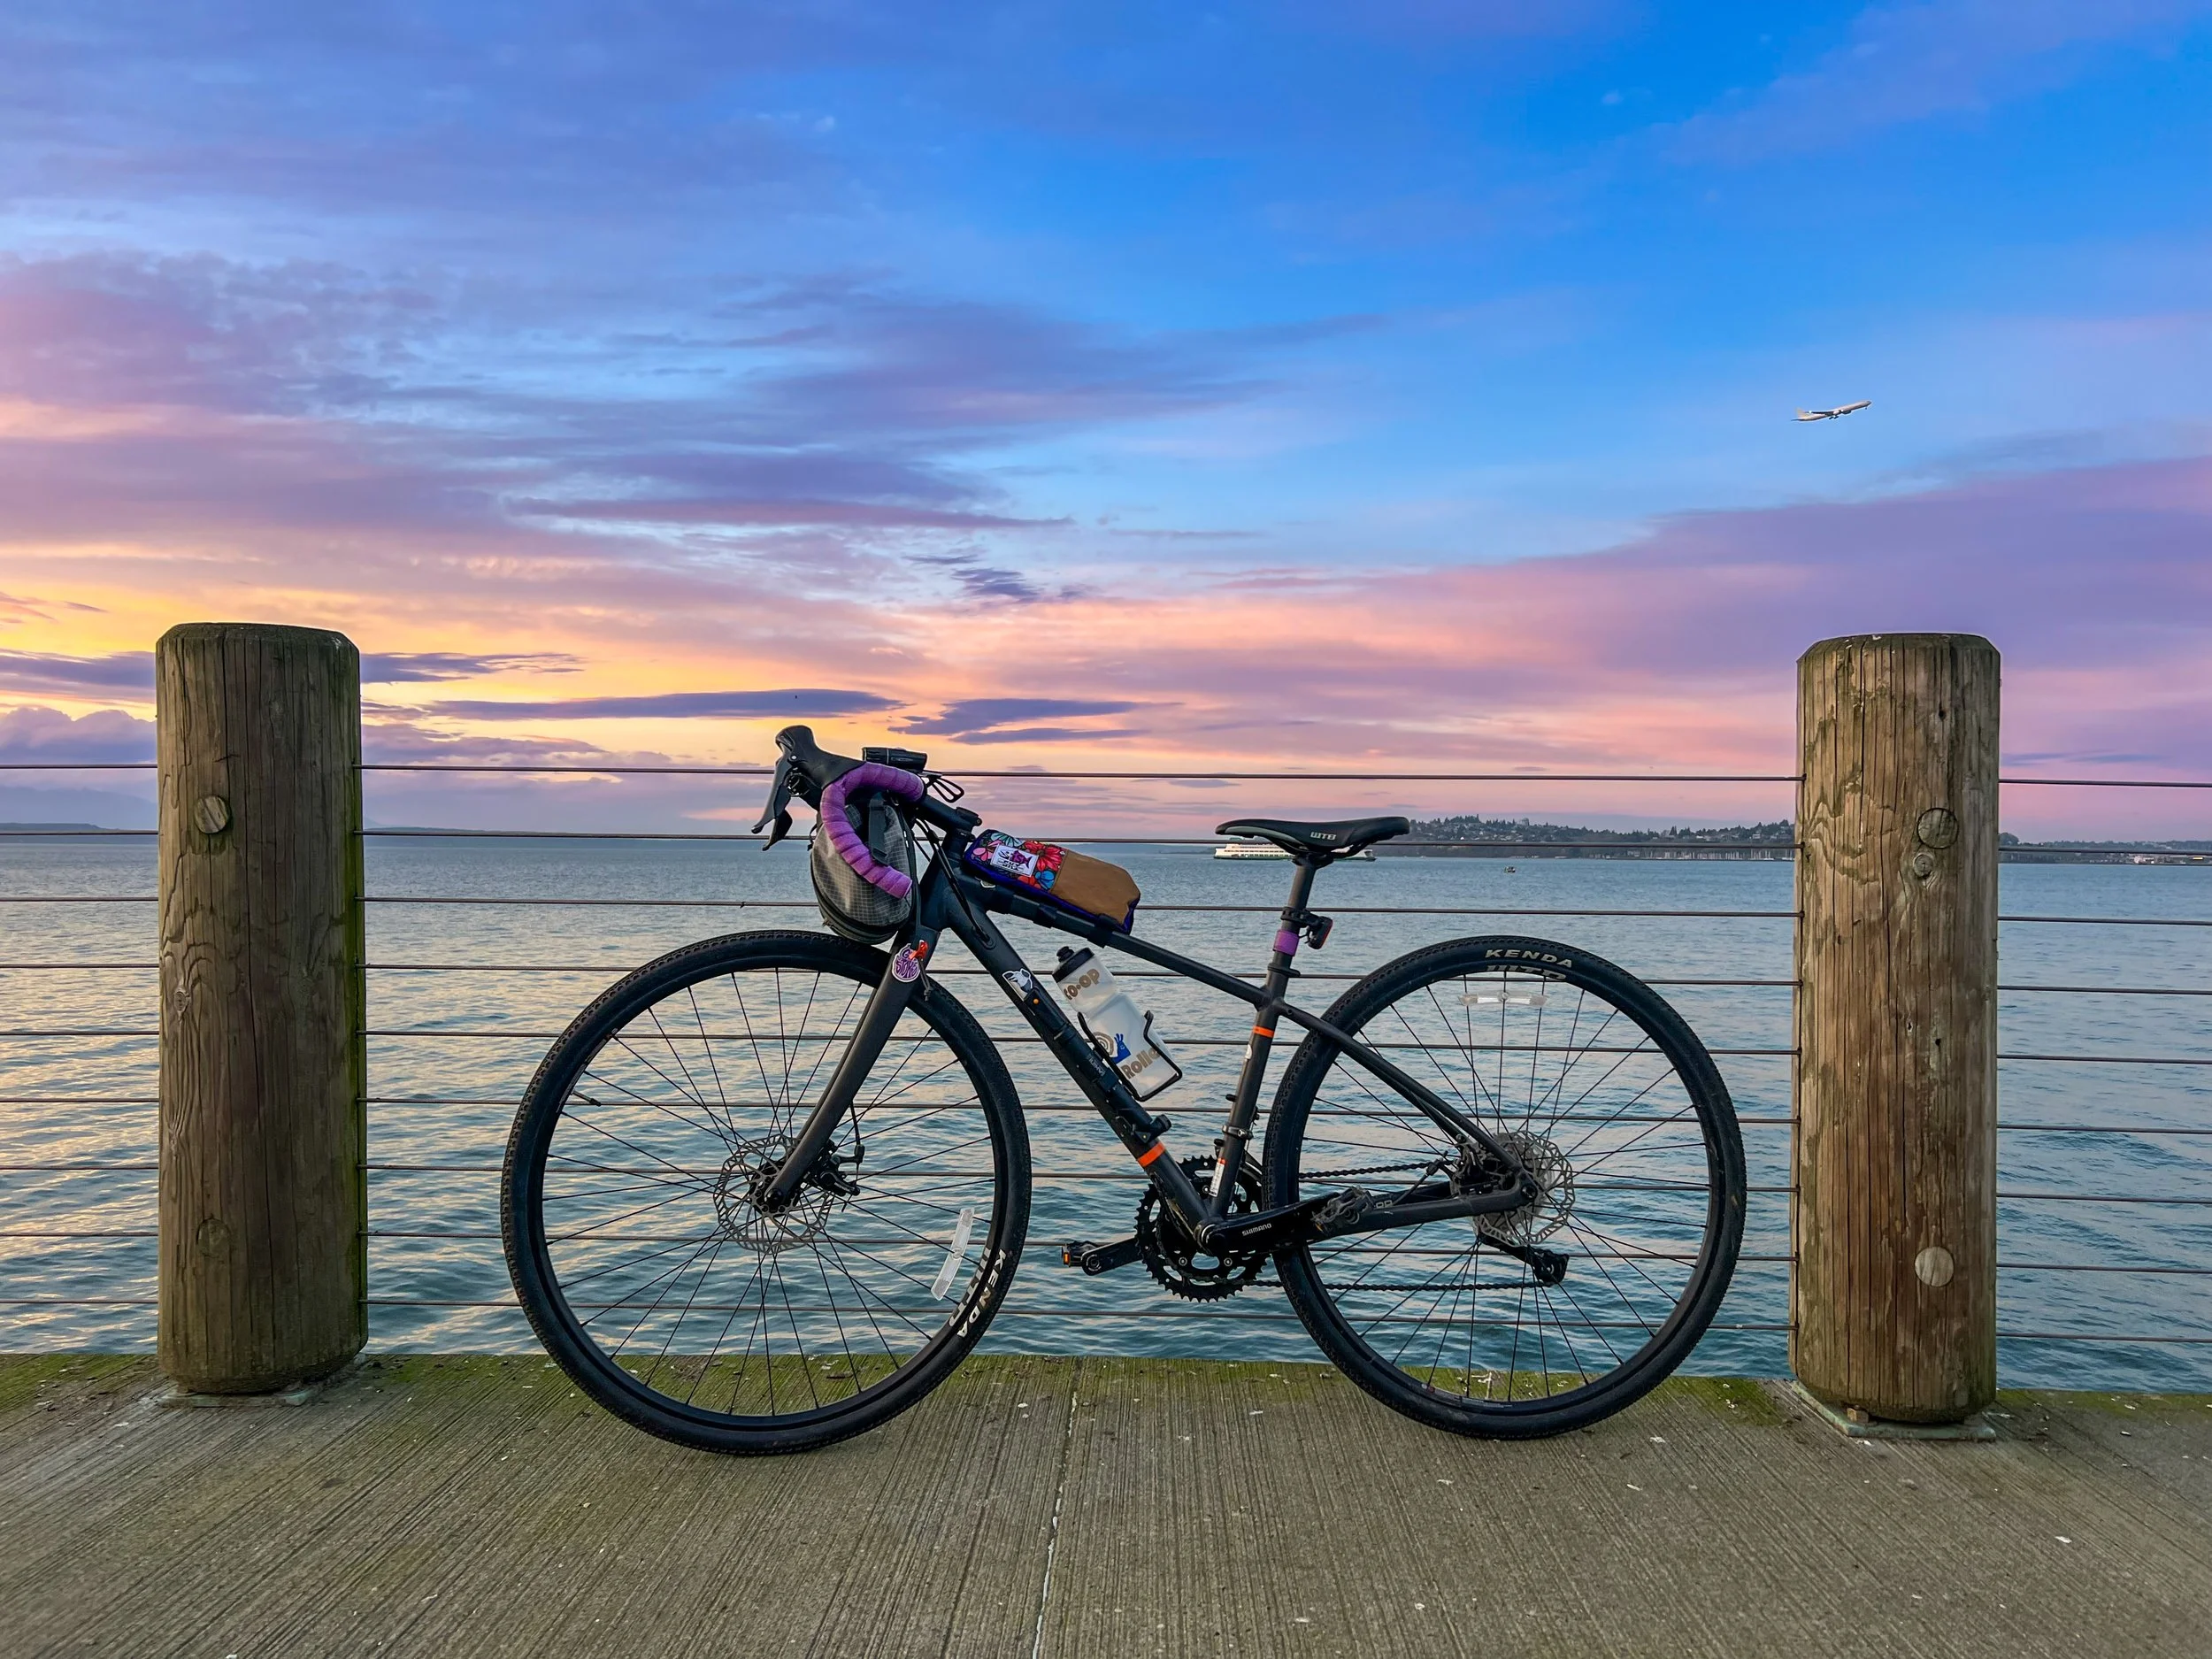
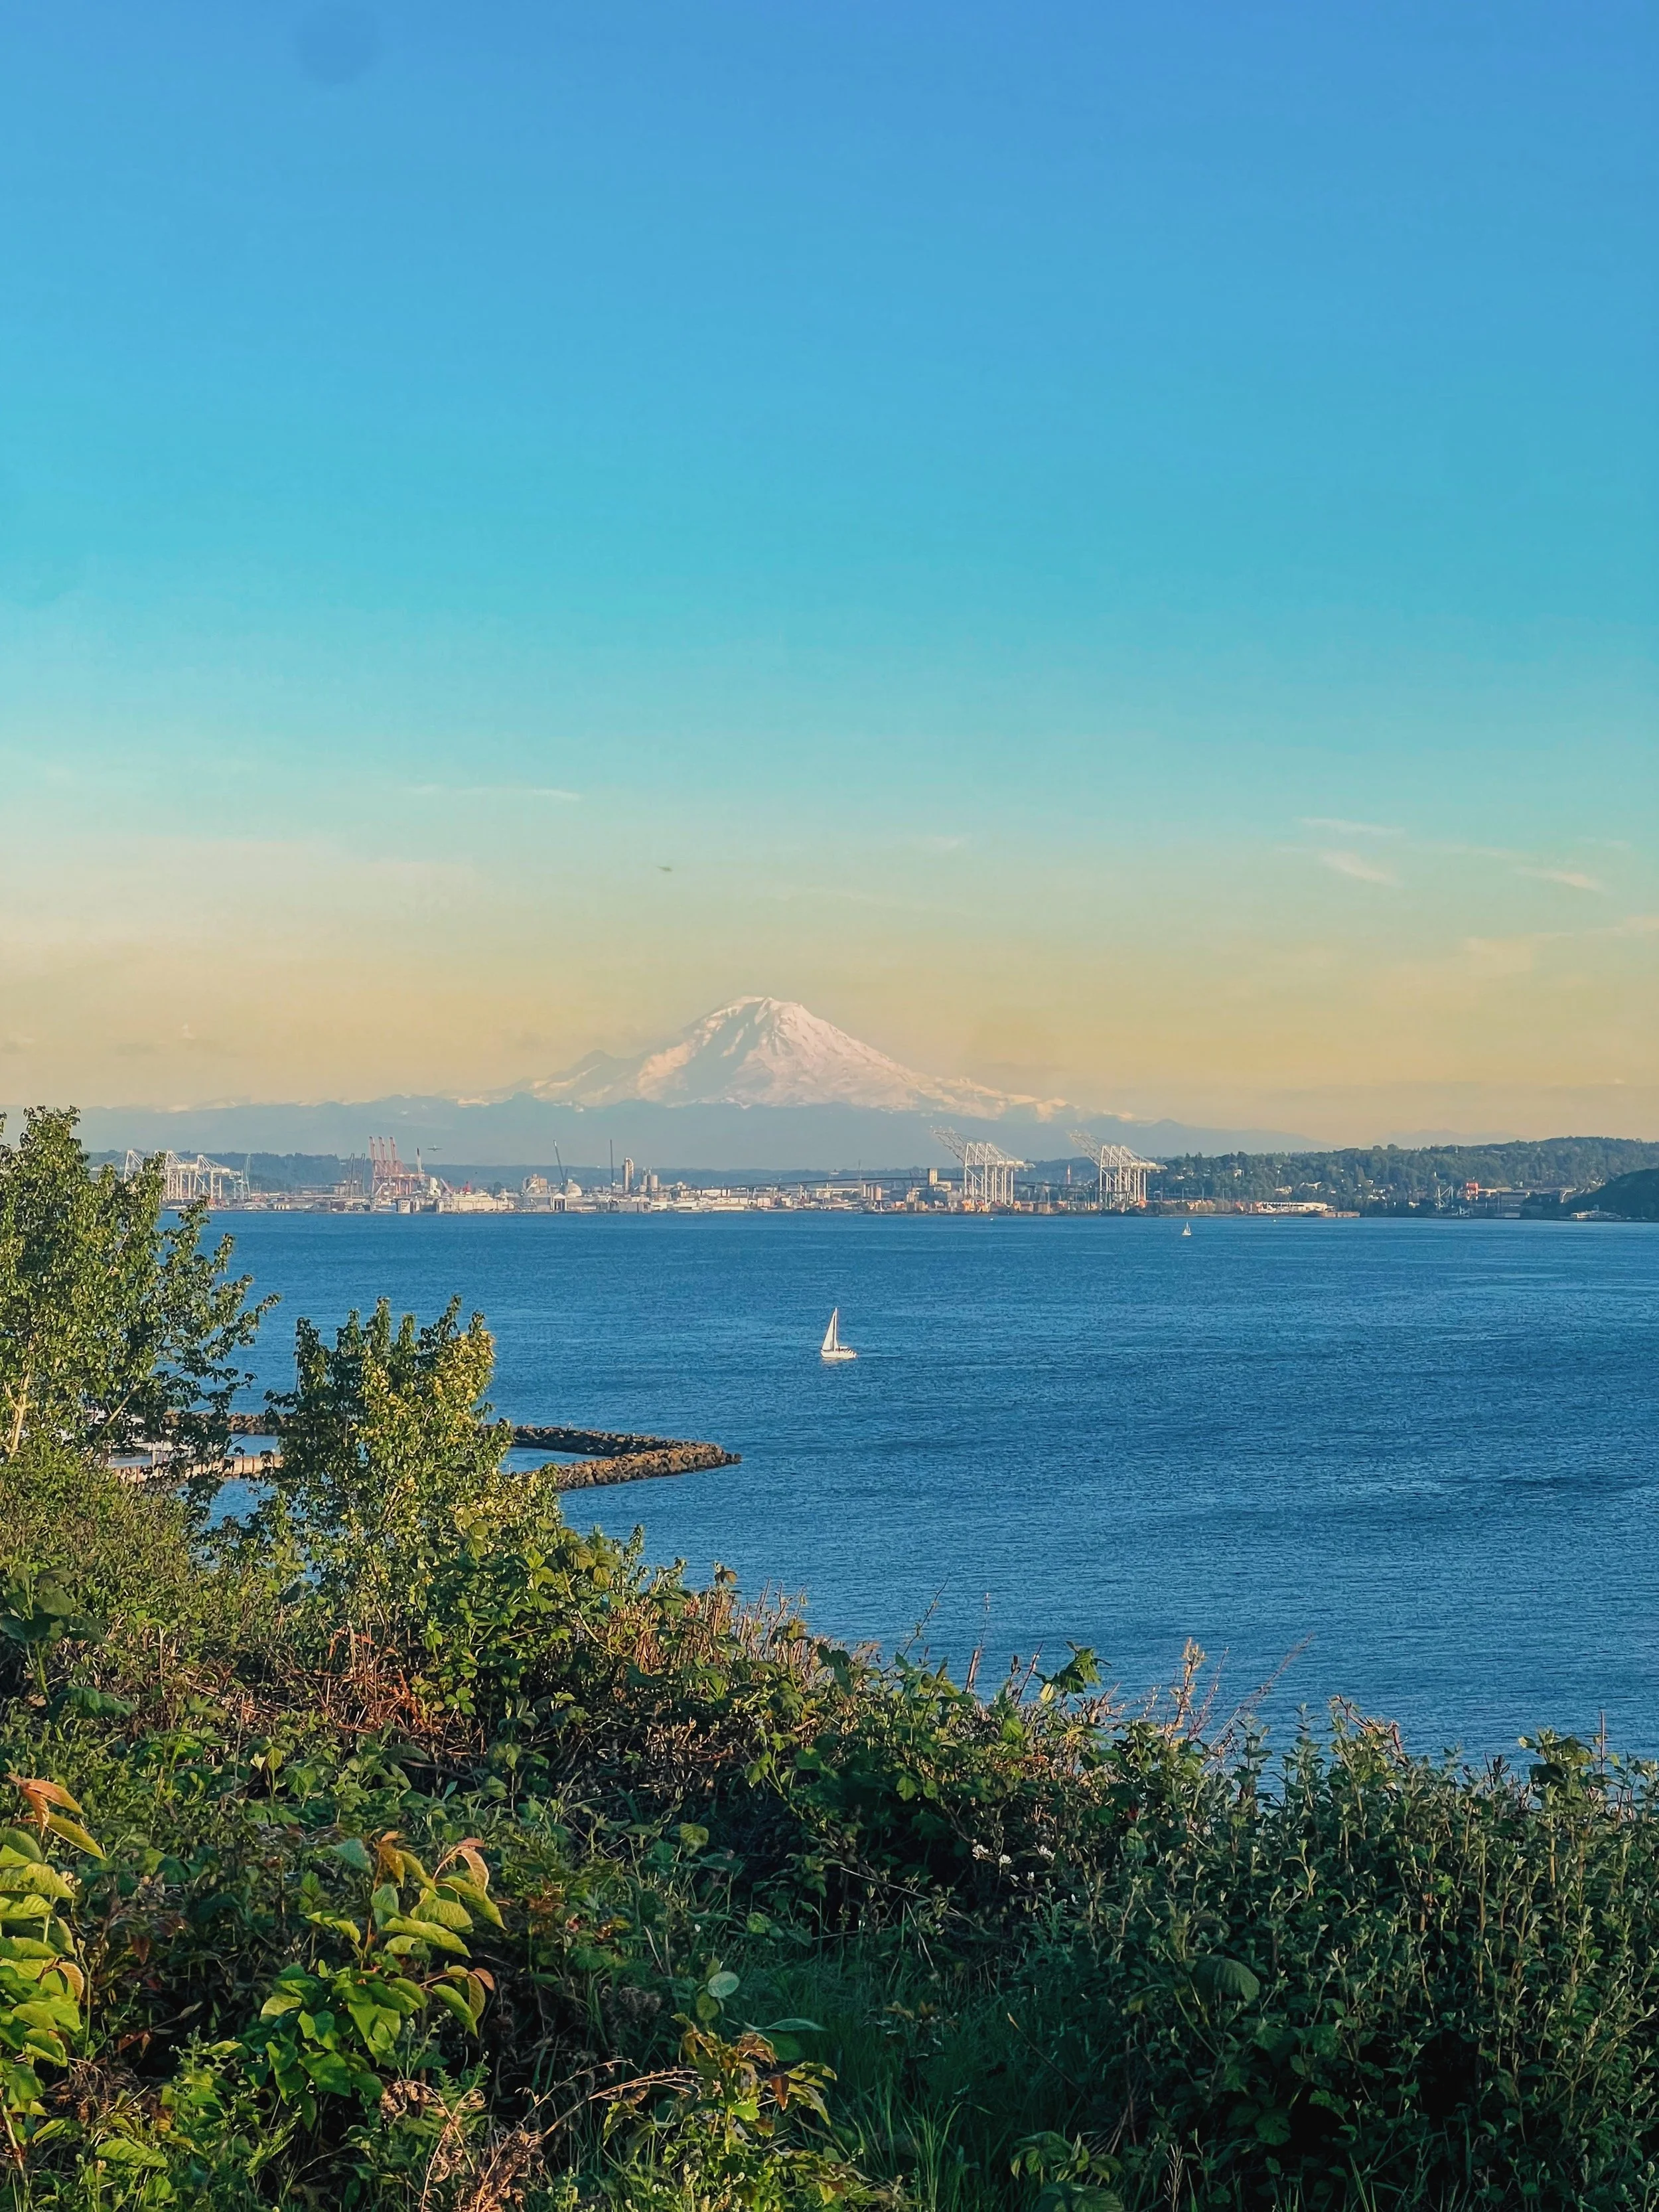
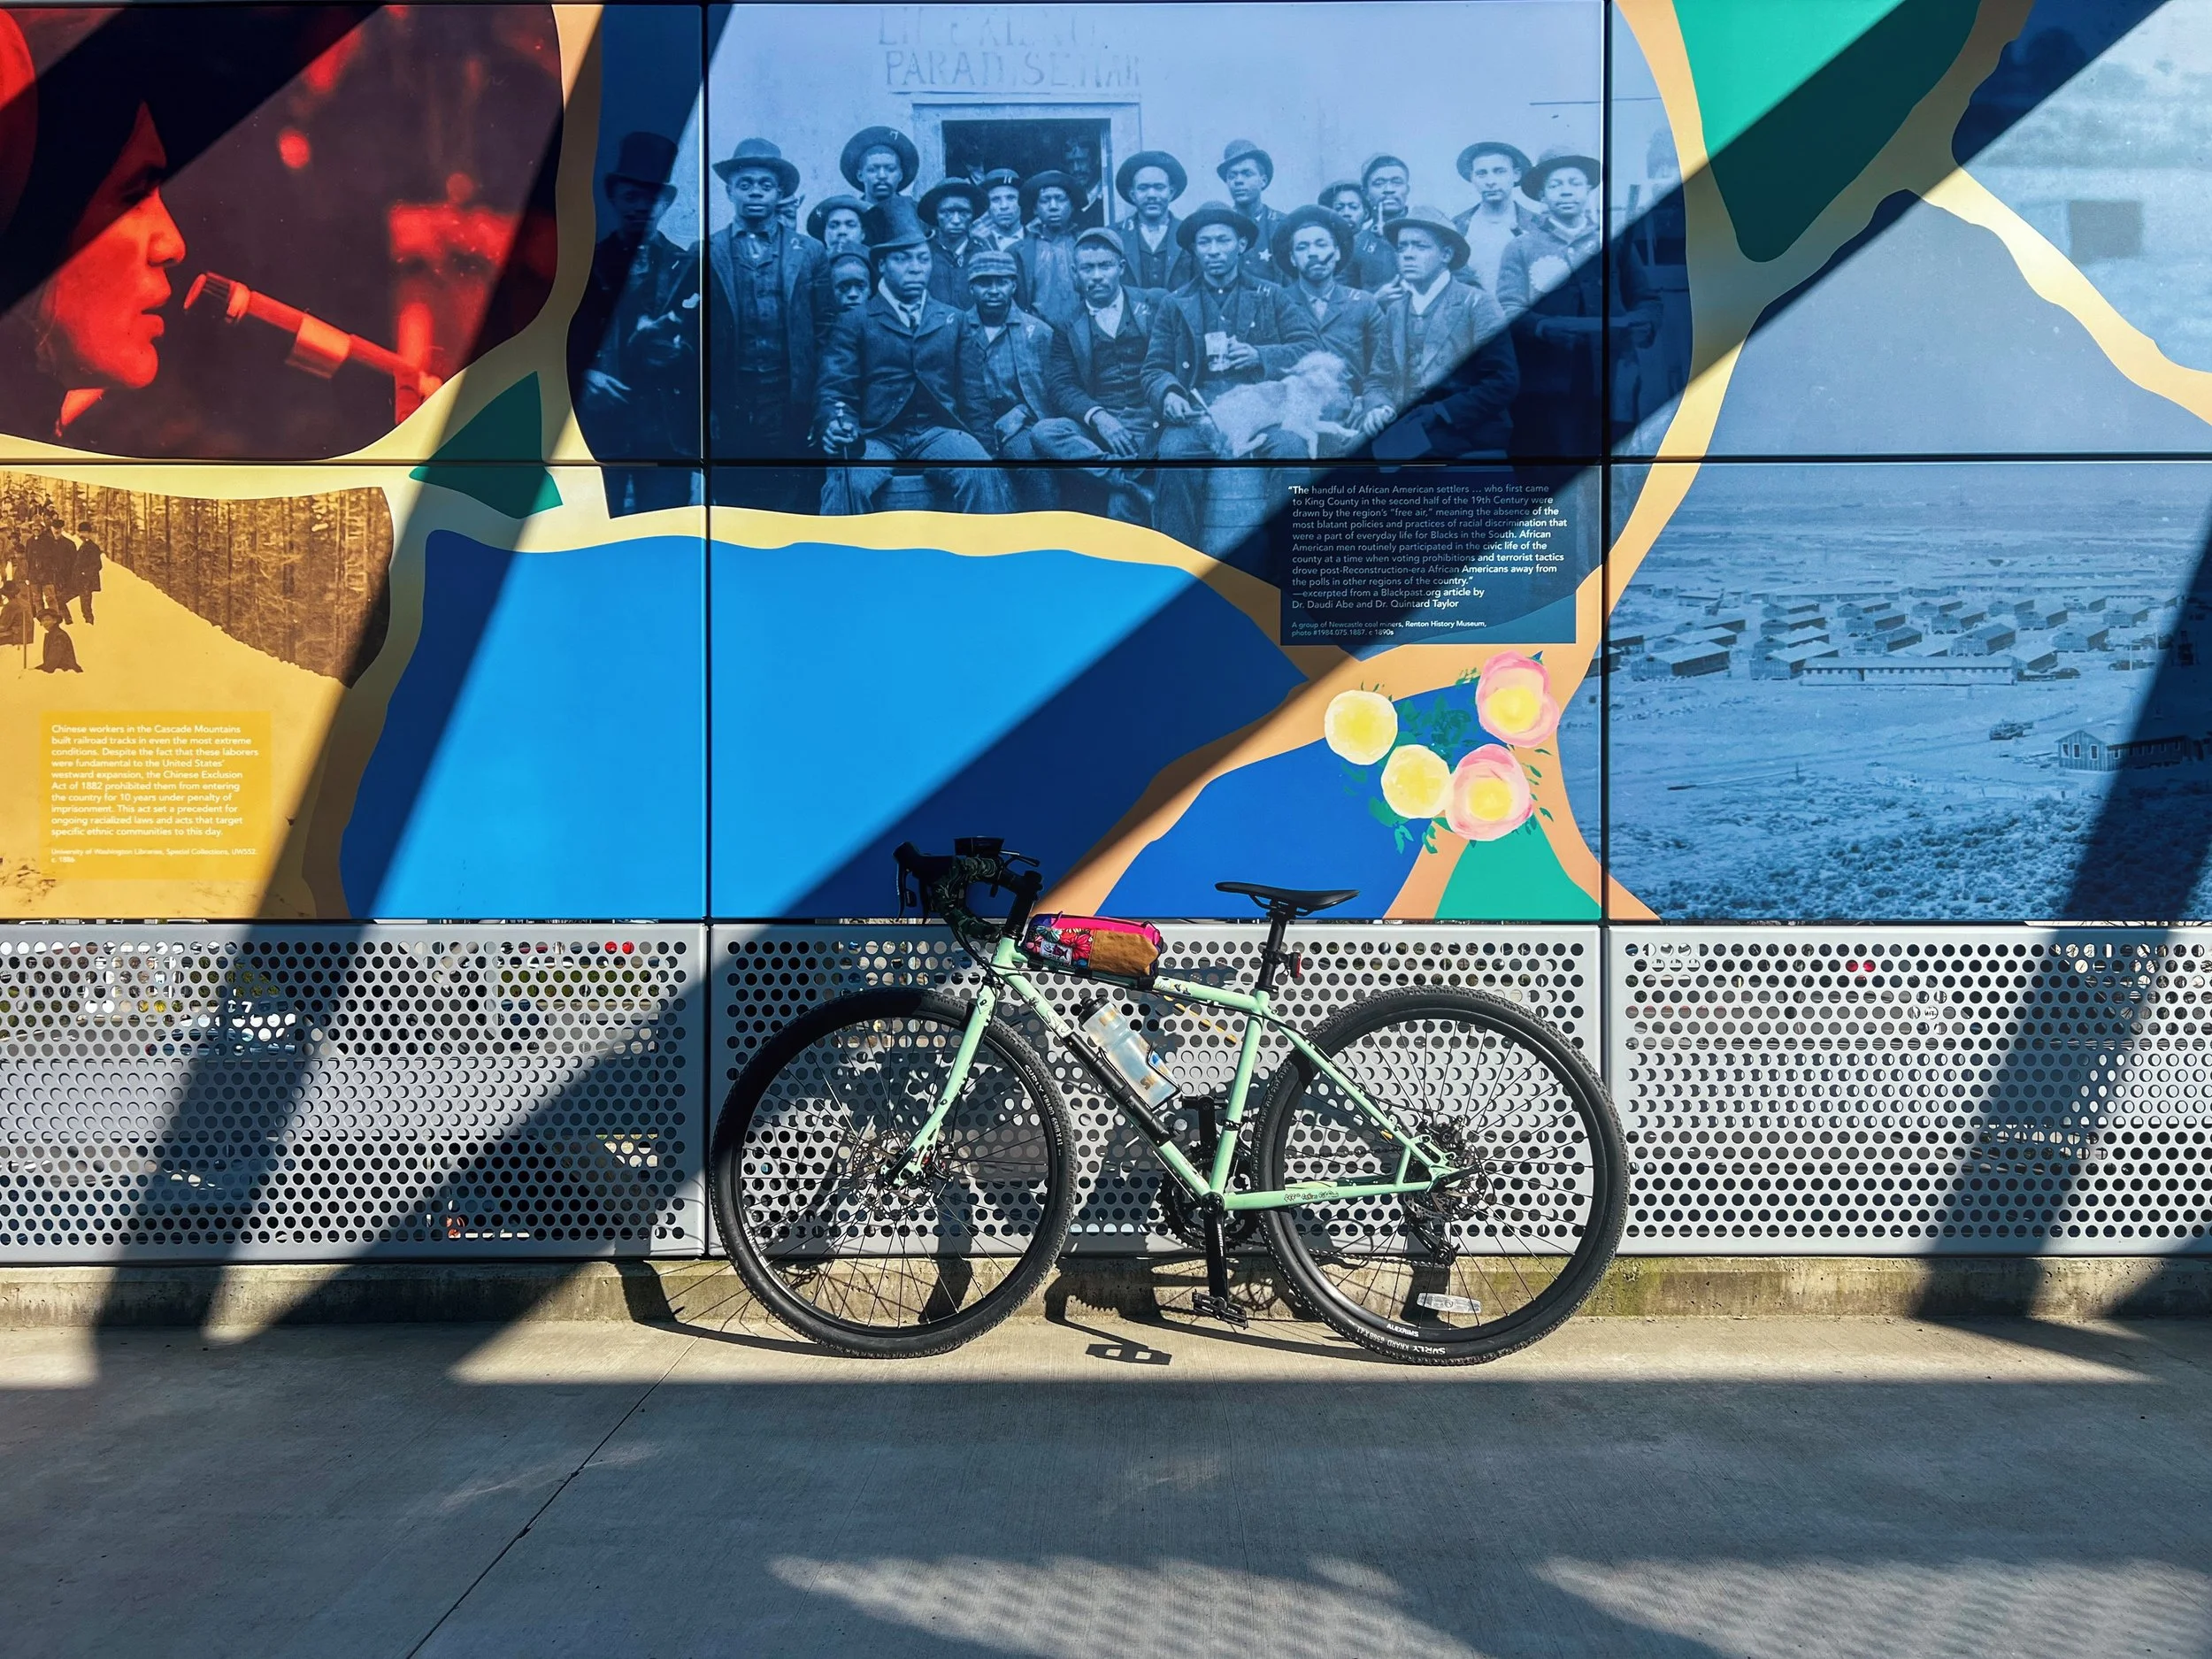
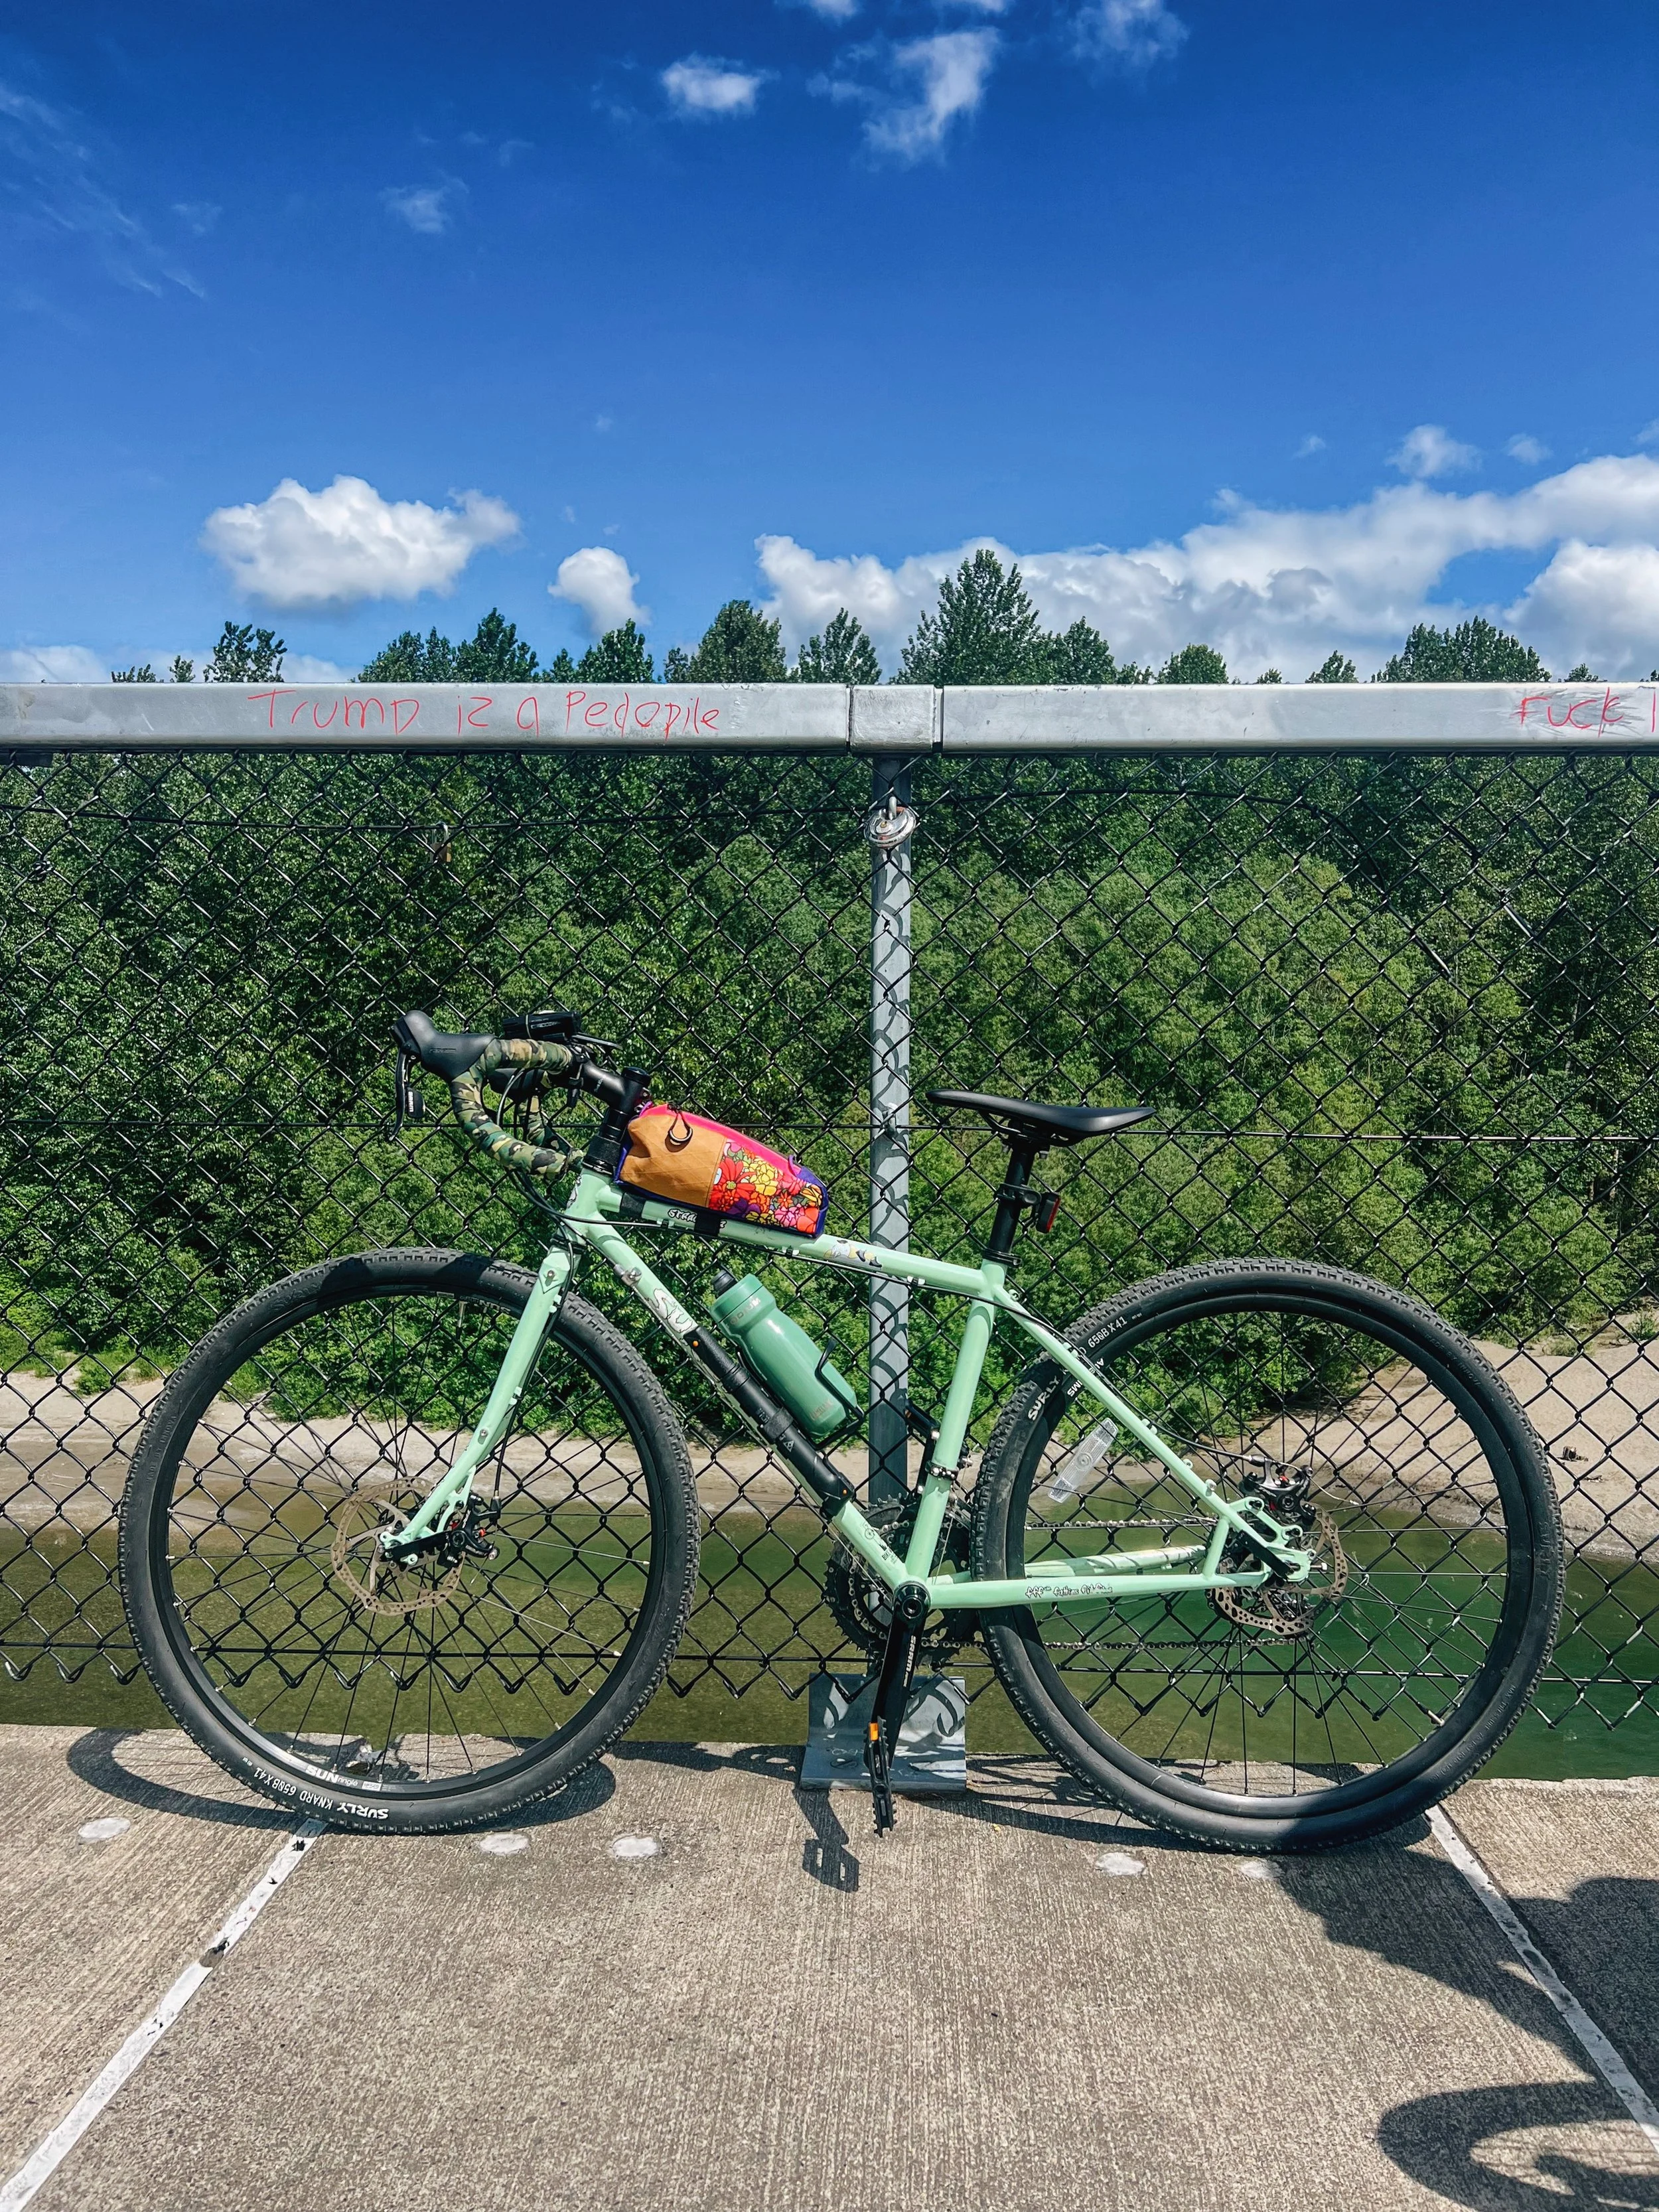
Taking the new Cross Lake Connection to the Wilburton Station.
If you are looking for the best bike rides in and around Seattle, you’ve got options. It is generally a very bike-friendly city — but most lists will send you to the same five trails and leave it there. This one goes a little further, sprinkled in with some personal twists.
I’ve been putting in serious miles this year (training for the STP will do that), and training can be boring if you keep hopping on the same trails. Somewhere between the Burke-Gilman at sunset and a washed-out forest road I found out about from a ranger near Glacier, I figured it was time to write it all down.
I’ll be honest: cycling has been keeping me sane lately. For someone whose brain doesn’t really stop, it offers a space to reflect, reset, and occasionally get a little lost — in a good way. These are the rides that have give me that. Organized by how far you’re willing to go.
New to Cycling in Seattle?
If you’re just getting started, I’ve already written a full guide to the most beginner-friendly trails in the city — flat, accessible by transit, and genuinely good for building confidence on two wheels. The following rides assume you’re ready to go a little further, a little rougher, and a little more off-script (as any adventure should be).
→ 5 Beginner-Friendly Bike Bikes Near Seattle You Can Do Year-Round
In this post
City rides & after-work loops
Day trips worth the drive
Off the beaten path
Olympic Discovery Trail
City Rides & After-Work Loops
Quick hits — for when you don’t have much time and just need to get moving on two wheels
Most of my weekday riding happens after work. I usually like to do about 20-30 miles and I sometimes map these routes out in advance with RideWithGPS. Sometimes I have an objective, like catching a sunset and sometimes I’m just getting the miles in. These are the routes I keep coming back to. I’ve done plenty of variations on a few of time; if you want to explore further, my full collection on RideWithGPS is linked at the bottom!
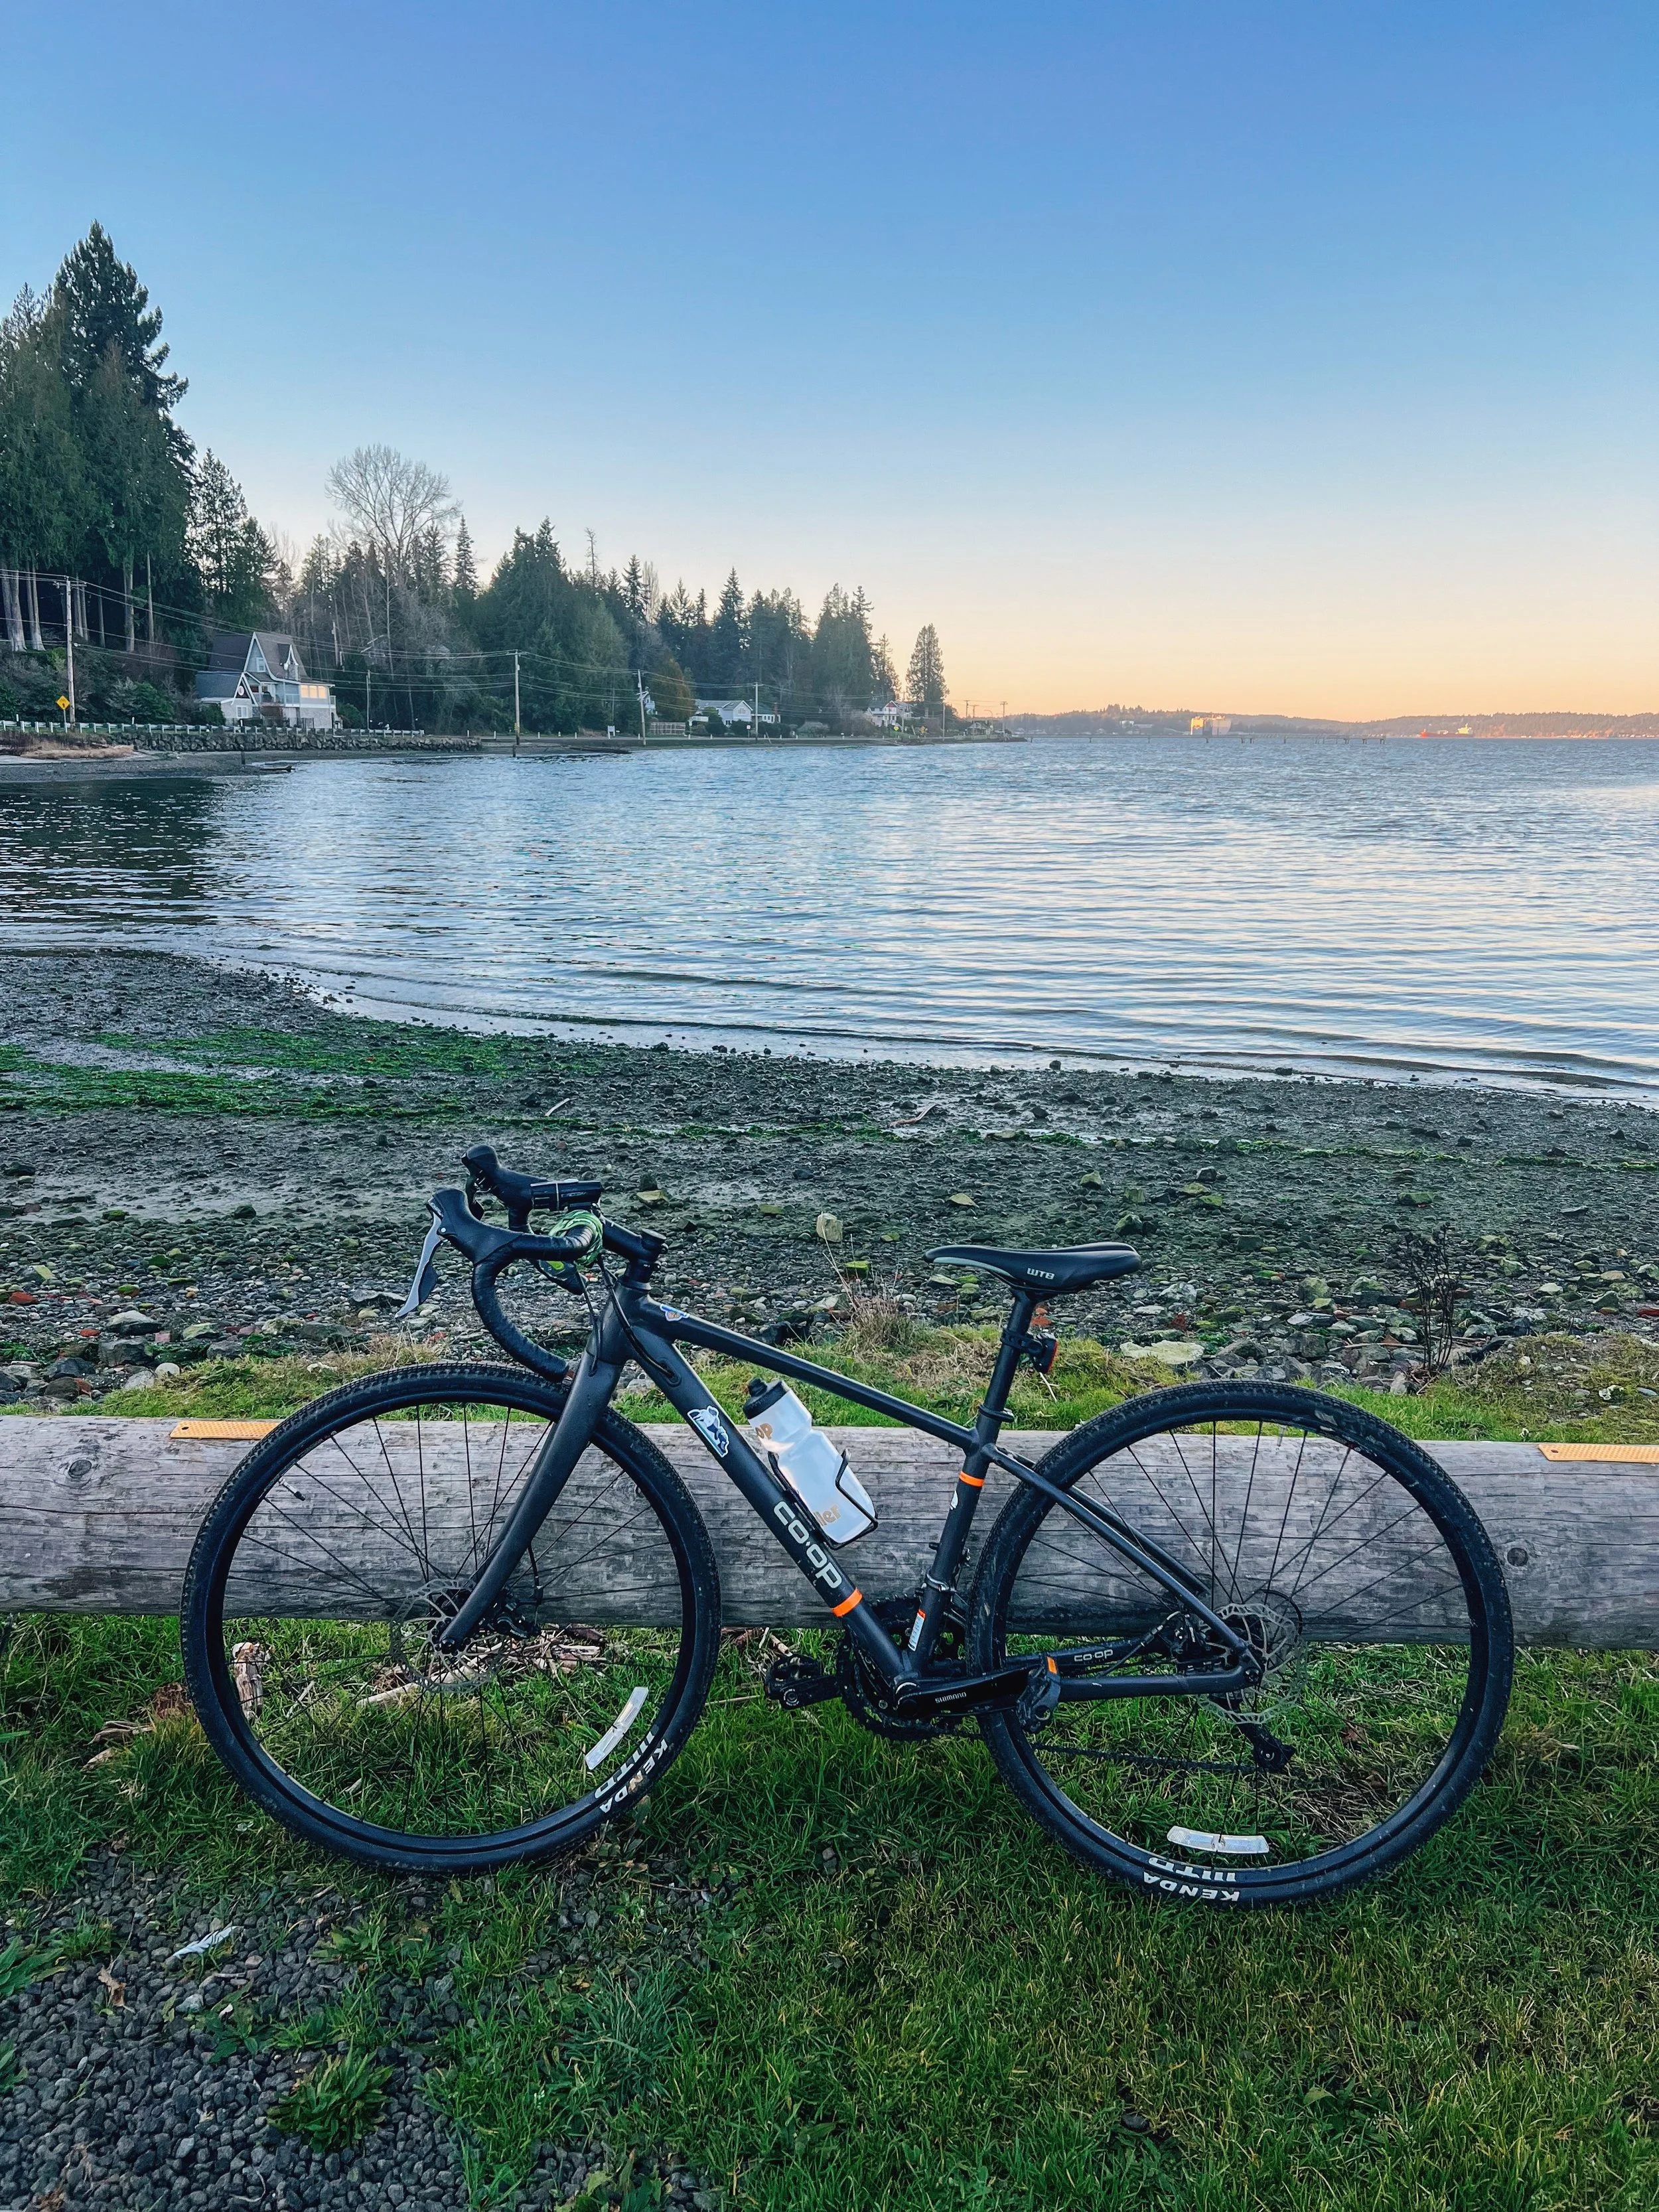
Green Lake to West Seattle — The Waterfront Run
For the sunsets. Always for the sunsets.
This is one of my favorite city rides, full stop. I usually start at Green Lake or the Husky Stadium (University of Washington lightrail station) and work my down through the waterfront, over the West Seattle Bridge, and out to Alki Beach. The sunsets over the Olympics from the beach are unreasonably good.
Best part: take the King County water taxi back to downtown — it’s only a few dollars and bikes are welcome, and you get to watch the skyline from the water.
Alternatively, you can ride back to the SoDo lightrail station and take it back to North Seattle or to UW if that’s where you started. It cuts the ride short and skips a lot of the gain on the way back.
University of Washington to Discovery Park via Magnolia

Leg day, every time
I work near the University of Washington (UW), so this one starts right at the doorstep. The route heads west towards Discovery Park — and getting into the park is no joke! The climb in is steep (and long) enough that the first time I did it, I wasn’t entirely sure if I’d make it. I did. Barely. A lot of road cyclists do use this climb at training so be prepared to see a lot of them.
After the steep climb, you ride through the park a little and you descend Magnolia Blvd, and suddenly everything makes sense. It’s one of those stretches of road that makes you feel like you earned something. Wide and open views and glimpses of the Sound through the bluff. You can even see Mount Rainier while riding down the road.
Over 1200 feet of gain for a 21-mile ride after work means this one isn’t for days when your legs are already cooked. Save it for when you want to feel something and challenge yourself.
Burke-Gilman to 520 Bridge Loop

For the days you need exactly 30 miles and a good sunset
One of the things I love about the Burke-Gilman is that there’s no single right place to start — there are multiple access points all the way from Ballard to Kenmore, which means you can your pick parking spot or take public transit, map a loop from here, and make the ride your own. I started at Log Boom Park in Kenmore for this one, mapped out exactly 30 miles on RideWithGPS the morning before work, and just rode it.
The 520 bridge is the payoff. Dedicated separated bike path the entire way, and if you time it for late afternoon, you get the lake opening up on both sides, Mount Rainier in the distance, and the kind of light that makes Seattle look like it was designed for exactly this moment. I caught a beautiful sunset on the bridge that evening. Some rides just work out.
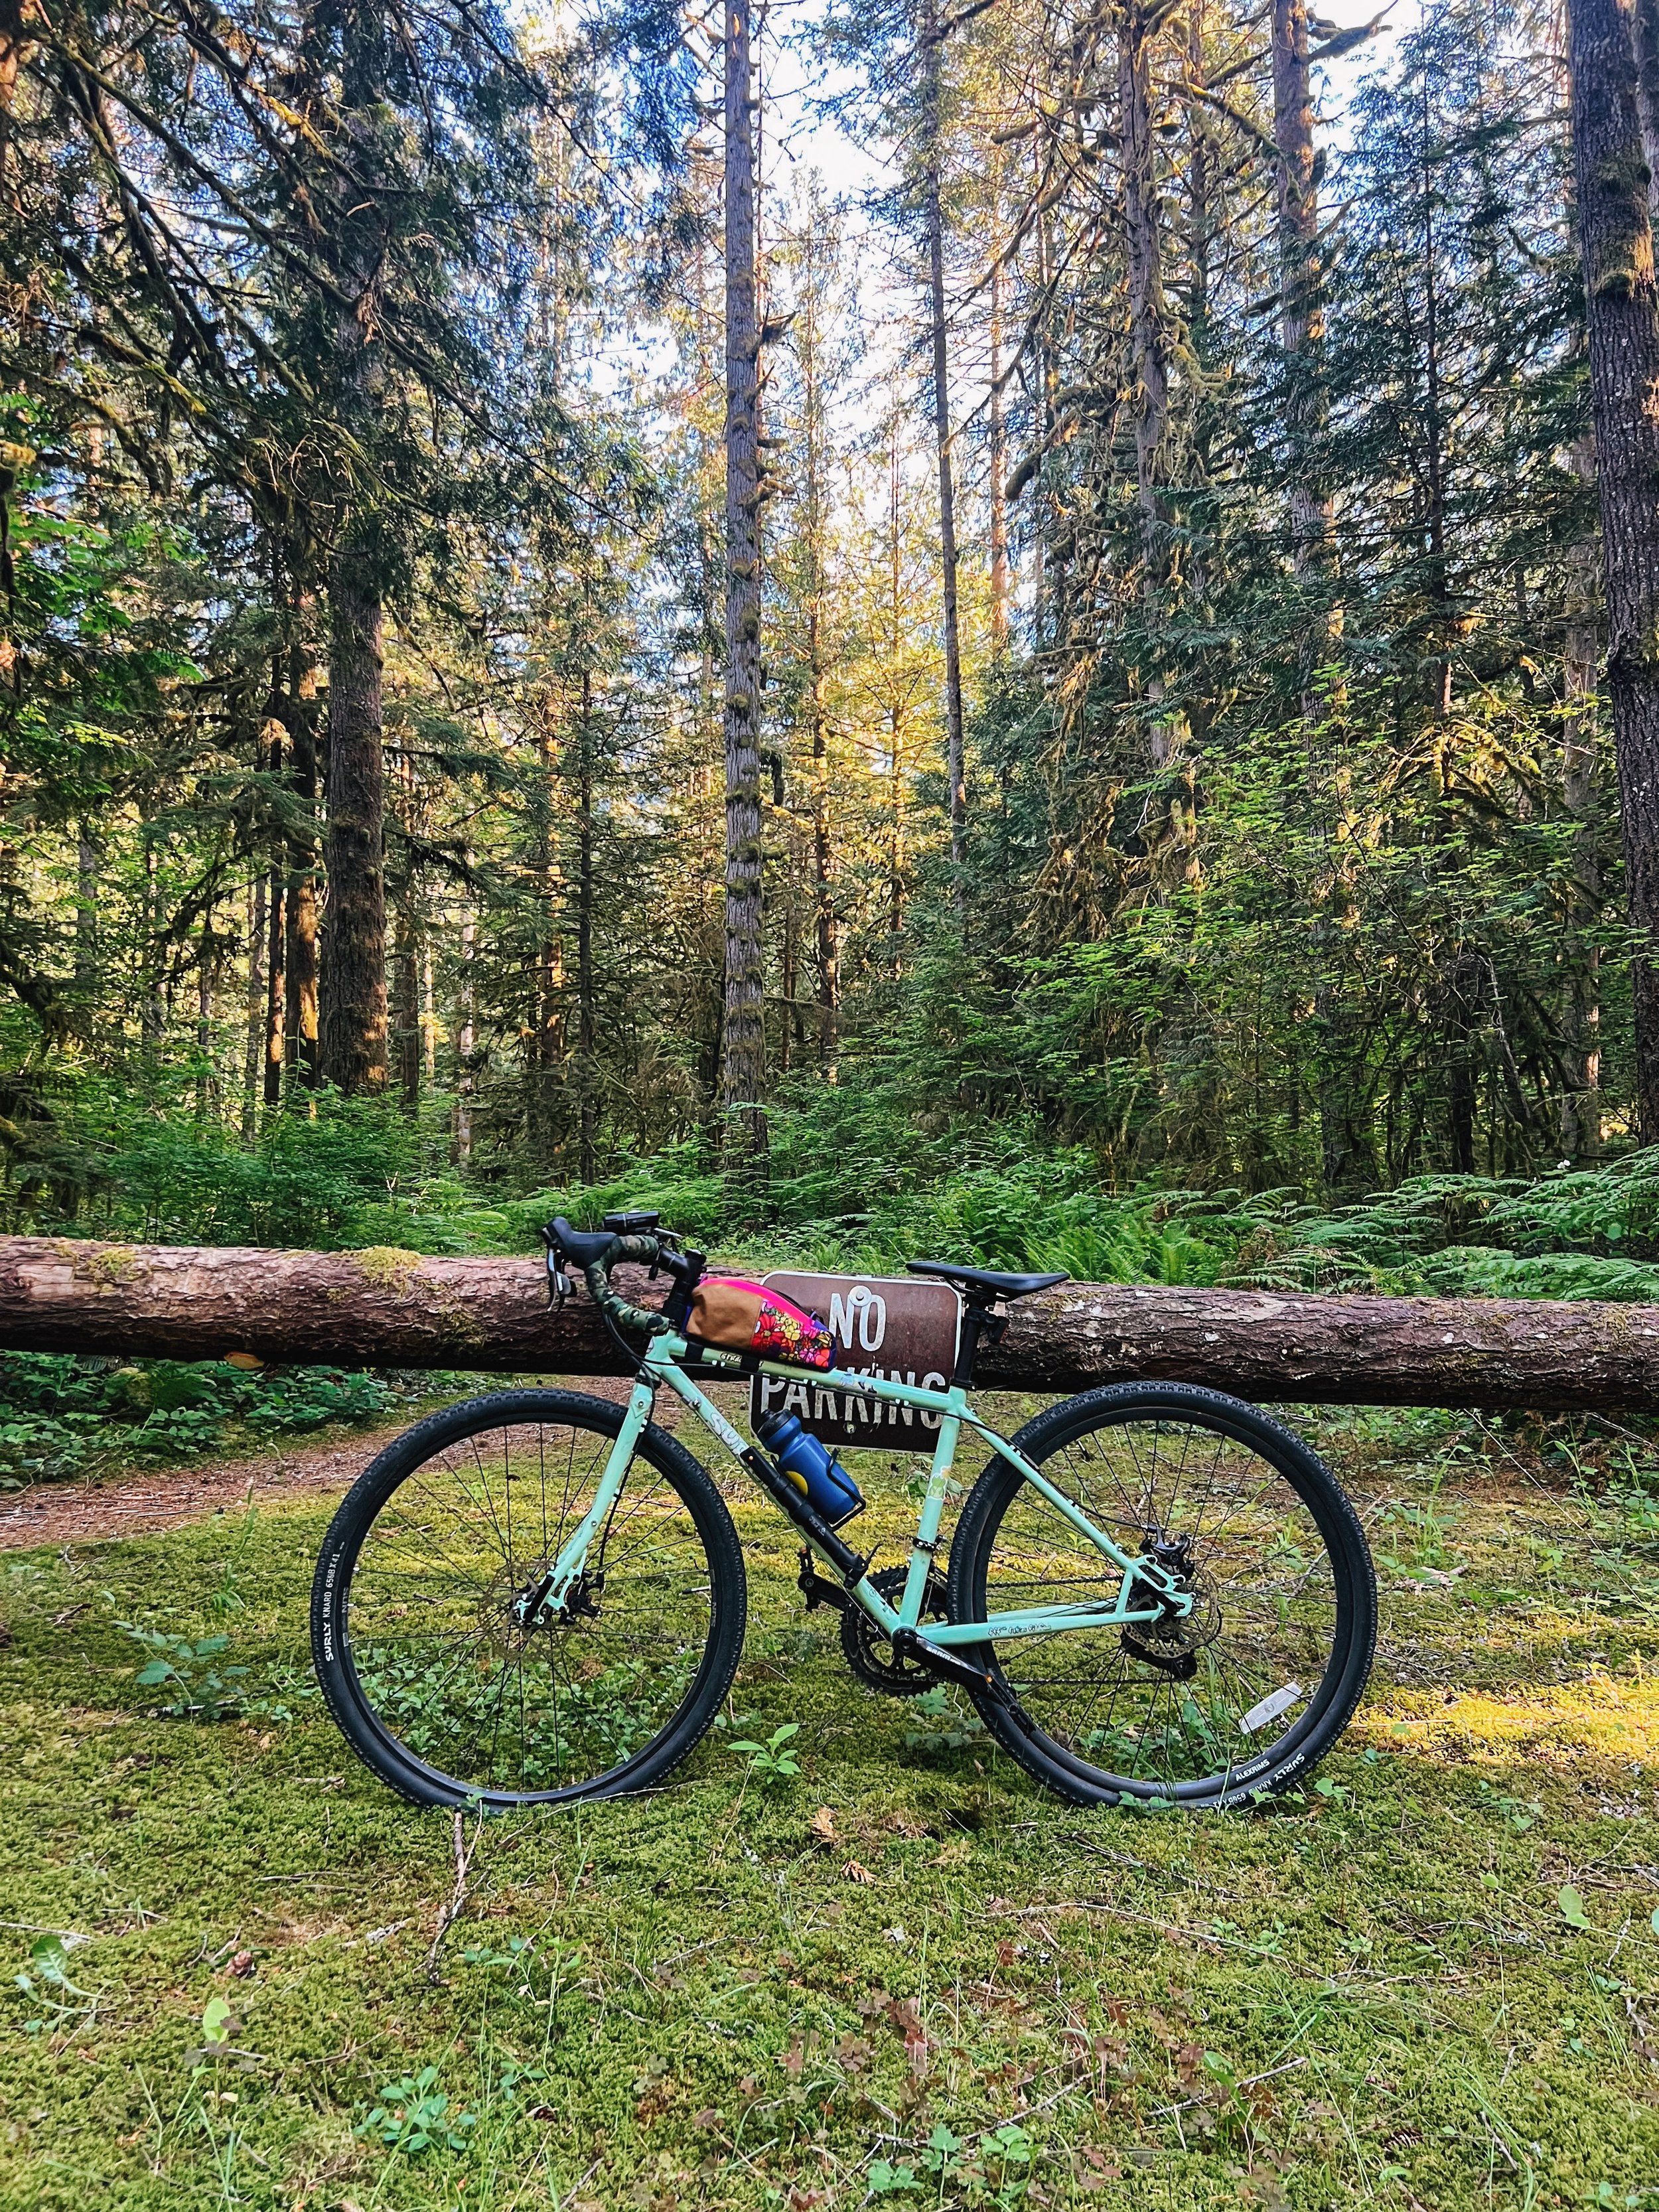
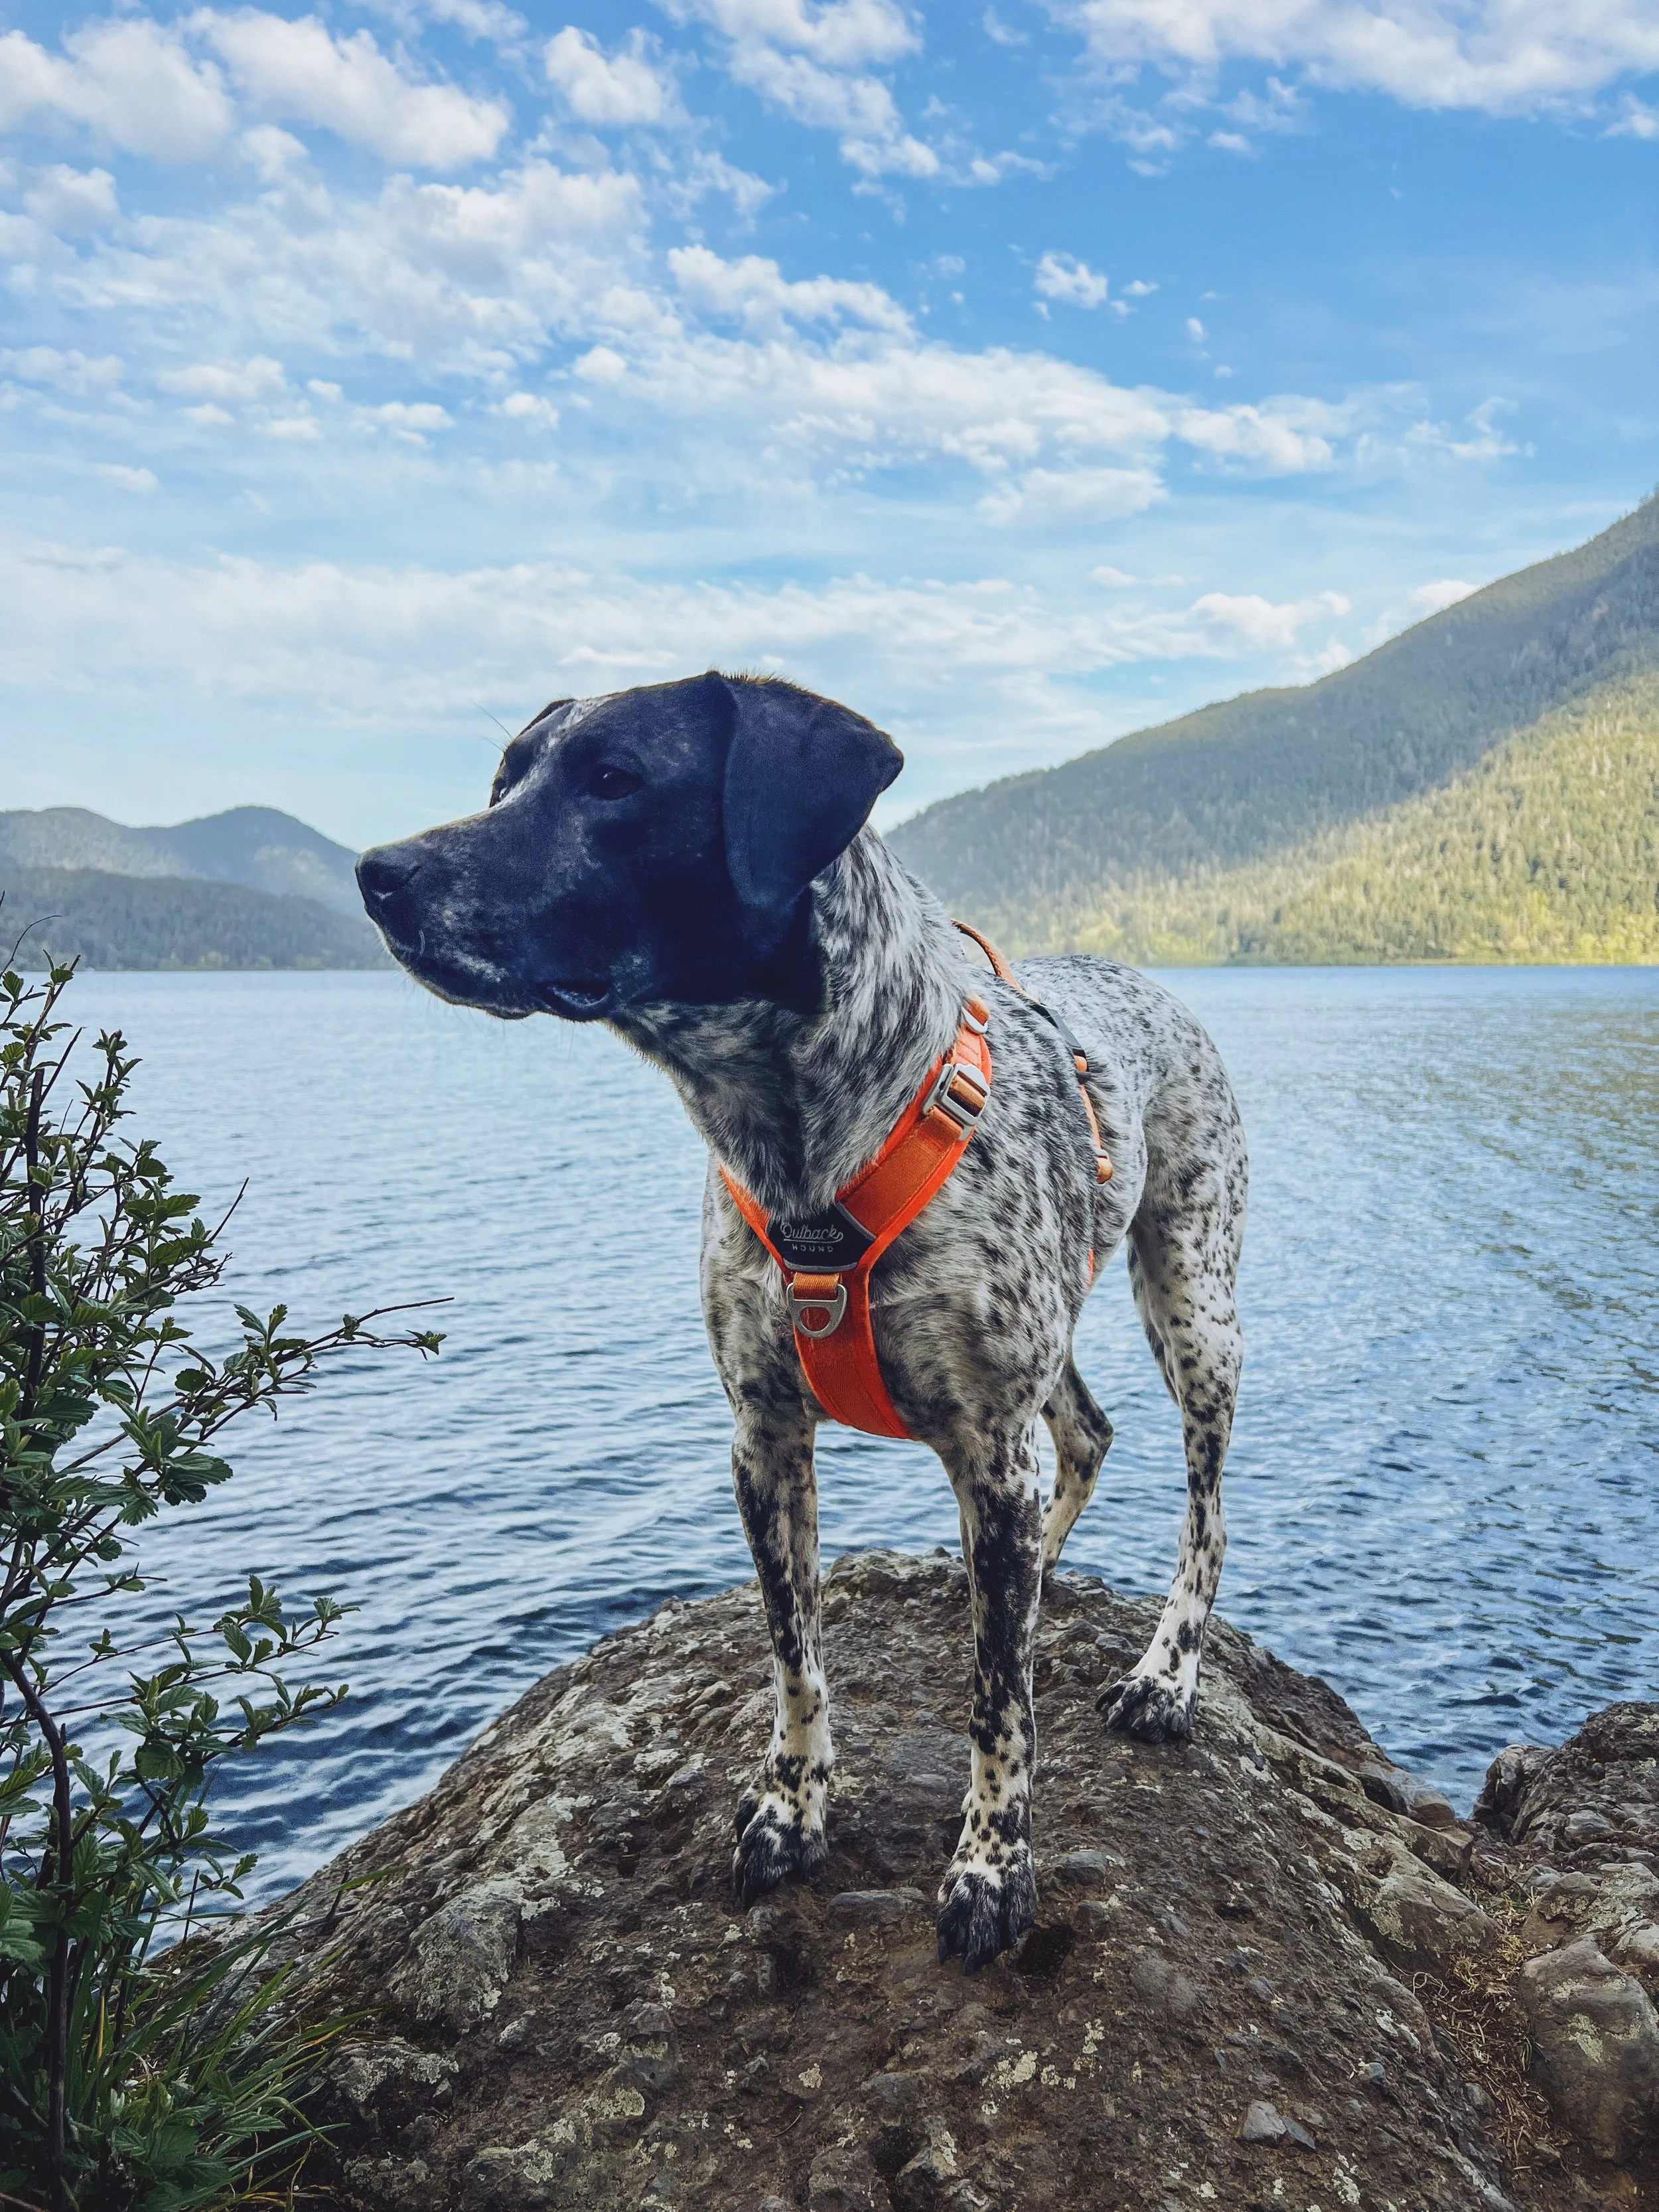
Kirkland Waterfront to Bellevue — Singletrack in the City
Singletrack in the city? No way.
When you want an adventure without leaving the metro area
I found this one through @openseason.cc on Instagram — an account that maps genuinely interesting routes around the city and beyond. I was in the mood for something that felt less like a training ride and more like an actual adventure so I opted for this route.
I edited the route and decided to start from the Kirkland waterfront, the route work its way through Bellevue and eventually landing at Wilburton Hill Park and this was where the singletrack fun began. Expect a lot of climbing and downhill. It was a strange experience but also satisfying to be picking your way through a proper trail section and then look up and realize you are still very much in the middle of the metro area.
If you’ve been riding mostly pavement and want to dip into something more technical without committing to a full MTB day, this is a good bridge. I looped back to where I started via Mercer Slough.

Day Trips Worth the Drive
These rides can easily be done within the day but might require a little bit more planning even though the mileage isn’t that much longer compared to my after-work loops. However, allow yourself plenty of time to do additional exploration.
In this section
SODO to Manchester State Park
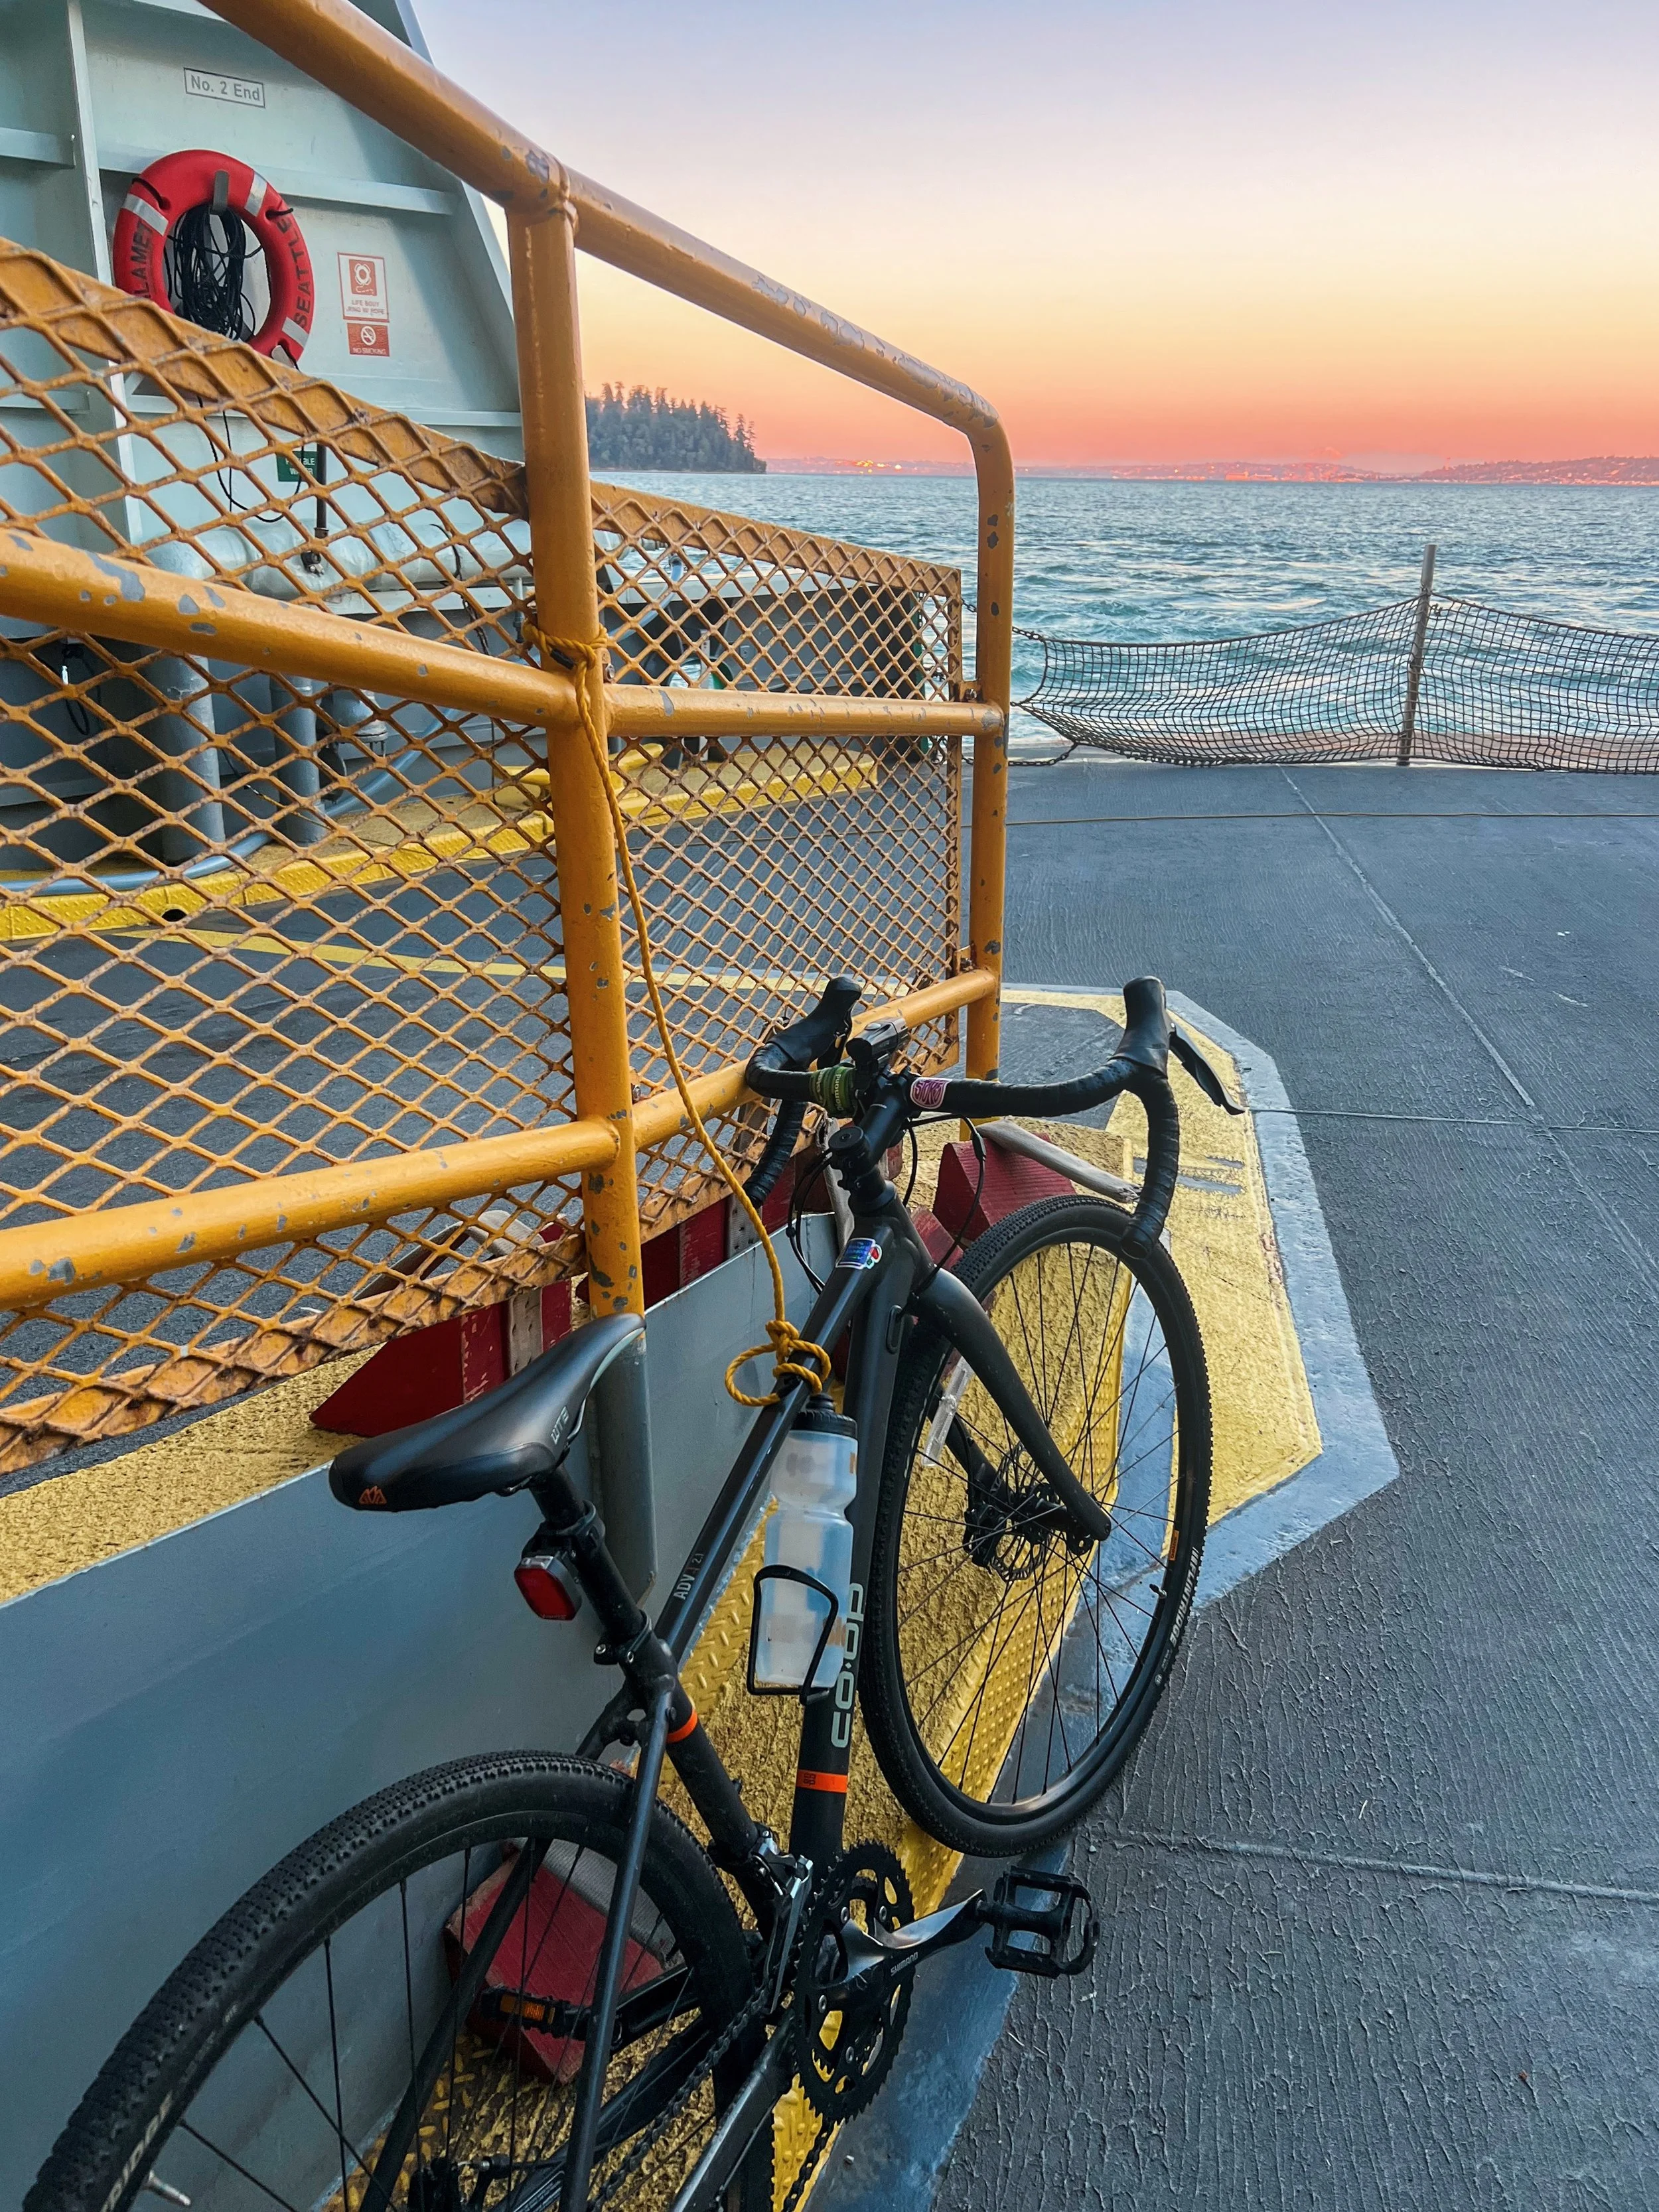
Multi-modal transit magic
You might have seen this one on my other post. This one has a good origin story, too. I did it on a day when I really needed to get out of my head. I took the light to SODO and rode across the West Seattle Bridge — this was the first time I’ve ever done it and it felt like the coolest thing ever. I took the scenic route through Alki Beach and Lincoln Park to the Fauntleroy Ferry terminal then the ferry to Southworth for $9.70.
I boarded the wrong ferry initially — Vashon instead of Southworth. This costed me an hour and I lost most of my daylight by the time I reached Manchester. The park itself was very anticlimactic. But the route, the West Seattle Bridge, the ferry mishap, and the quiet Kitsap roads in the winter months was the adventure. Sometimes getting there is the whole point.
Centennial Trail
Flat, reliable, and honestly a little boring — in exactly the right way
The Centennial Trail is not going to blow your mind. There were segments of it that I really enjoyed. It’s flat, it rolls through Snonomish County farmland and forest, and long stretches look pretty similar to the last stretch. That is also exactly why it’s on the list.
This trail is perfect when you want miles without the drama, when the Burke-Gilman trail feels too crowded and you just need to move. It runs about 30 miles each way between Snonomish and Arlington. I planned to do all of it once but I didn’t. I turned around just past the bridge where it meets the Whitehorse trail, grabbed a beer from Skookum Brewery, and decided that that was a perfectly acceptable outcome.
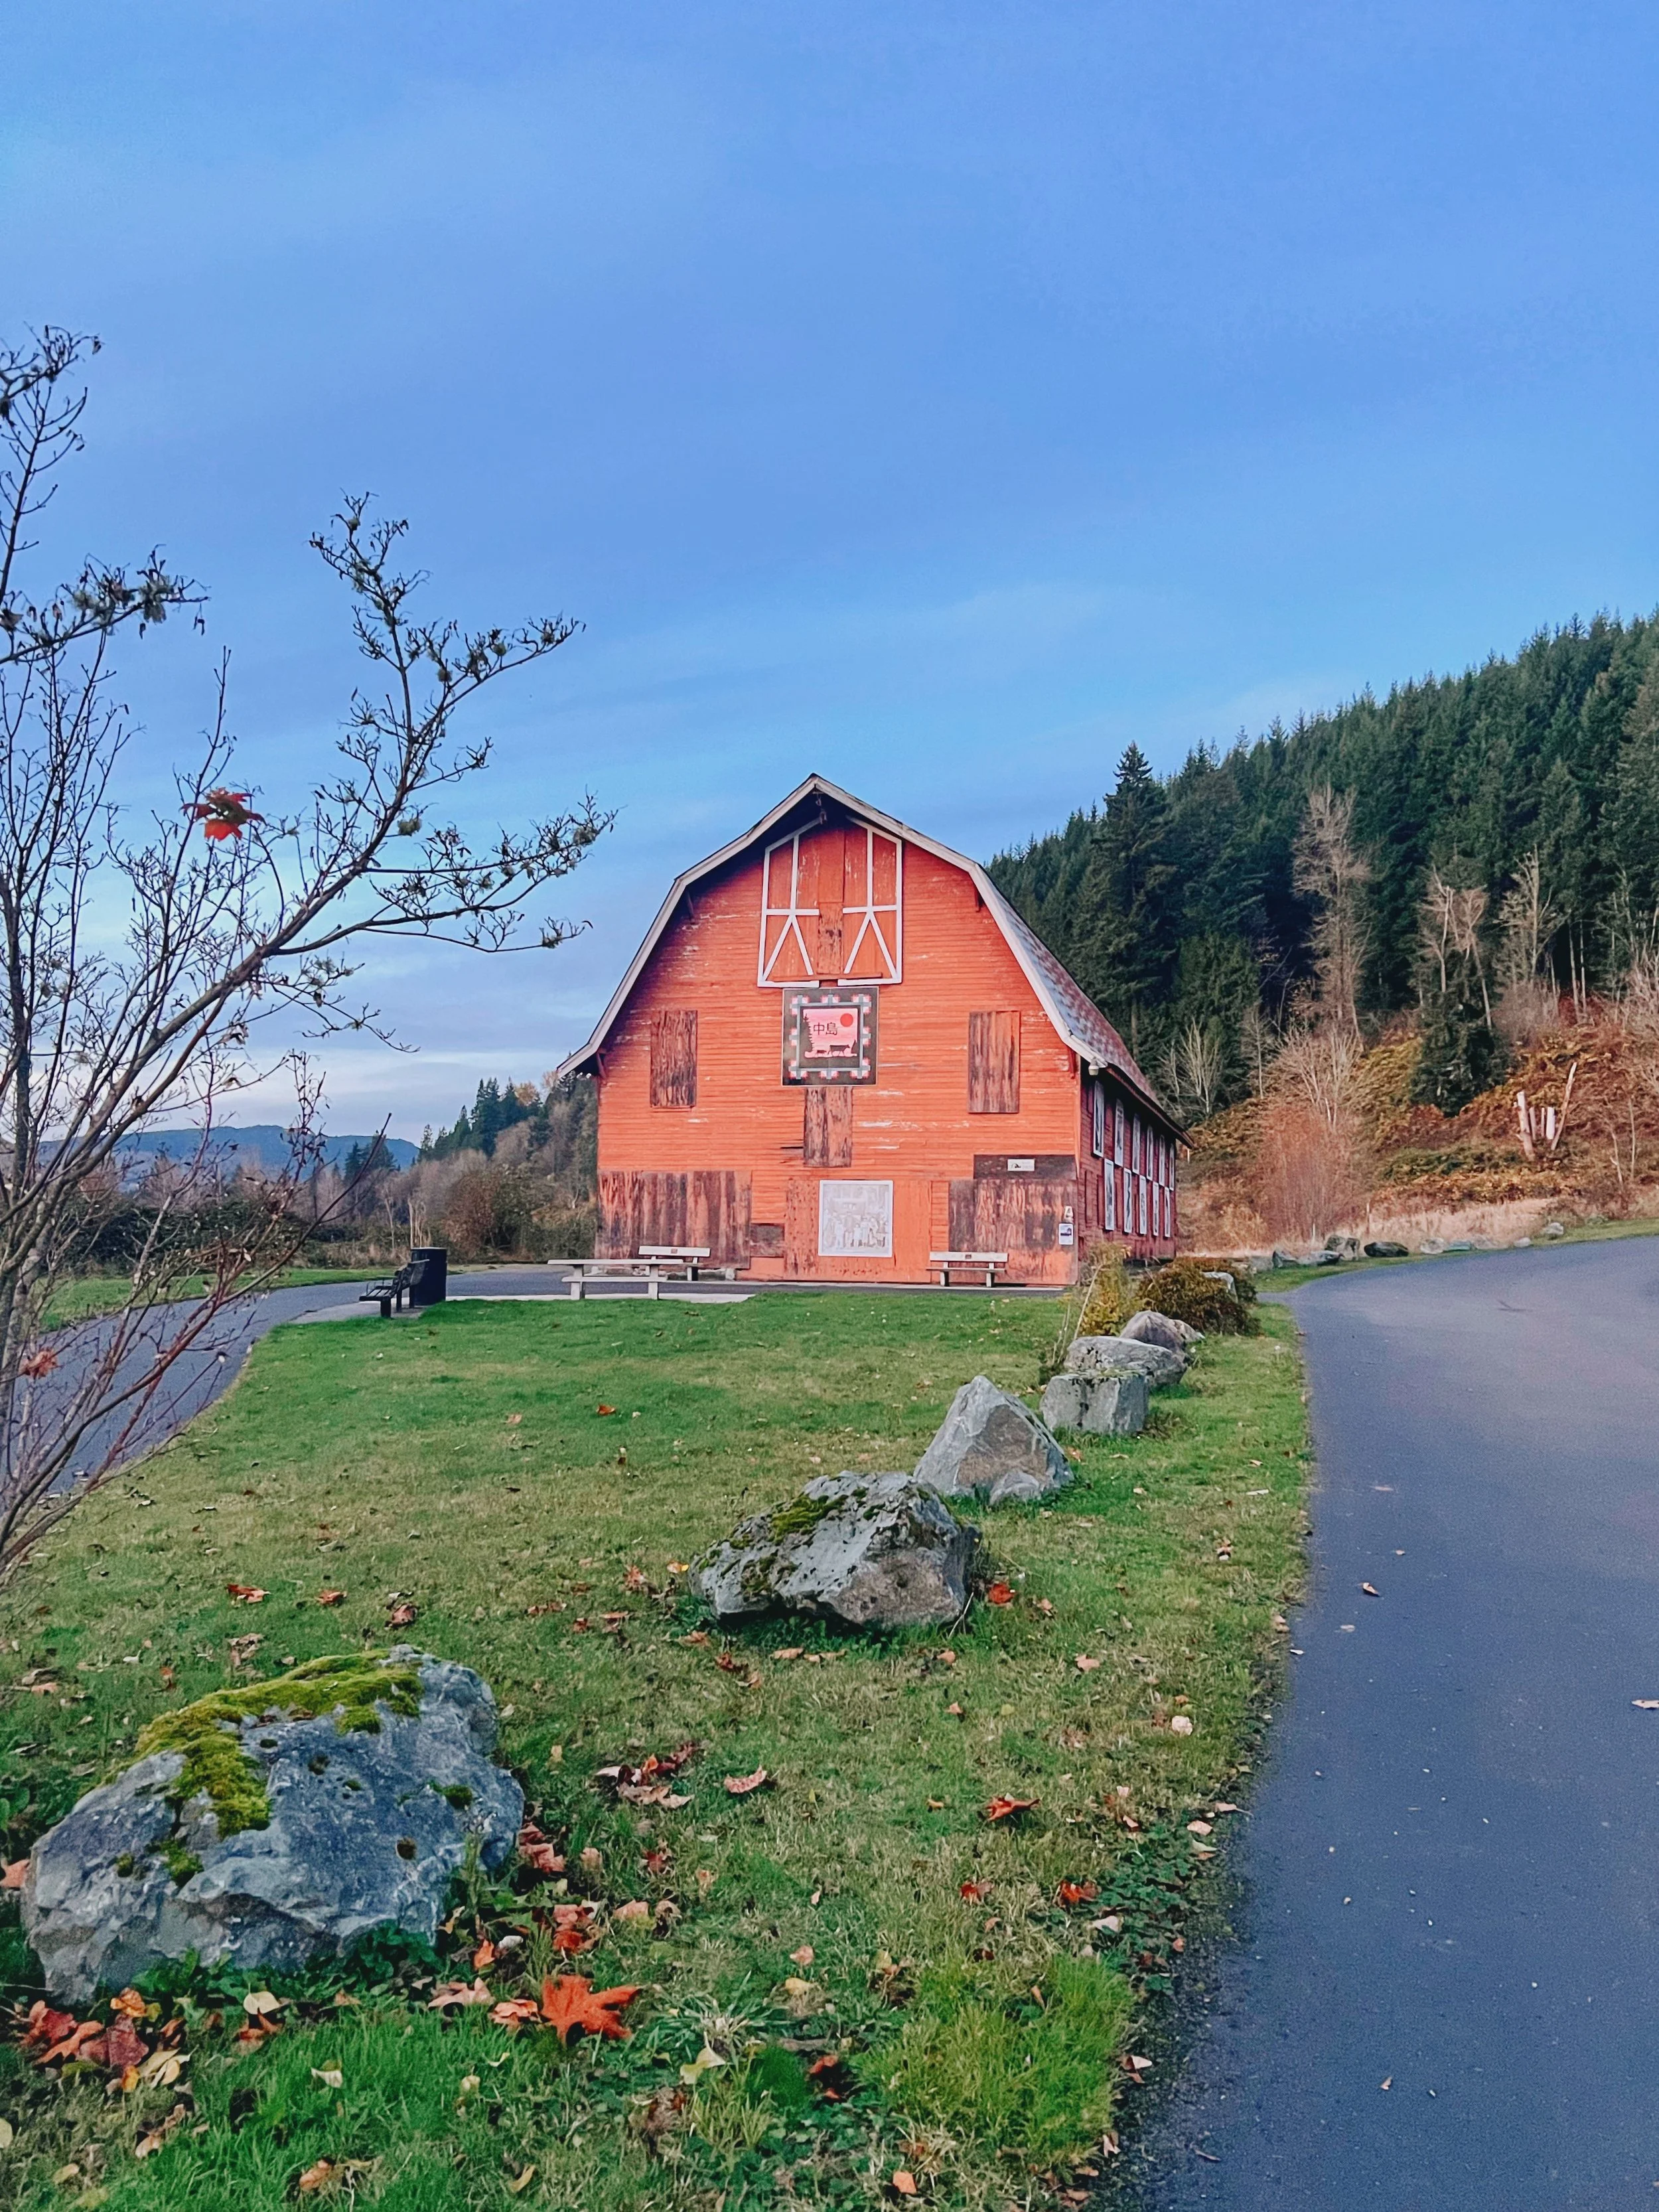
This was also one of the first trails I took Tex on, which makes it mean a little more to me than the mileage suggests. We did it back in Winter and started at Nakashima Barn. This section tends to be a little less crowded.
Two segments worth knowing:
Nakashima Barn to Arlington — My go-to for an after-work ride when you want to go further without fighting BGT crowds. The barn has significant history worth reading about before you go. Arlington is just past the halfway point and makes a natural turnaround — Skookum Brewery is a couple miles from the bridge if you need a reason to stop.
Starting from Snohomish — One of the official endpoints, more popular and more crowded at the trailhead. Thins out quickly once you're moving. If you want the trail mostly to yourself, Nakashima Barn is the better bet.
Here’s an honest take: I’d have a hard time motivating myself to ride all 60 miles solo. But with company, it’s genuinely pleasant. If you’re building base miles for something bigger, it’s hard to beat for long flat mileage without the mental load of a technical route and route-finding.
Snoqualmie Valley Trail
River valley gravel, pit stop breweries, and a lesson in navigation
The Snoqualmie Valley Trail (SVT) follows the Snoqualmie River through farmland and forested valleys. It extends from North Bend all the way up to Duvall. It’s flat and mostly gravel. The trail is forgiving enough that you can push the distance without too much drama, which is a good way to test your own limits.
I also completed my first half-century ride on this trail so this one feels a little special. Similar to other rides I’ve done, I’ve only done this trail in segments, which means I haven’t actually ridden it from start to end.
Below are the two segments I’ve done. If you decide to ride the SVT from start to finish, you’re really only adding about 10 miles to the Torguson Park to Duvall segment. The second segment I share is a lot shorter because I had Tex with me and this might be good if you want to also spend additional time at Rattlesnake Lake!
Torguson Park (North Bend) to Duvall: 50 miles — The most expansive version of the trail I've done. Park at Torguson and head north — you'll pass through Carnation, check out the Tokul Tunnel, and roll through river valley farmland most of the way. Valley House in Duvall is a good pit stop. Volition Brewing in North Bend is the reward at the end.
Cedar River Watershed to Downtown North Bend: 17 miles — A shorter, more accessible southern segment. Good entry point if you want to get a feel for the trail without committing to a full day. North Bend makes a natural turnaround with food and coffee nearby. I also took Tex on this segment of the trail too. Might be a little long for him but doable!
Off the Beaten Path
Adventure rides — worth the planning, worth the drive
These are the rides that require a little more commitment and planning. It can involve a ferry ride, a campground, tips from a ranger, or some combination of all three. They’re also the ones I think about the most and I think the most fun out of the rides on this list.
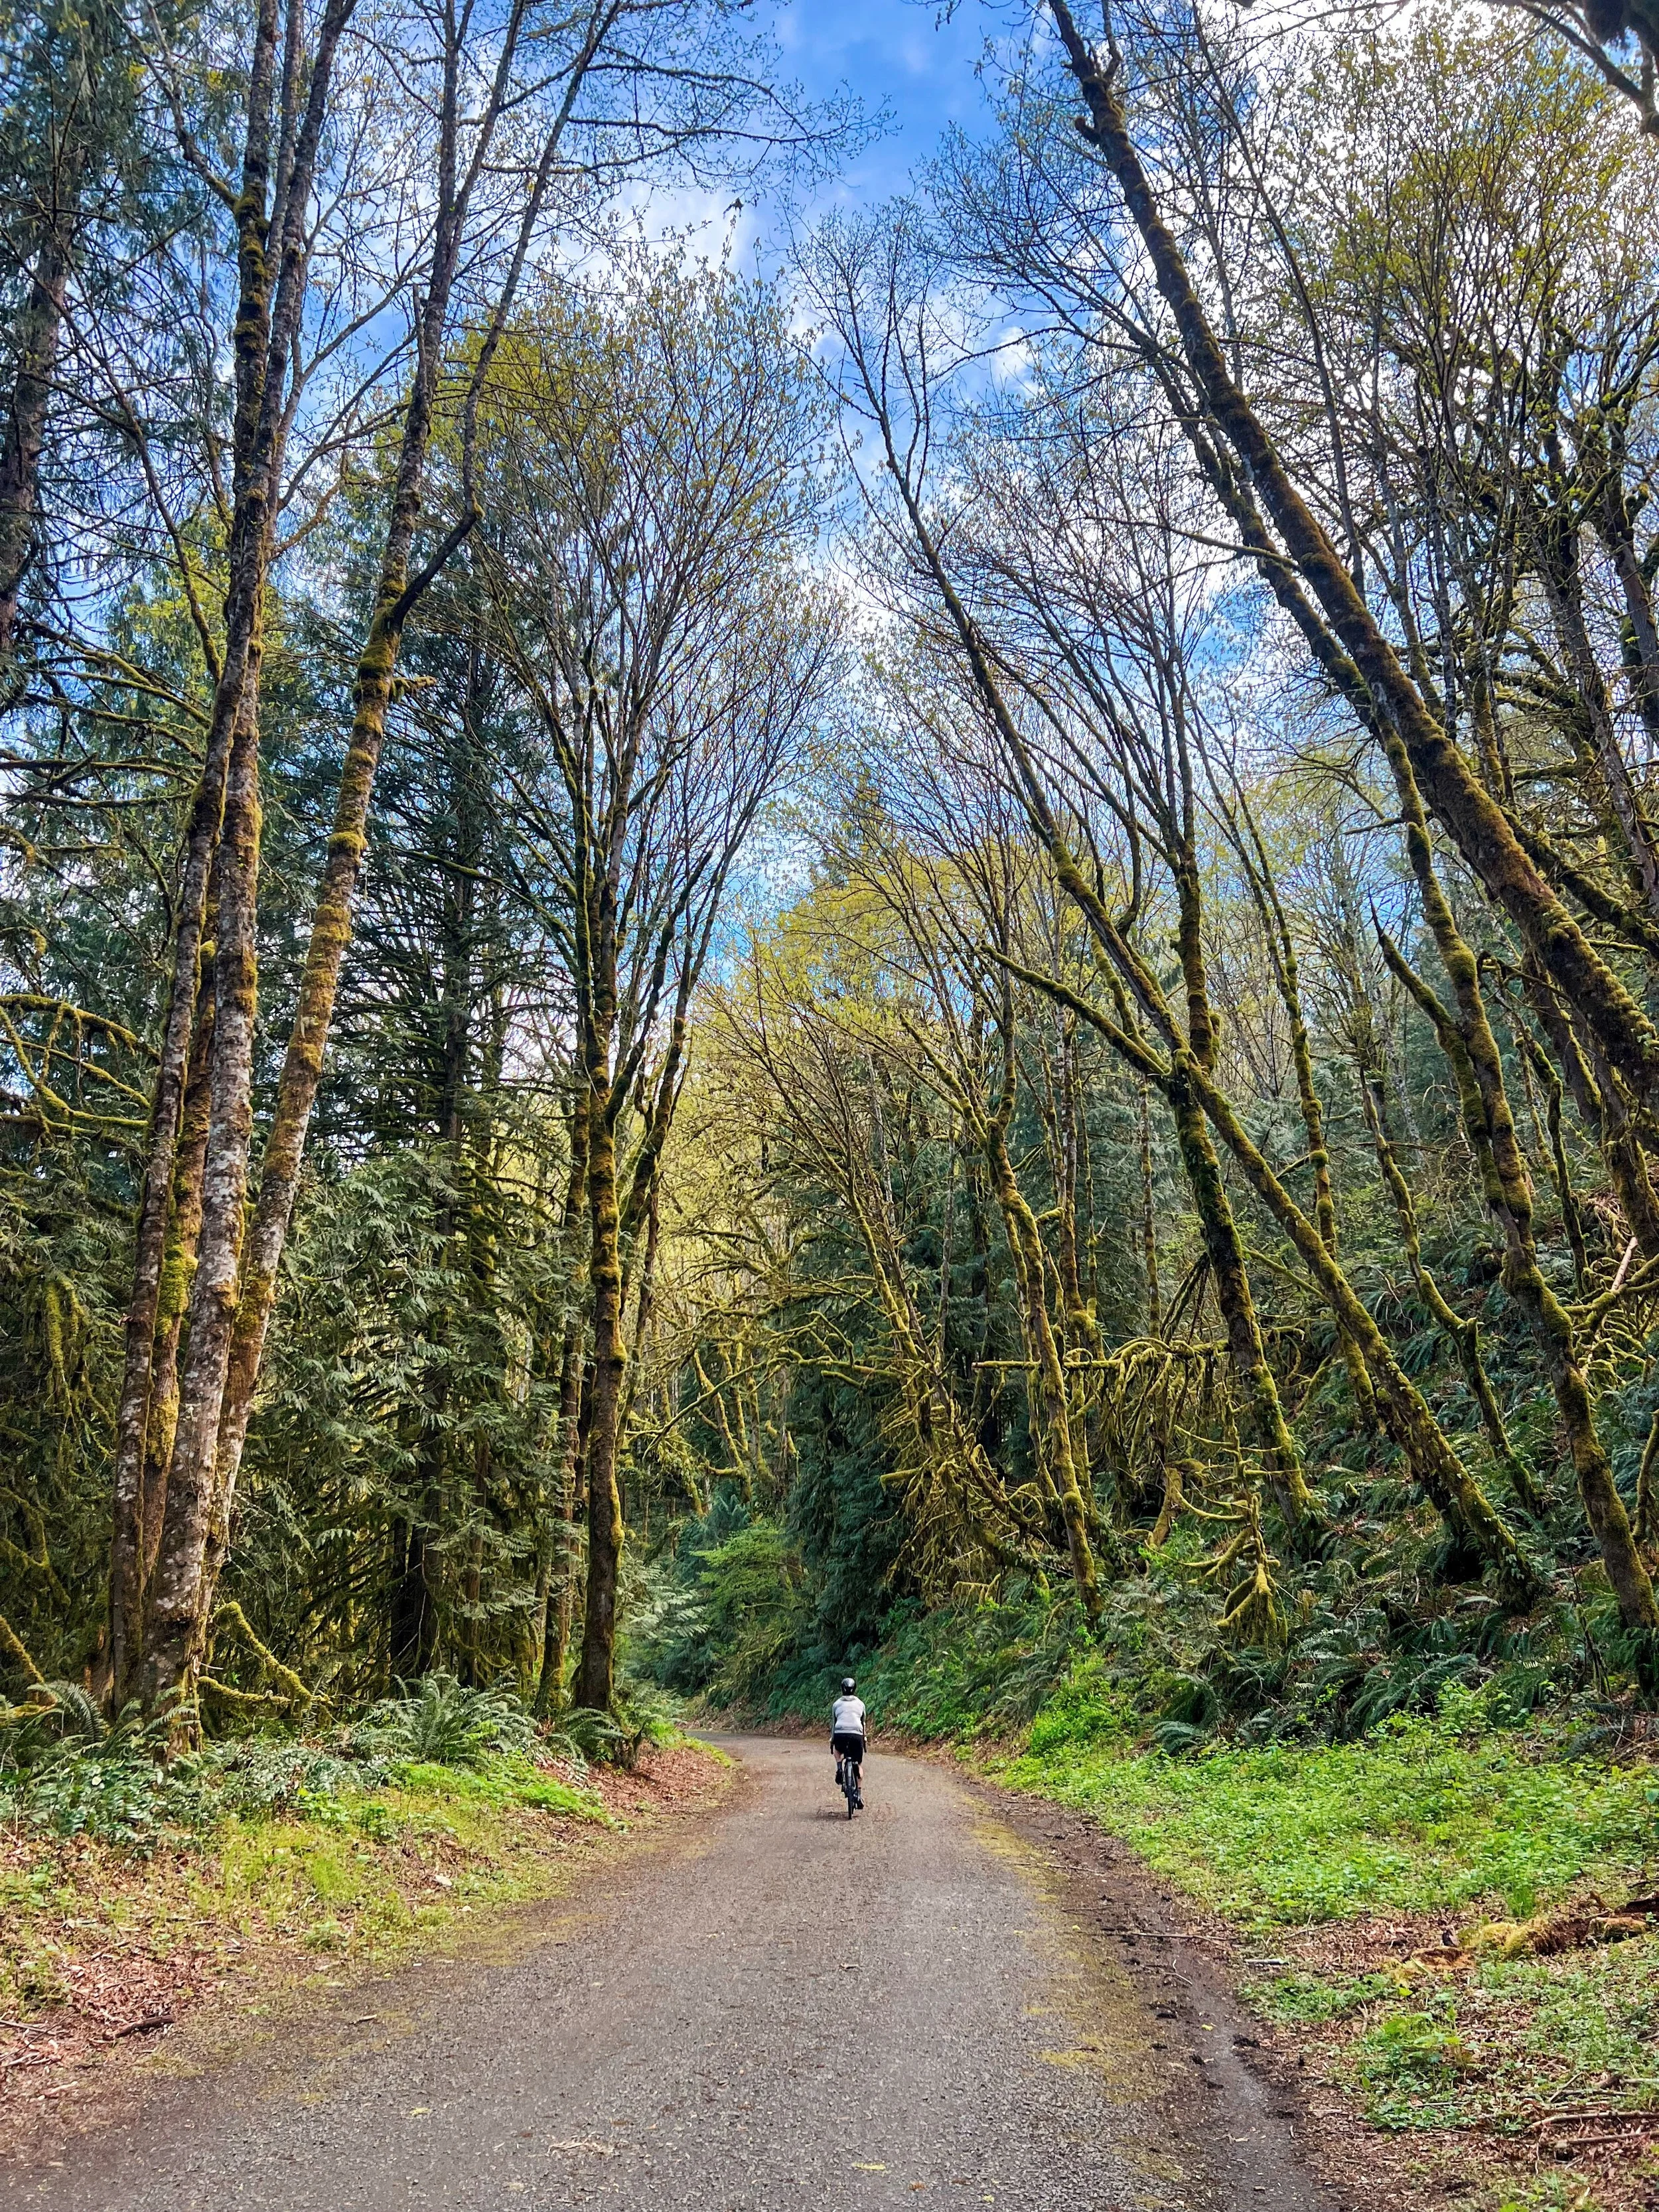
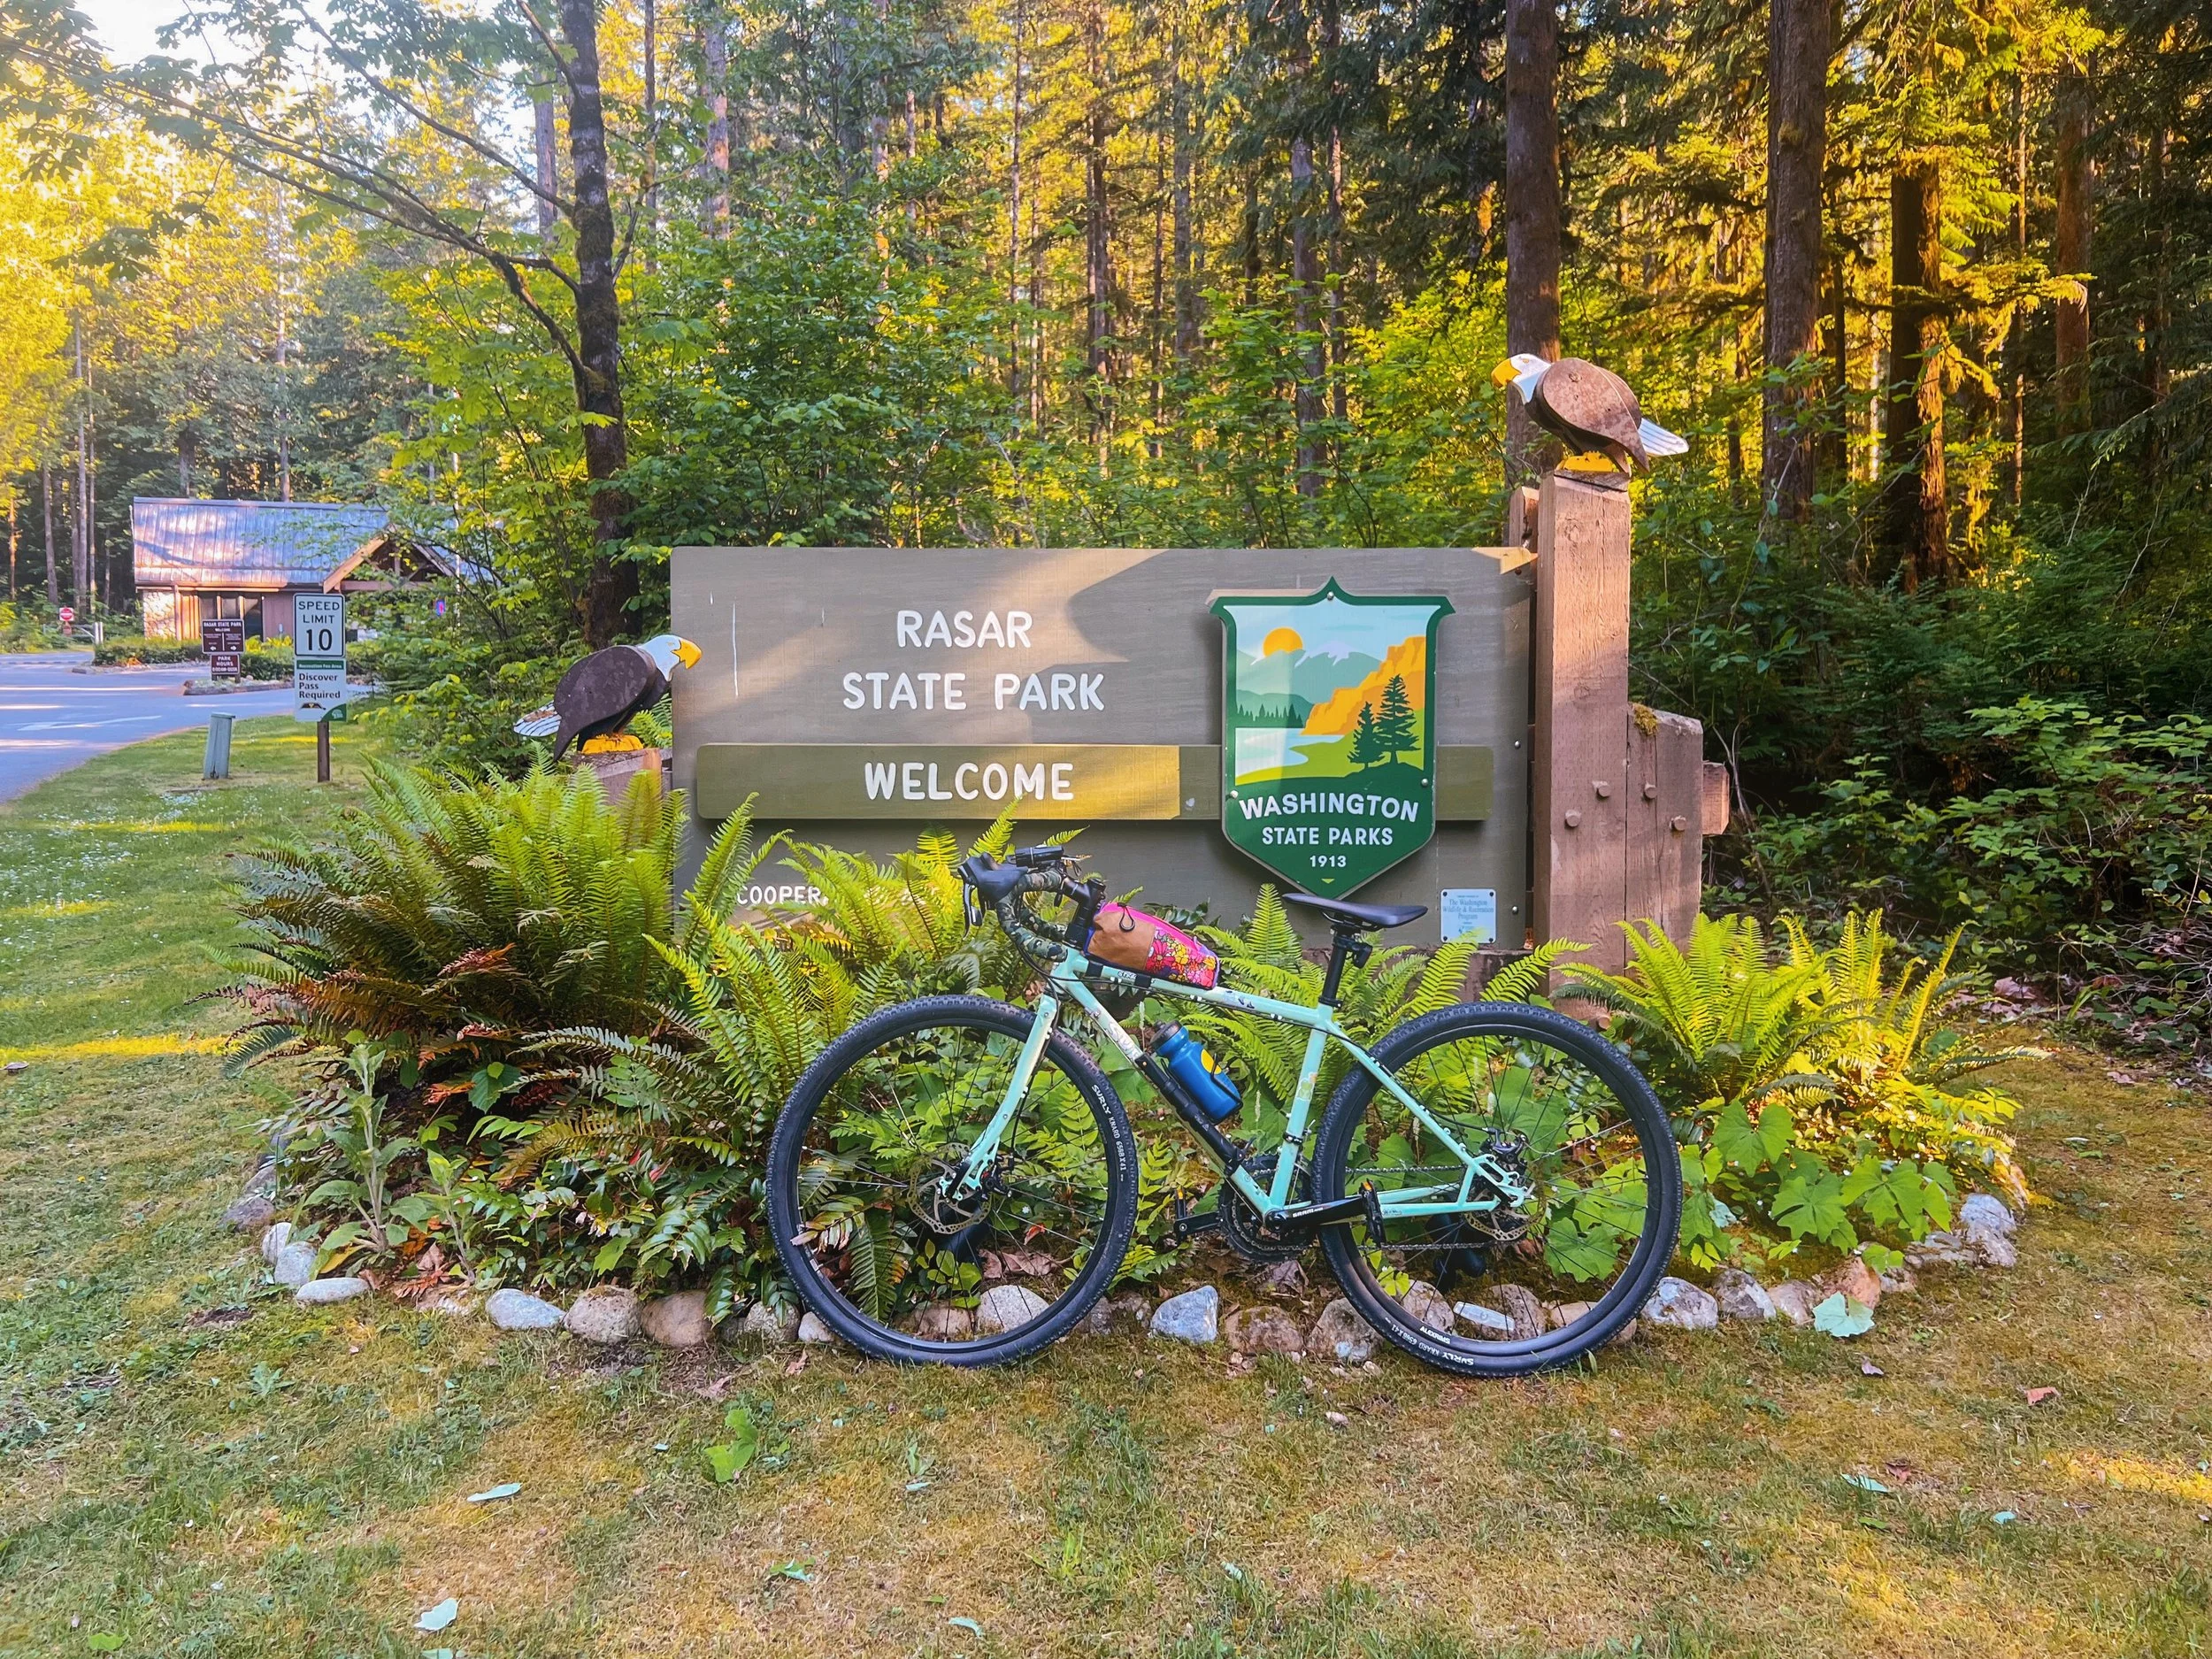
Cascade Trail: Sedro-Woolley toward Rasar State Park
Rugged, dramatic, and significantly better than the Centennial Trail
On paper, the Cascade Trail looks easy. The entire trail is about 43 miles long but I only did about 33 miles of it. What the numbers don’t tell you is that this trail is all gravel, genuinely rugged in sections, and partially missing (literally) — collapsed bridges have taken out chunks of it, so you will have to navigate around impassable sections via rerouting on Highway 20 which usually runs parallel to the Cascade trail. I’ve marked a couple of detours on my map.
I didn’t ride the full trail end-to-end. I detoured off toward Rasar State Park when the mileage felt right. Rasar isn’t officially on the trail, but it made for a perfect endpoint, at least for me. I’d camped there before, in the rain, solo, and trying to rig a tarp that I definitely should’ve practiced setting up first. Arriving here on a sunny by bike somehow felt like a small redemption.
There is also a creek crossing early in the trail, I think about 4-5 miles into the trail. When I did the crossing, the water was flowing but very manageable. I was wearing sandals and riding a steel gravel bike, which made a perfect combination to plough through this section.
The whole ride has that low-stakes and figure-it-out energy that makes it genuinely fun rather than stressful.

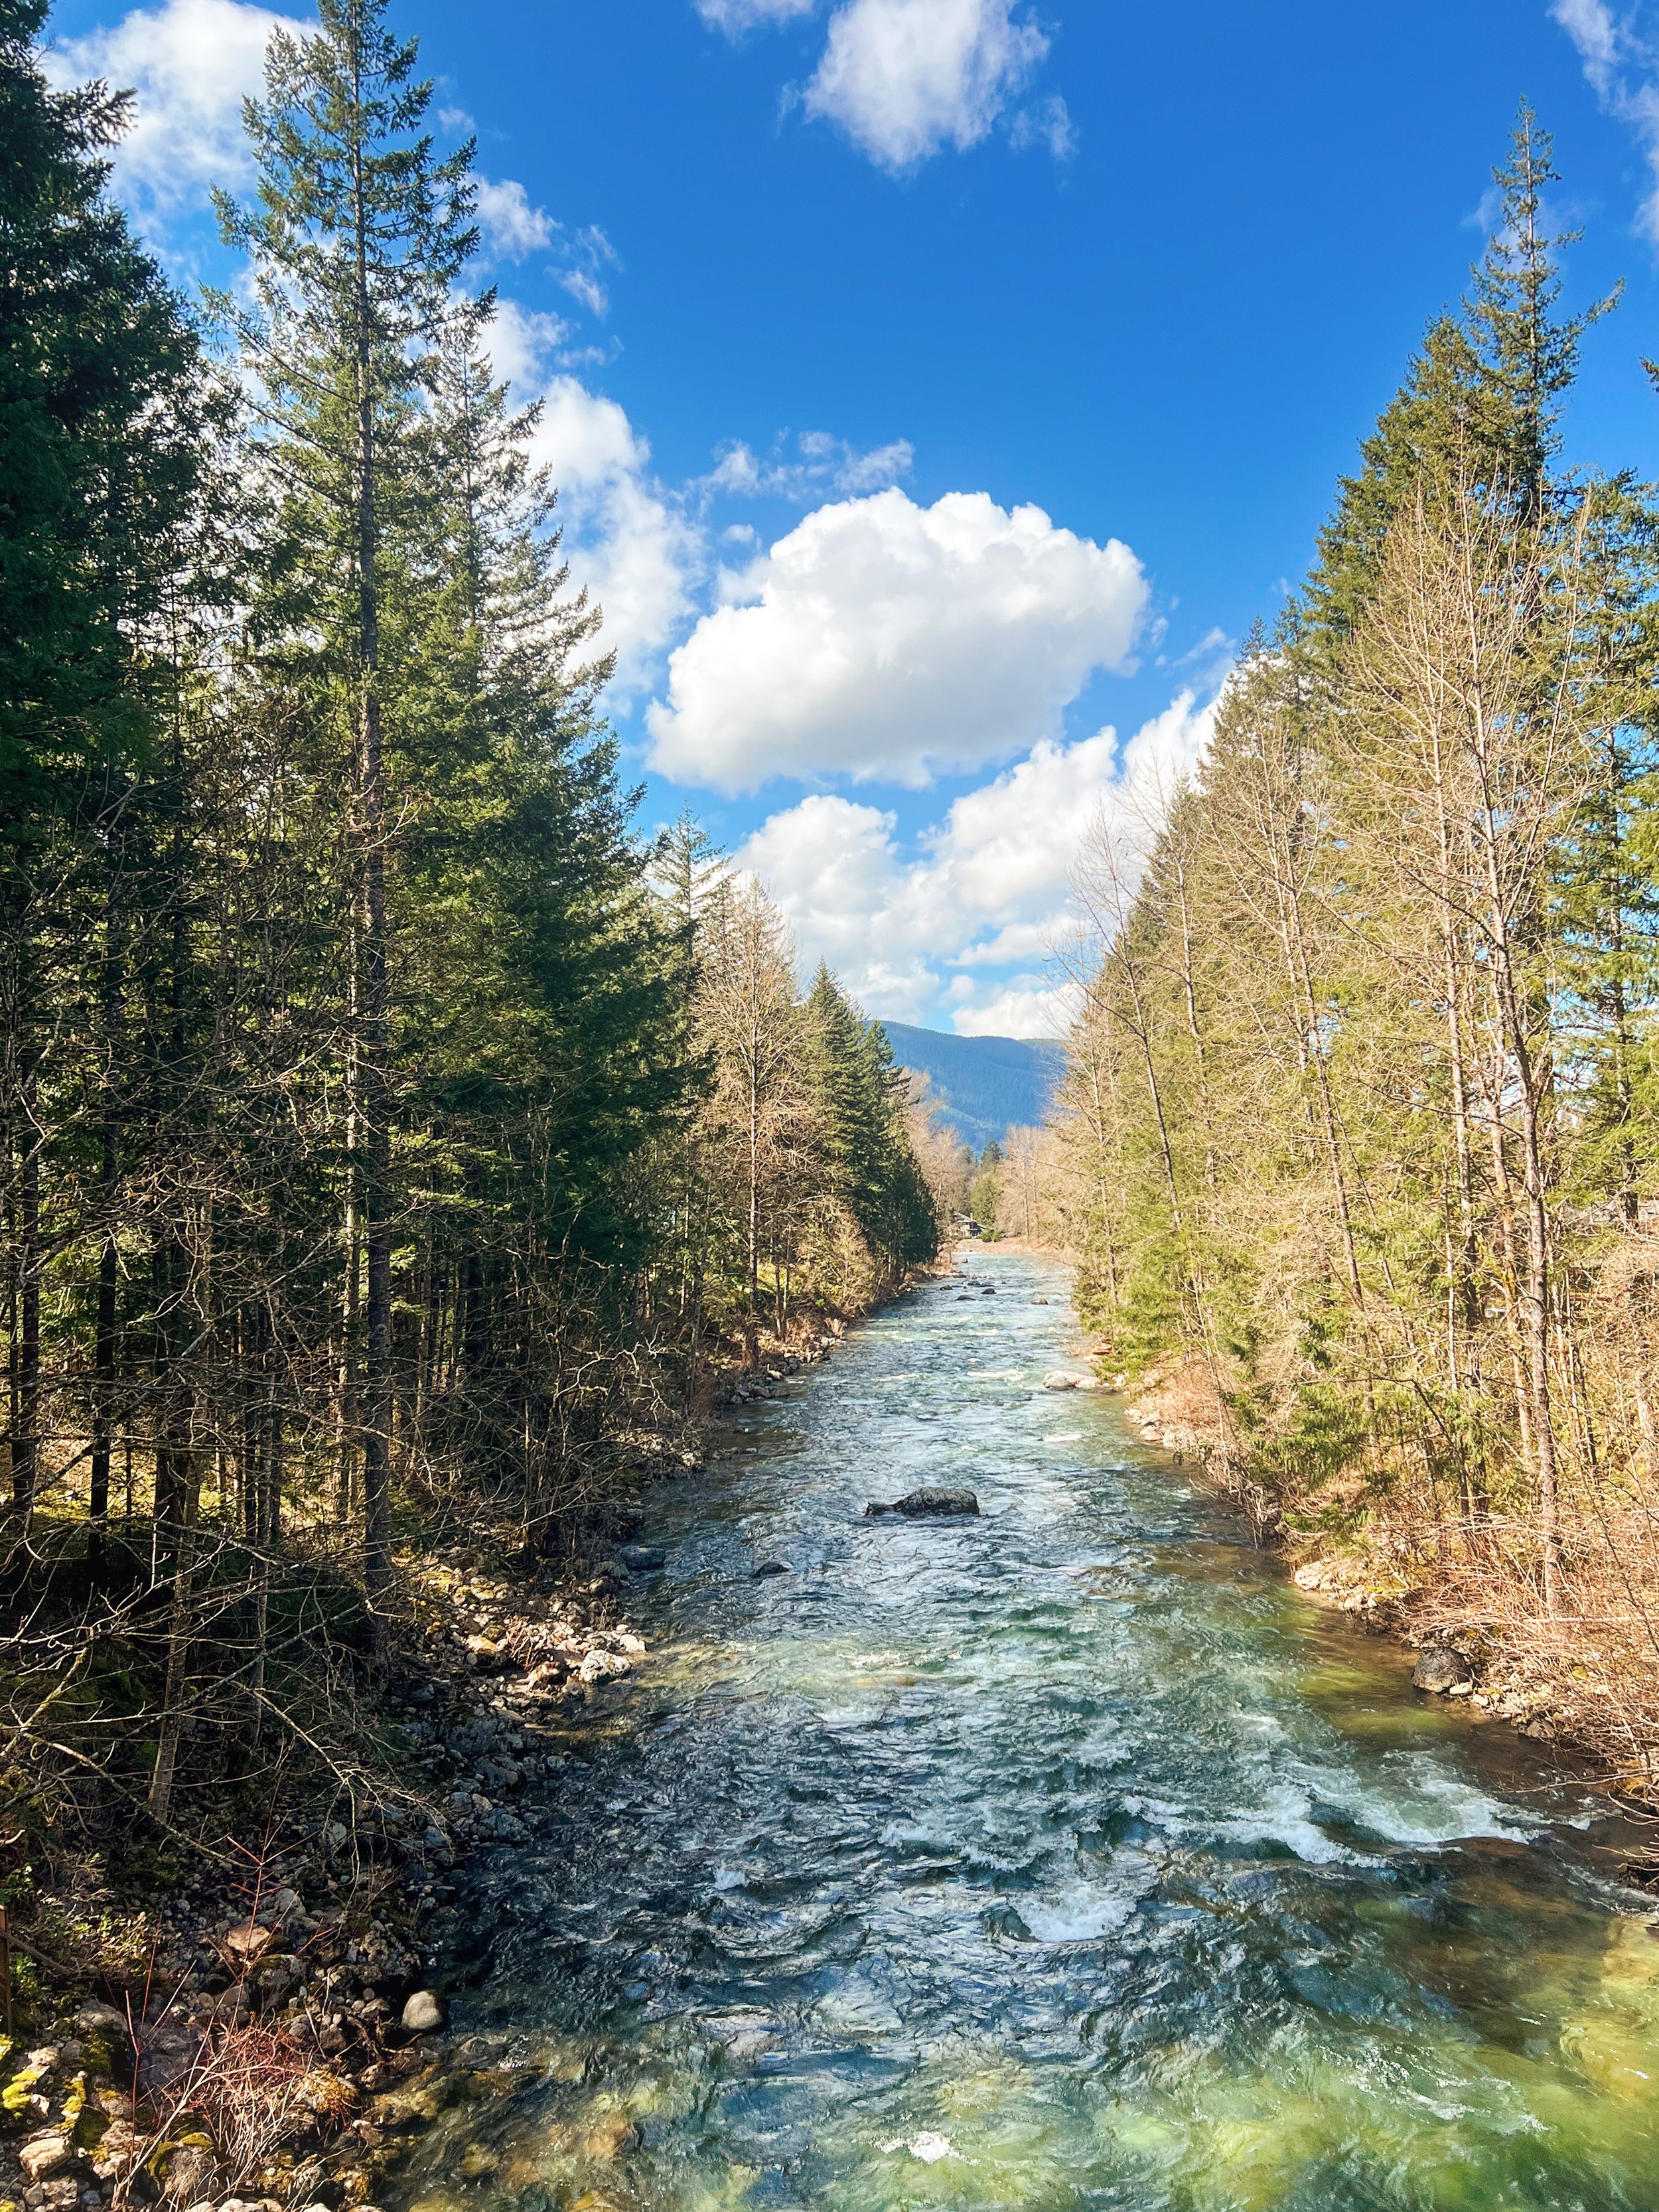
Teanaway River Trail, Lower & Upper Frog Pond Loop

Brand new trailhead, a river crossing in sandals, and a network worth watching
Heading to the West Teanaway Trailhead wasn’t exactly the plan. My original plan was to head to Roslyn and check out the network of trails over there. I knew of some mountain biking trails and trails suitable for gravel riding.
When I got to the parking lot, I had Trailforks and GaiaGPS both open, which tells you something about how confident I was in the navigation. Trailforks turned out to be the more useful of the two here. There’s a whole network of mountain biking trails in the Teanaway and I knew this was a popular destination for some gritty, uphill gravel griding. Without Trailforks, I would have spent a lot more time doing trial and error than I already did.
The River Trail requires a river crossing, which is more interesting than it sounds. The river was flowing well in early June and water up to mid-quad. I initially tried pushing my bike across before realizing carrying it was significantly easier. Once you’re on the other side, you’re in more proper singletrack, the kind that makes you forget you just drove two hours to get here.
I climbed Lower Frog Pond, connected through to Upper Frog Pond, and looped back to the parking lot. It's not a huge ride by distance but it earns every foot of elevation.
What makes this section of the Teanaway especially worth mentioning is this trail network is brand new. The Evergreen Mountain Bike Alliance, in partnership with the Washington State Department of Natural Resources (DNR), Washington Trails Association, Mountains to Sound Greenway Trust, Back Country Horsemen of Washington, and community partners worked to make this already popular recreation area even better. There are more trails coming.
If you do this ride now, you’re genuinely getting in early on something. That doesn’t happen. And I didn’t even know that until after the fact. Tex came with me and handled it very well! The singetrack is managaeble for a fit dog, and the river crossing was basically a bonus splash for him. He approves.
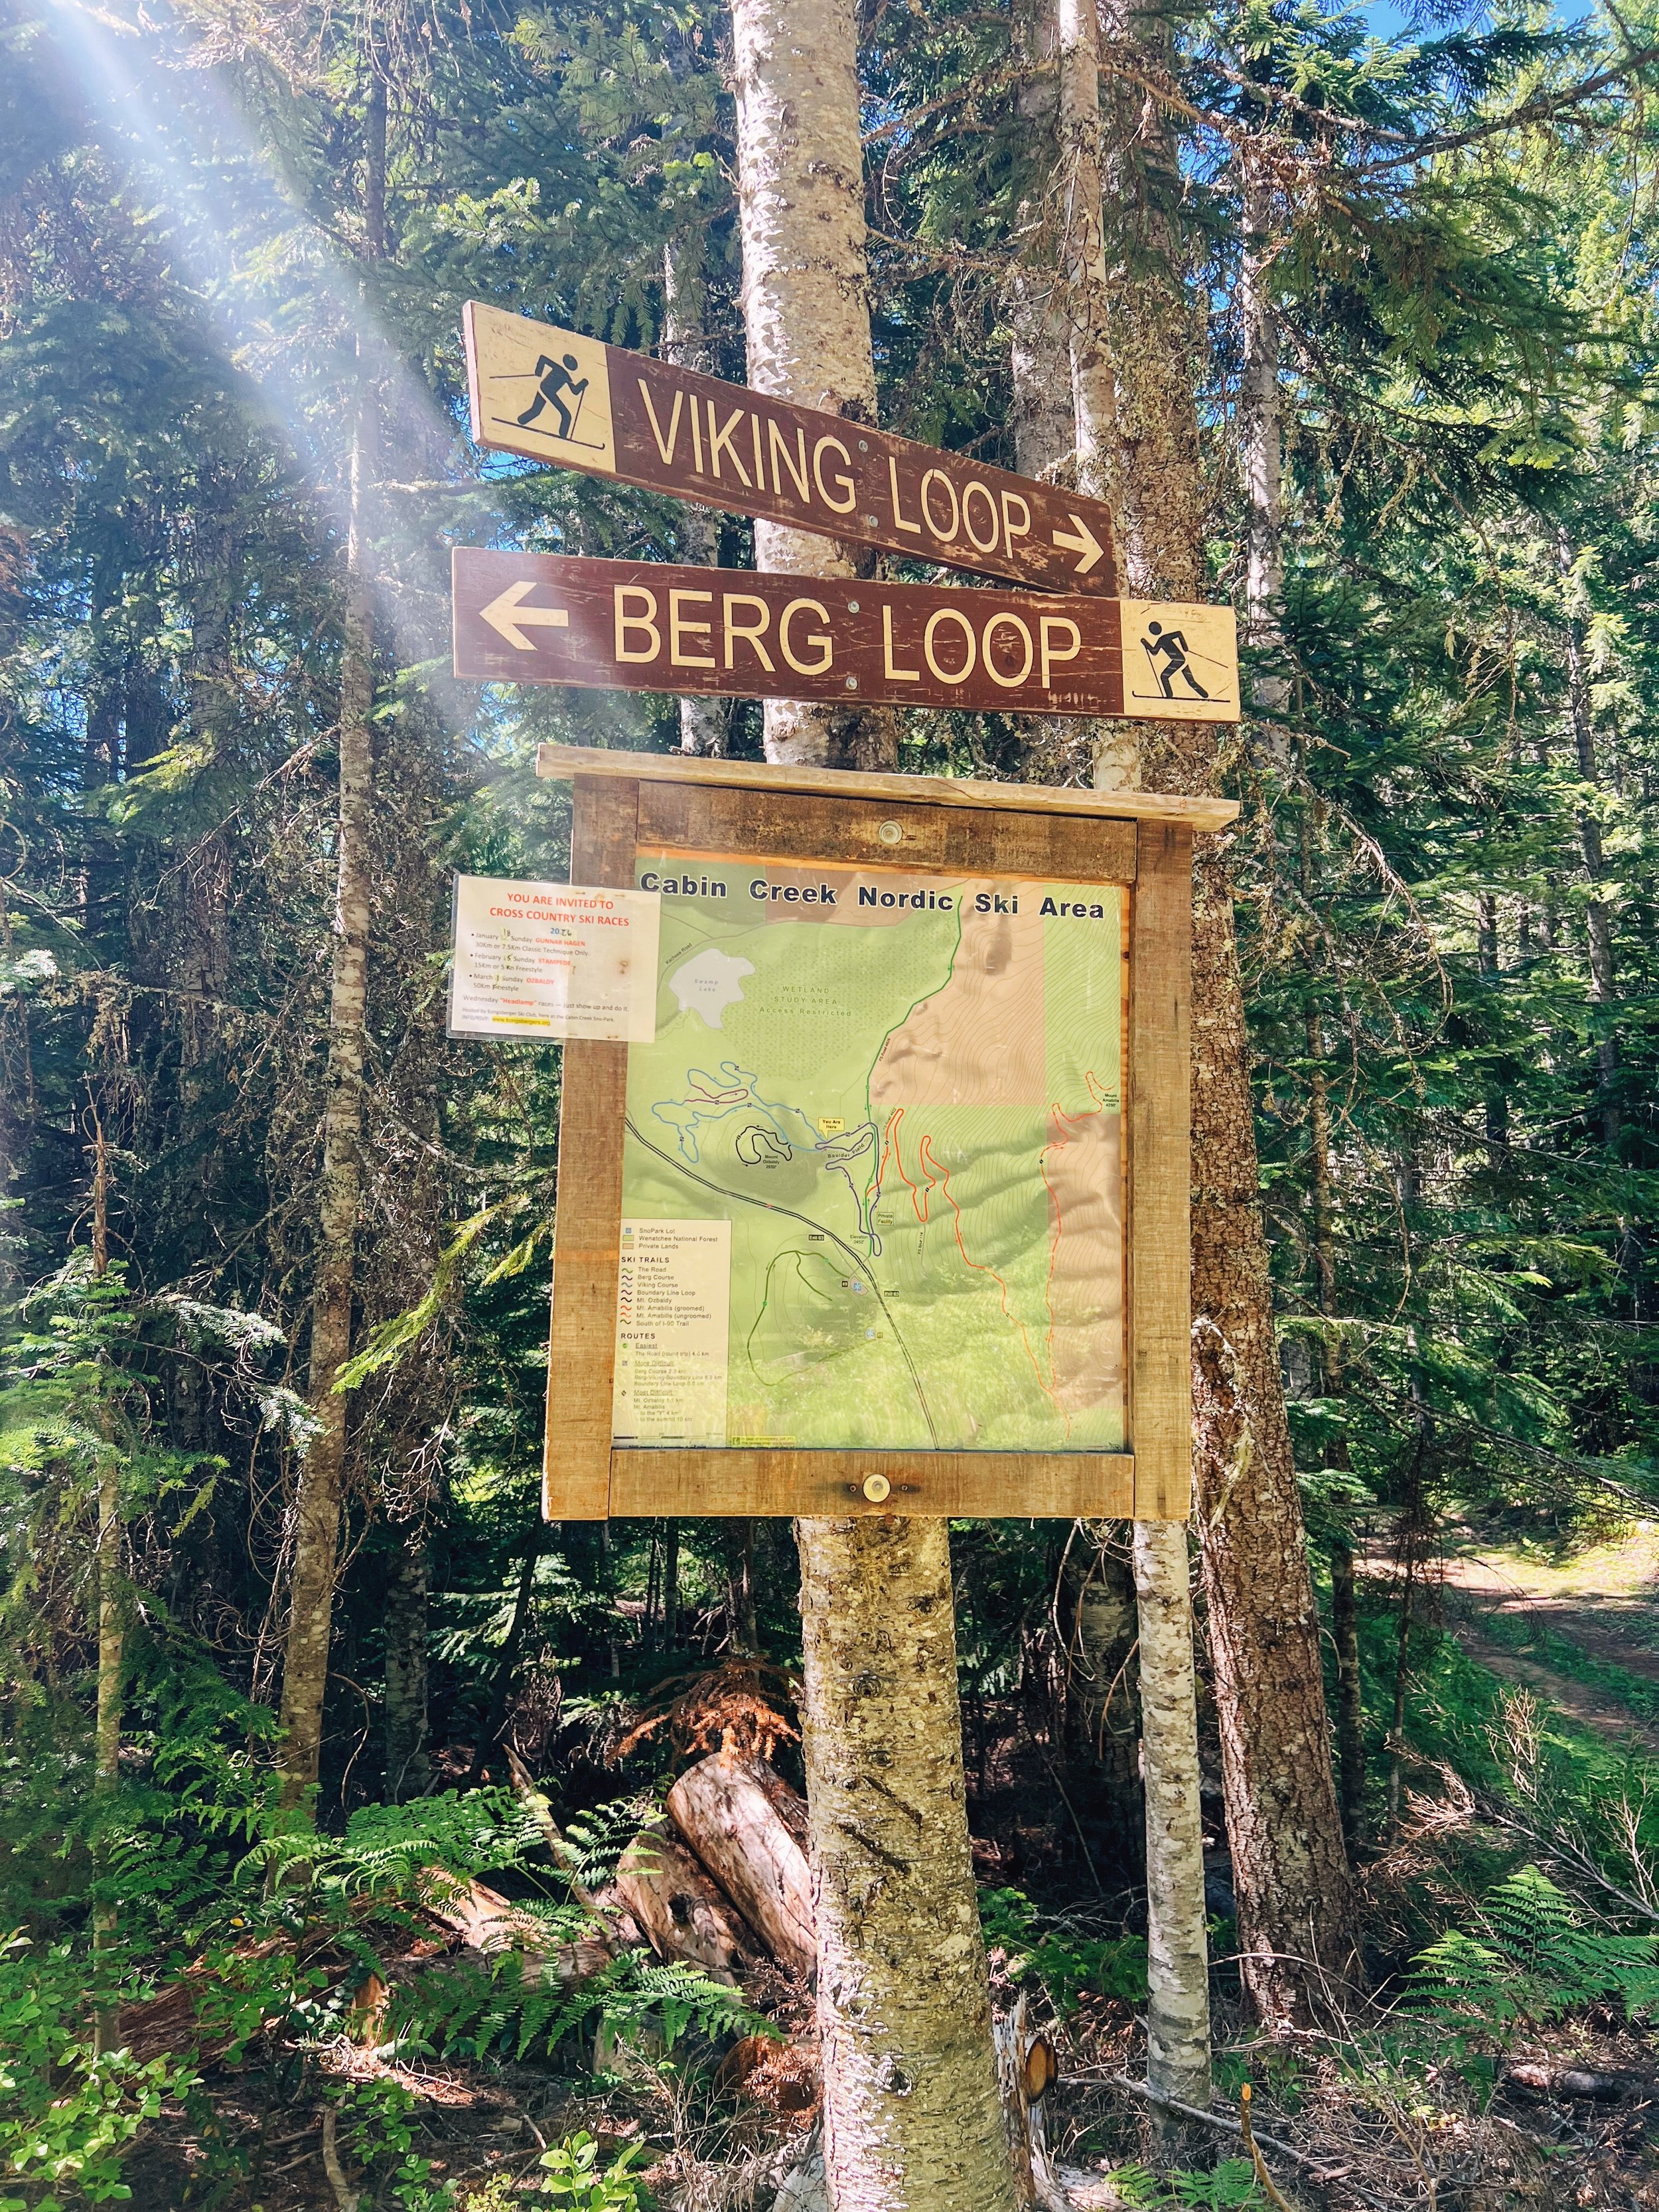
U-Fish Road to Cabin Creek Nordic Trails
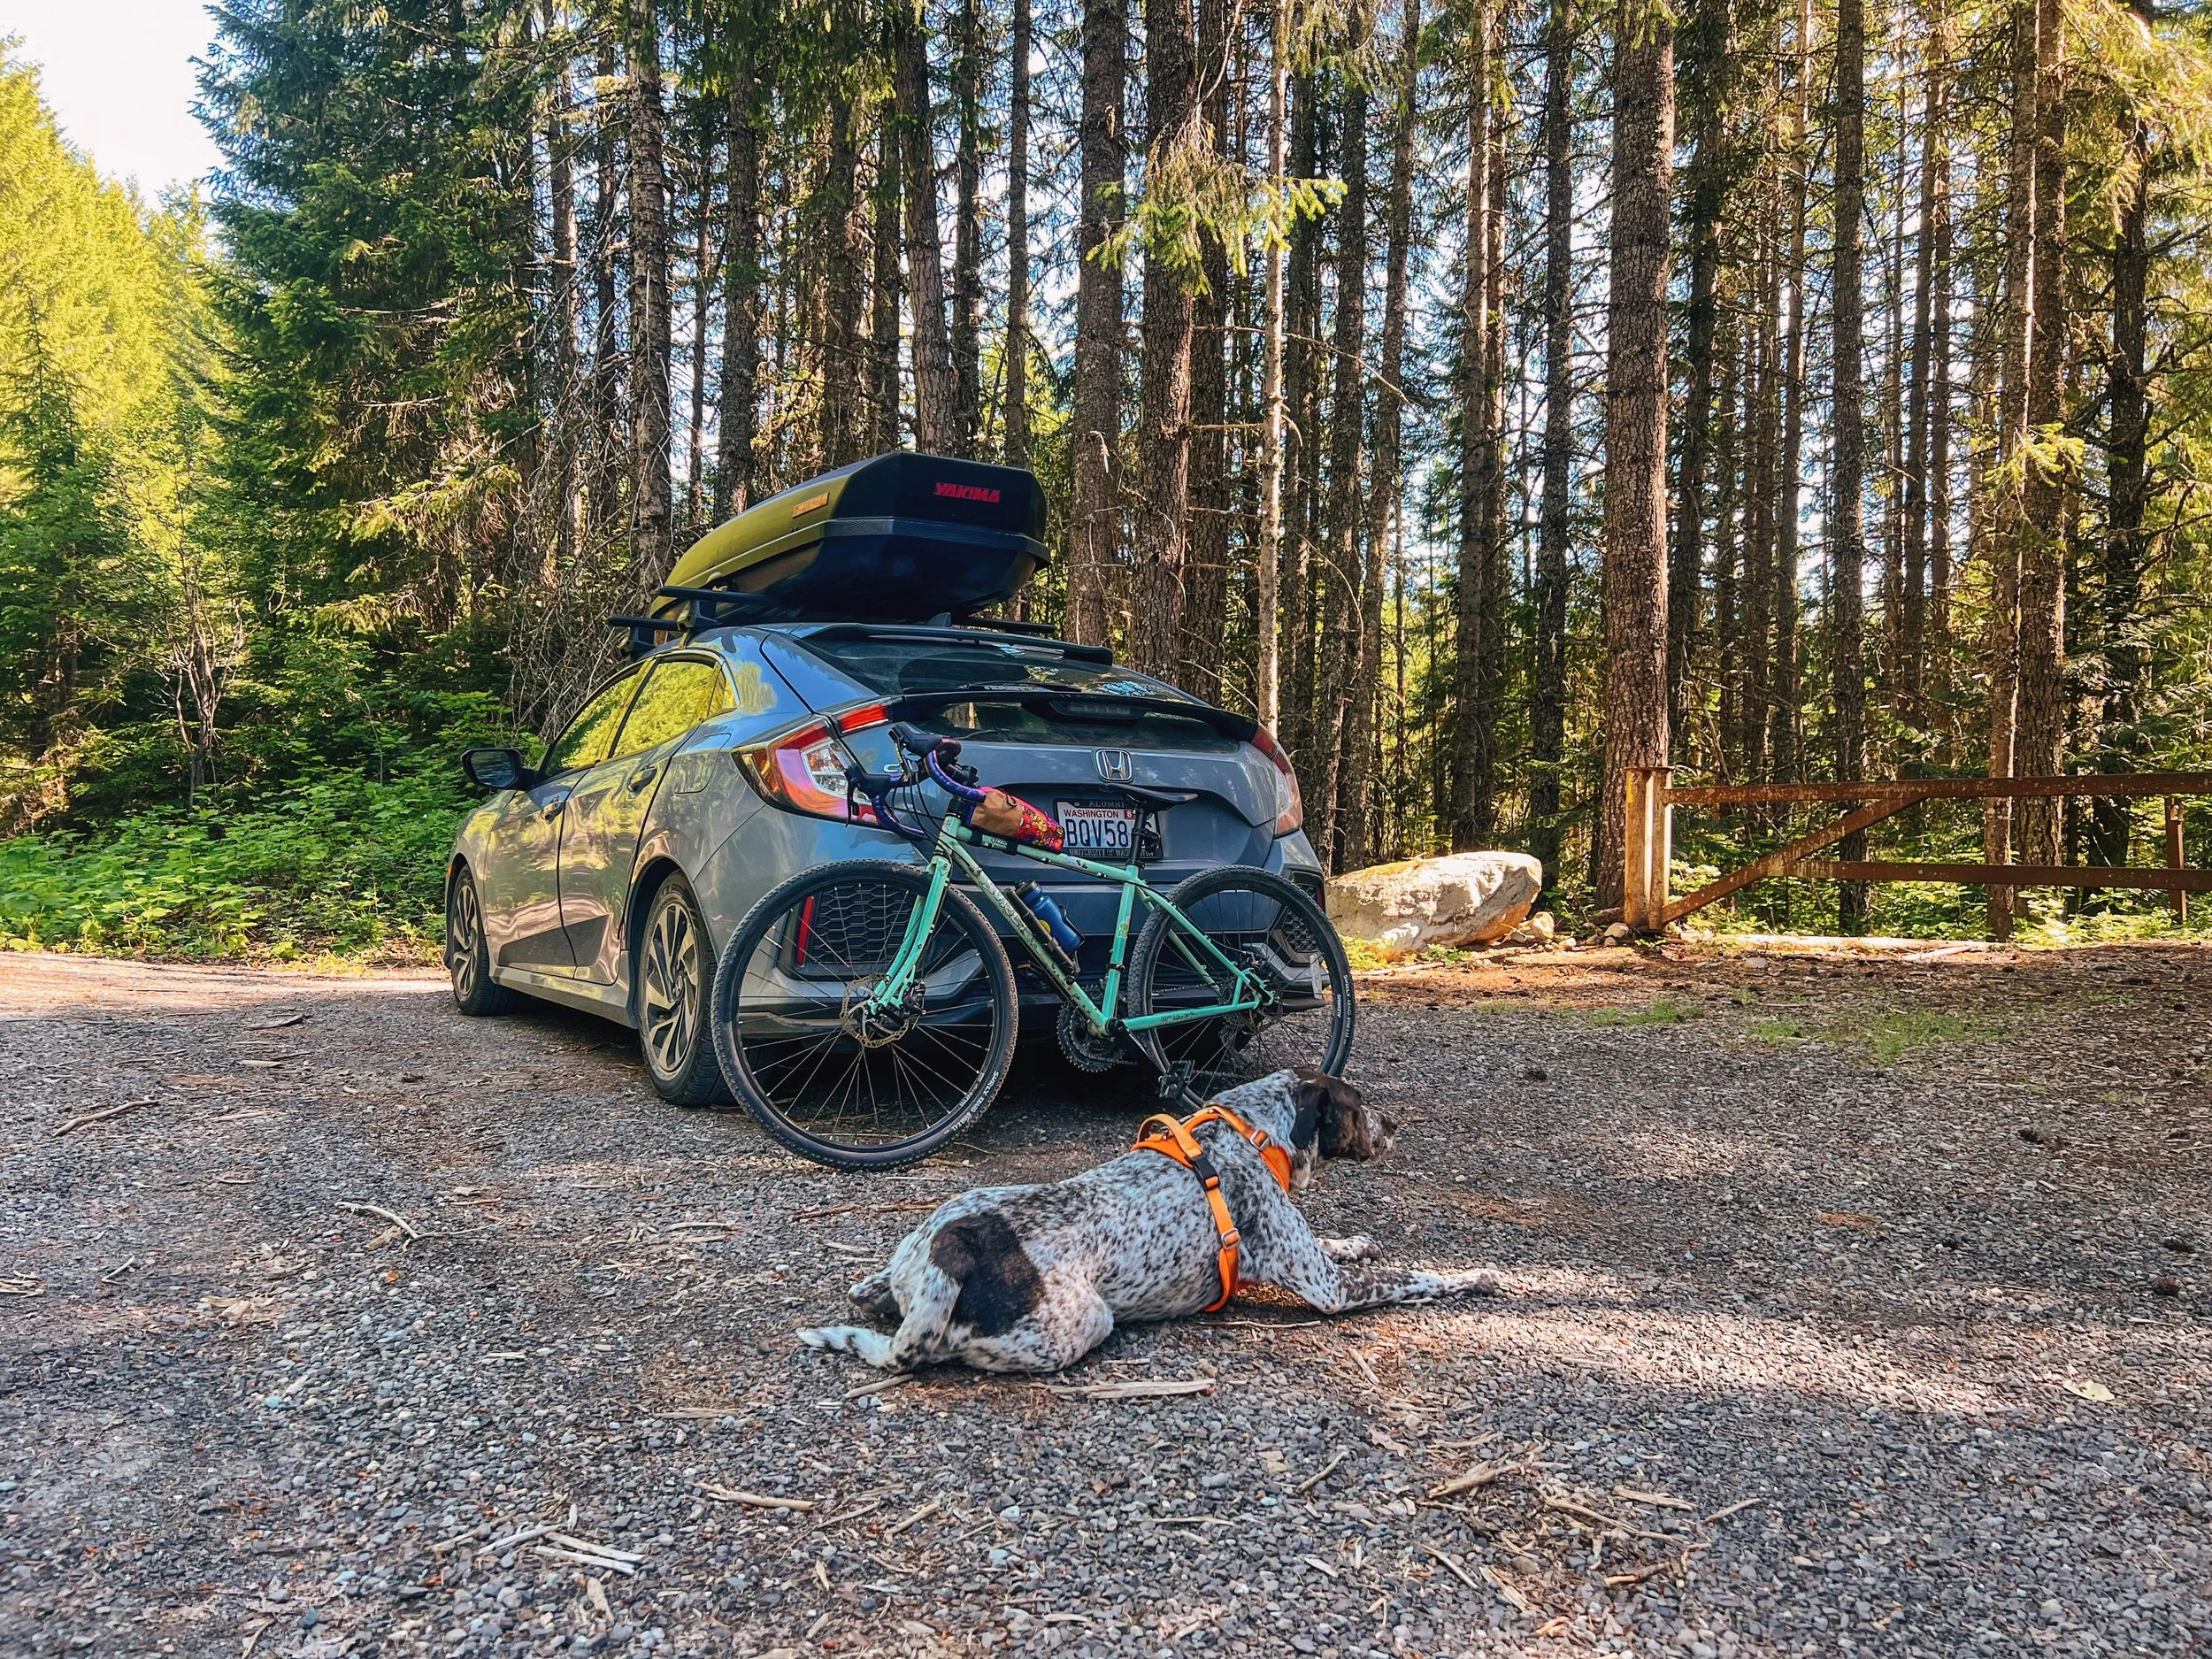
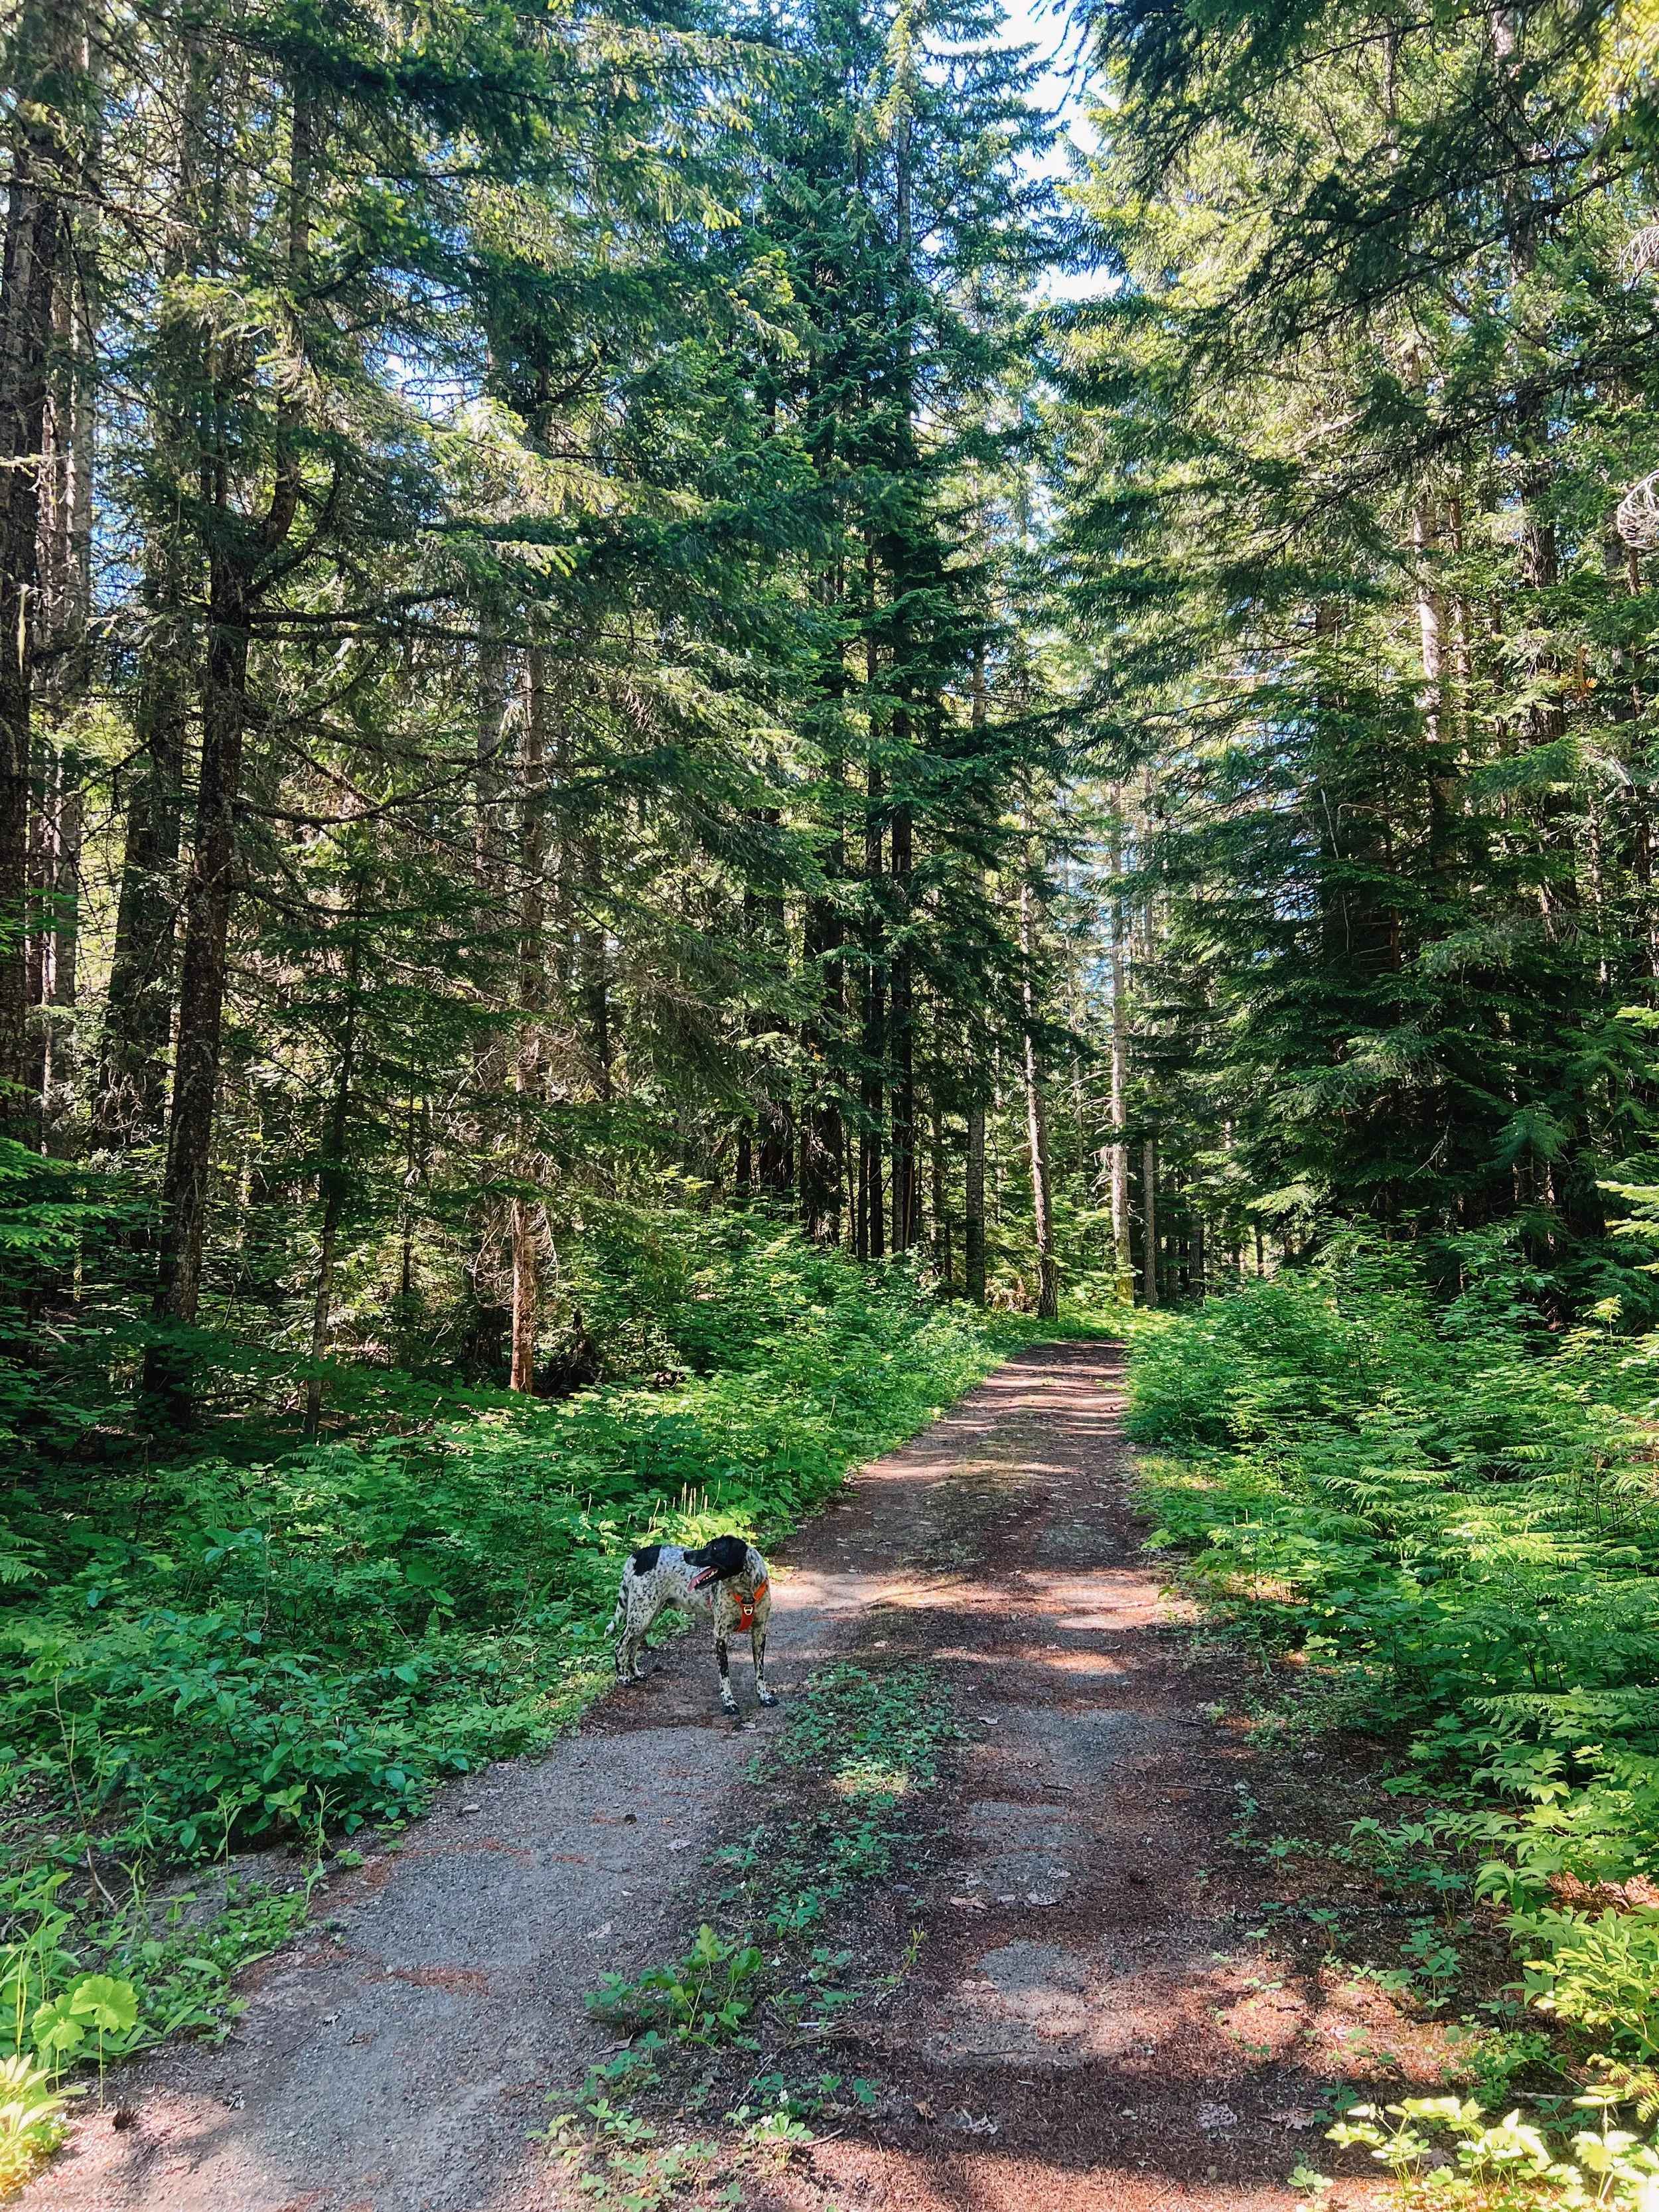
Tex chilling next to my car after riding 6.4 miles on forest roads and gravel.
Forest roads, borrowed ski trails, and the GaiaGPS snow overlay hack
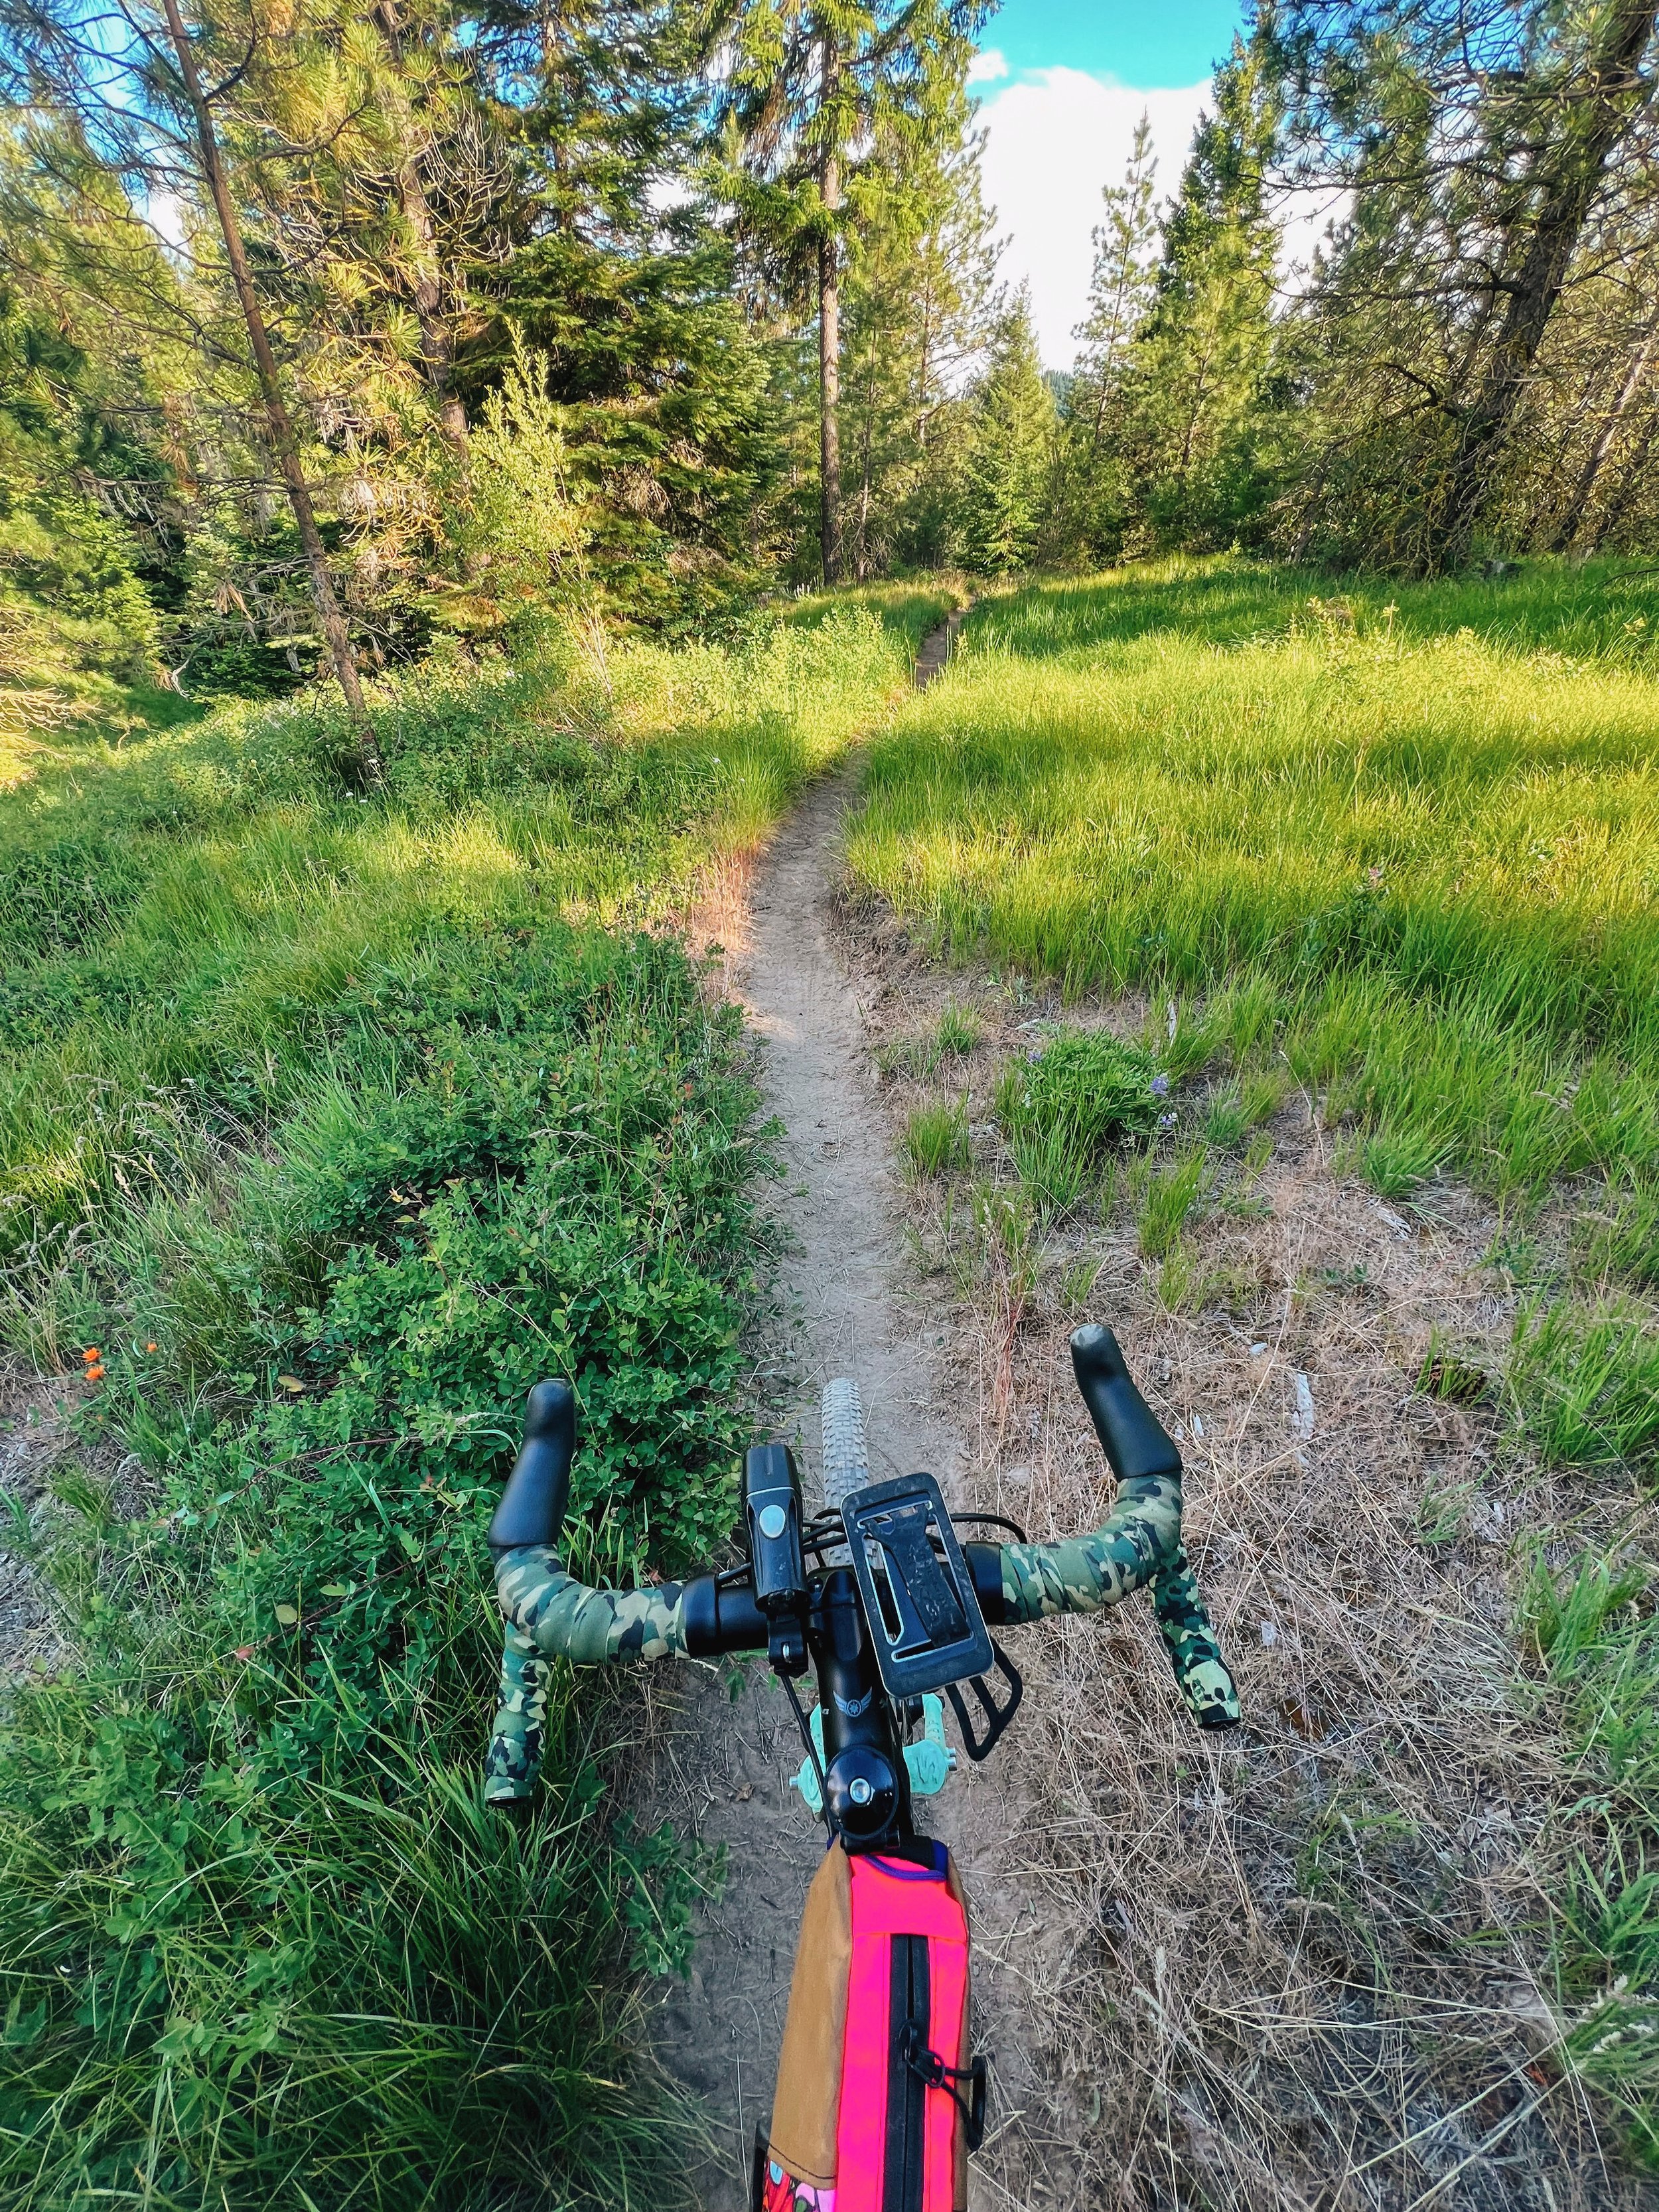
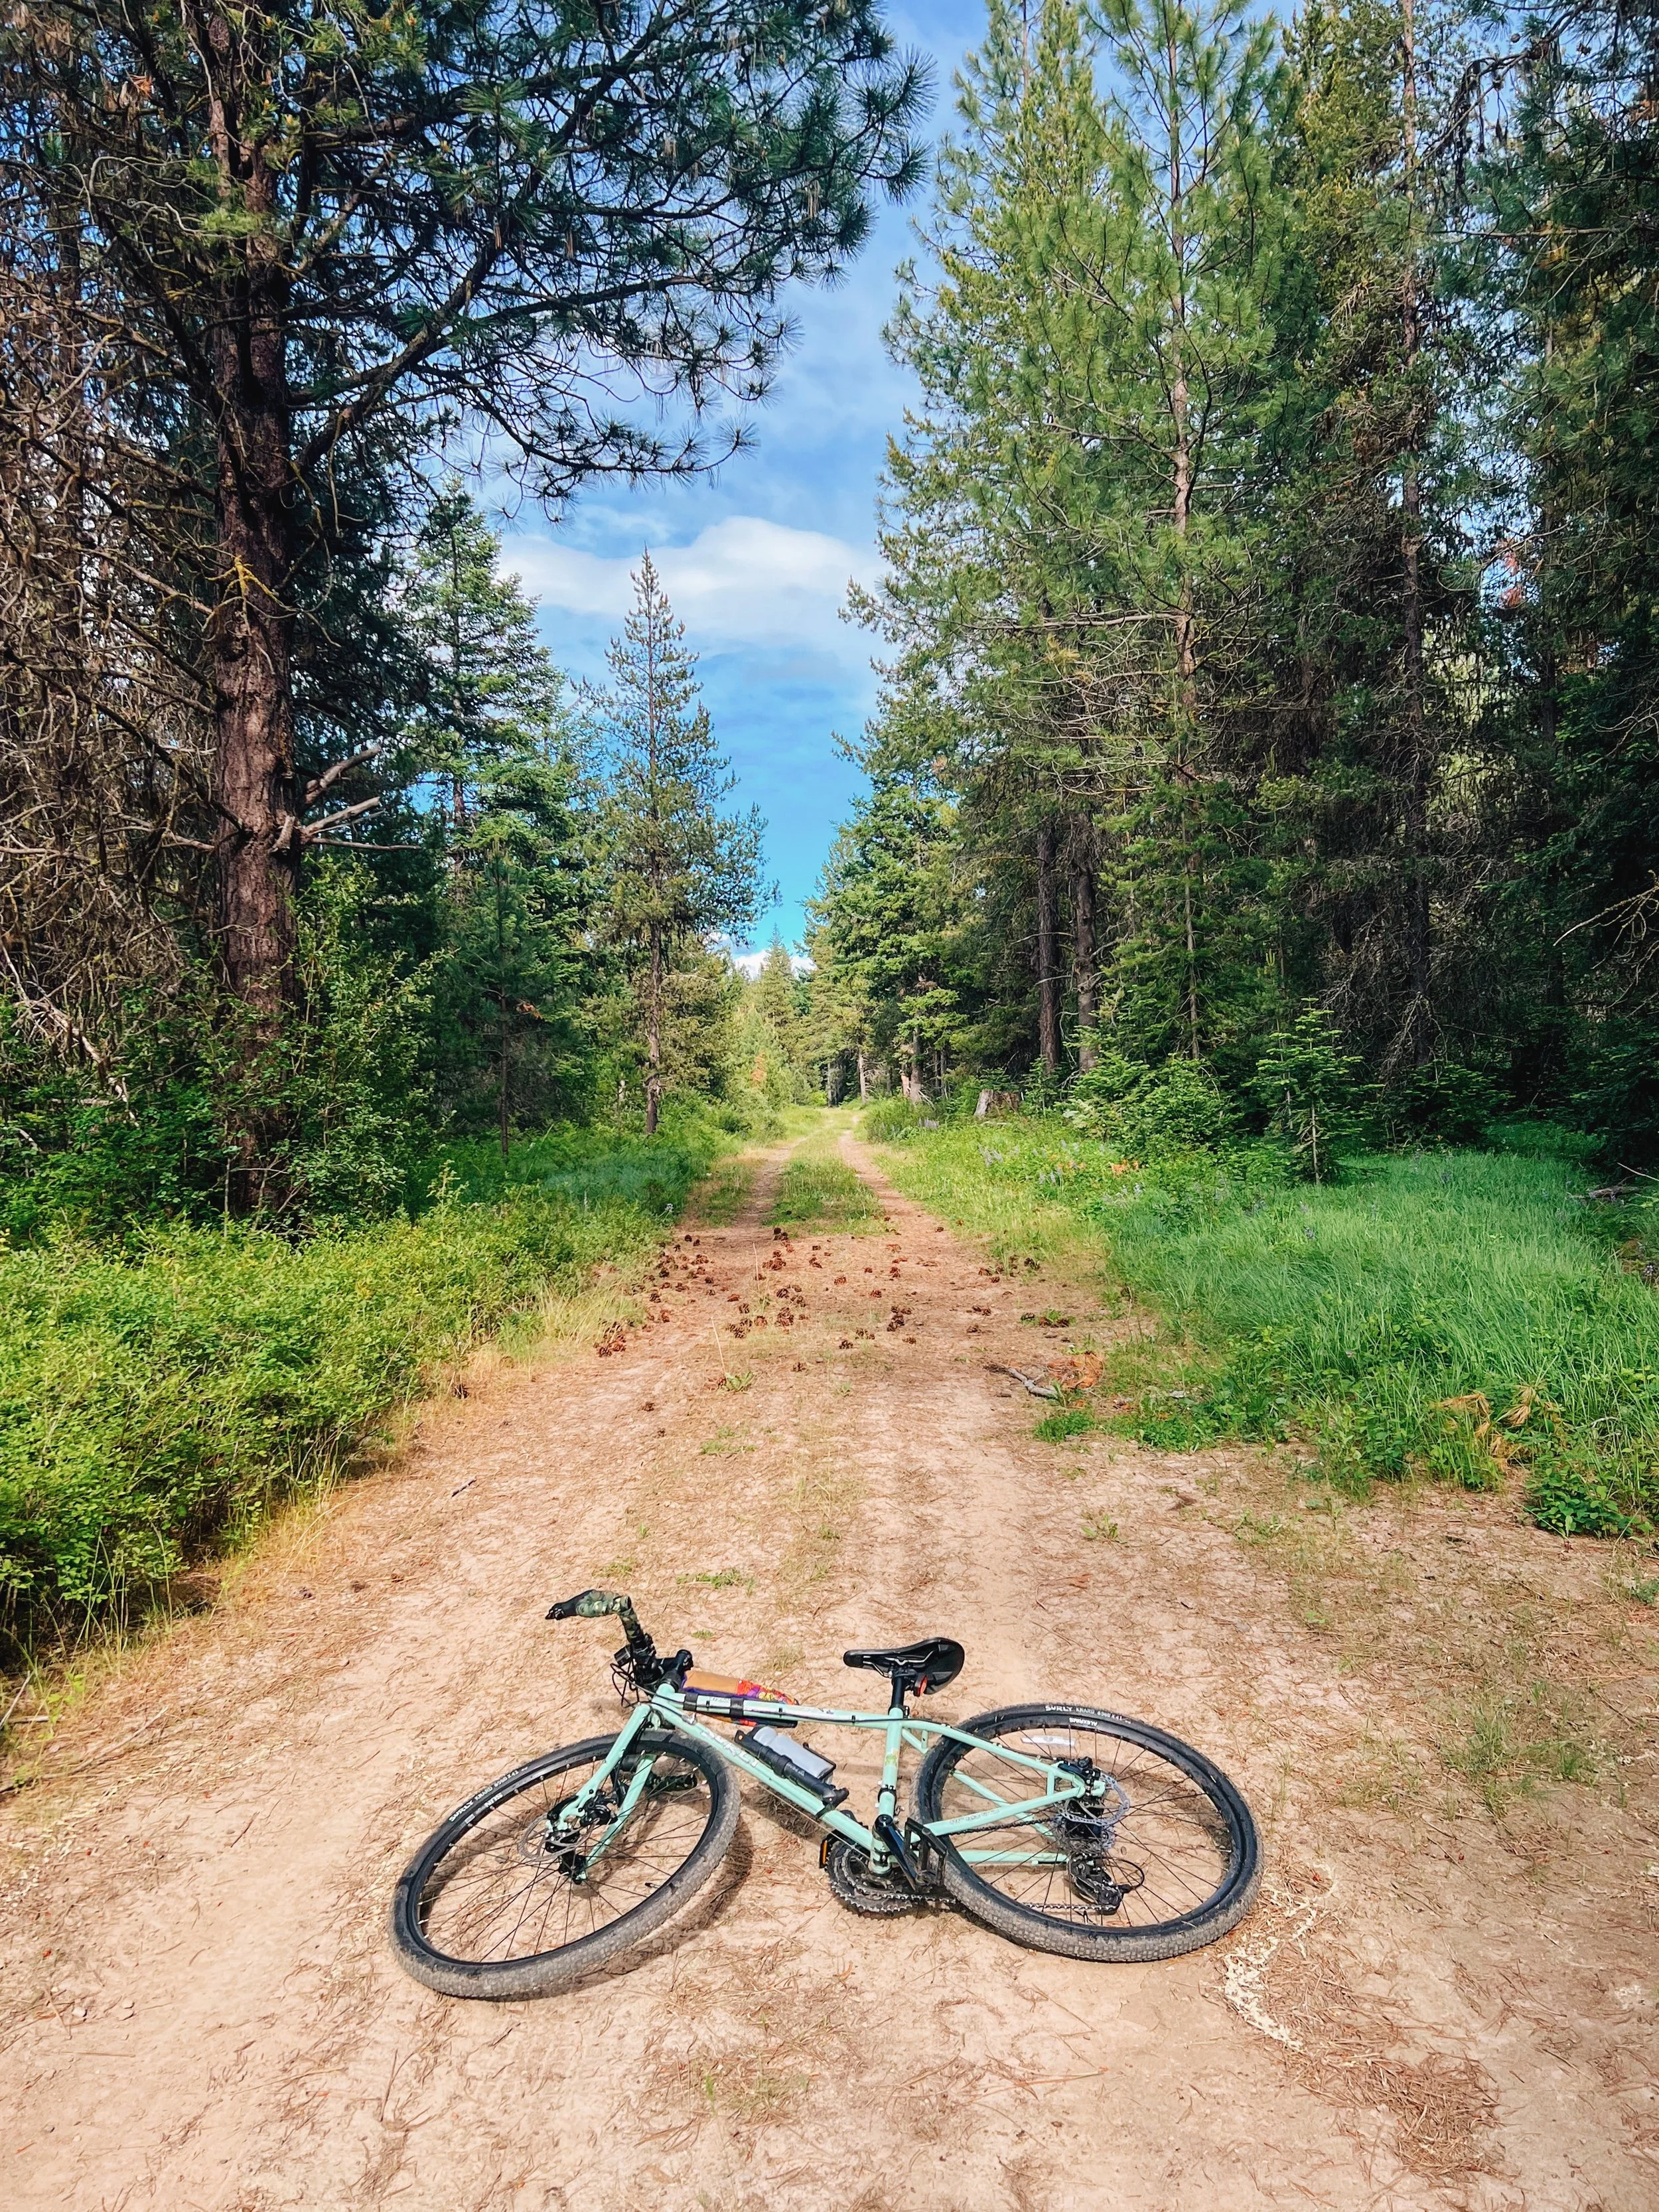
I’ll be honest: this was a lazy day. It was hot, I headed out late (because it was so hot), and I wasn’t looking for anything epic even though it turned out to be pretty epic. My plan was loose — drive out to Cabin Creek Sno-Park and see what I can find. I started driving towards Lake Kachess from Cabin Creek when I spotted the U-Fish Road turnoff — gravel, quiet, clearly not a main route. The area around here is a maze of forests, a lot of which involve climbs I wasn’t ready for.
It turns out the maze of forests in this area doubles as cross-country ski trails in the winter. I only figured this out because I finally saw the sign that read ‘Cabin Creek Nordic Ski Area’, this makes so much more sense now. I turned on the snow overlay in GaiaGPS and everything made sense. There’s signage out there and a few maps at junctions, but I’ll be honest: I still didn’t fully know where I was going for most of it. And I didn’t know what the rating of XC ski trails are like, but maybe it was somewhat similar to mountain bike trail ratings.
Some of the climbs were steep and short enough to be genuinely hard. But the feeling out there — dense forest, no cars, just me, Tex, and the sound of the trail — was exactly the kind of peaceful I'd been looking for.
After completing a few blue trails, I think I ended up doing the Viking Loop, the Berg Loop and some sections of the Swamp trail and honestly, I still have no idea, I pedaled out to the junction with the Kachess Lake Road. I turned around here, and spent a little time just sitting with it before driving over to the Mirror Lake trailhead for a hike and some packrafting.
It made for a full day in the best possible way — the kind where you come home tired, and don’t think about much else, which was what I needed.

Dead Horse Creek Road

The one most people don't know about
I don’t think I was supposed to end up here. The night before, I’d camped in Bellingham after riding 30+ miles on the Cascade Trail. Tex had been patient and I actually dropped him off to a dog sitter in Bellingham. The next morning, I had no real plan, just a vague pull toward somewhere familiar. I opened RideWithGPS, scrolled through routes near the Mount Baker Wilderness area, and nothing stood out. I just started driving.
When things feel rough, I go back to places that feel like home, and the Mount Baker Highway is one of those places for me.
I stopped at the Glacier Public Service Center, partly out of habit, partly because I had no better idea. The ranger there turned out to the be the same guy who’d answered our questions when my group hiked Yellow Aster Butte last September. I didn’t catch his name either time. Next time. I told him I had a gravel bike and a dog and was looking for something worth riding. He didn’t hesitate: Dead Horse Creek Road. Forest Road 37.
The road used to be the access to the Skyline Divide trailhead, it is now closed to motorized vehicles since 2022, due to a wash out at about 1.8 miles in. There is an obvious at the end of the open section for cars. From there, you start riding on an overgrown forest service road. The first 4 miles are mild with some gentle elevation gain — perfect pacing for Tex, who reliably hits a wall around mile 10 on rides.
This place felt like it was stuck in time. Overgrown signage. An abandoned car sitting in the trees like it had just given up. Tents visible through the brush but no sign of whoever was camping in them. One other person the whole ride.
There were a few detours in the forest where the washout cuts across the road. It picked back up on the side. It felt genuinely discovered rather than recommended. I only saw one other person and some tents set up, but no people.
I thought about this ride a lot on the drive home. I went looking for something to clear my head and found something I didn’t know existed. It’s the ride that made me start looking harder for the ones that aren’t on any list.
Next time you go out there. Stop at the ranger station. Ask what’s rideable. The best answer might not be on any list from a Google Search.
Olympic Discovery Trail — Doing it in Pieces
Peninsula day trips — the bucket list you work toward
The full Olympic Discovery Trail (ODT) is about 130 miles across the Olympic Peninsula. It's a proper bikepacking trip and I haven't done the whole thing. I'm not sure I'm quite there yet, and I'm okay with that. What I've been doing instead is riding the segments one by one, getting to know the trail in pieces before committing to the whole thing. It might be the smarter approach. Both of these rides would require riding a ferry.
Taking the Edmonds ferry to Kingston will generally put you closer to the start of these trails. Check the ferry schedule through the WSDOT website, and plan accordingly.
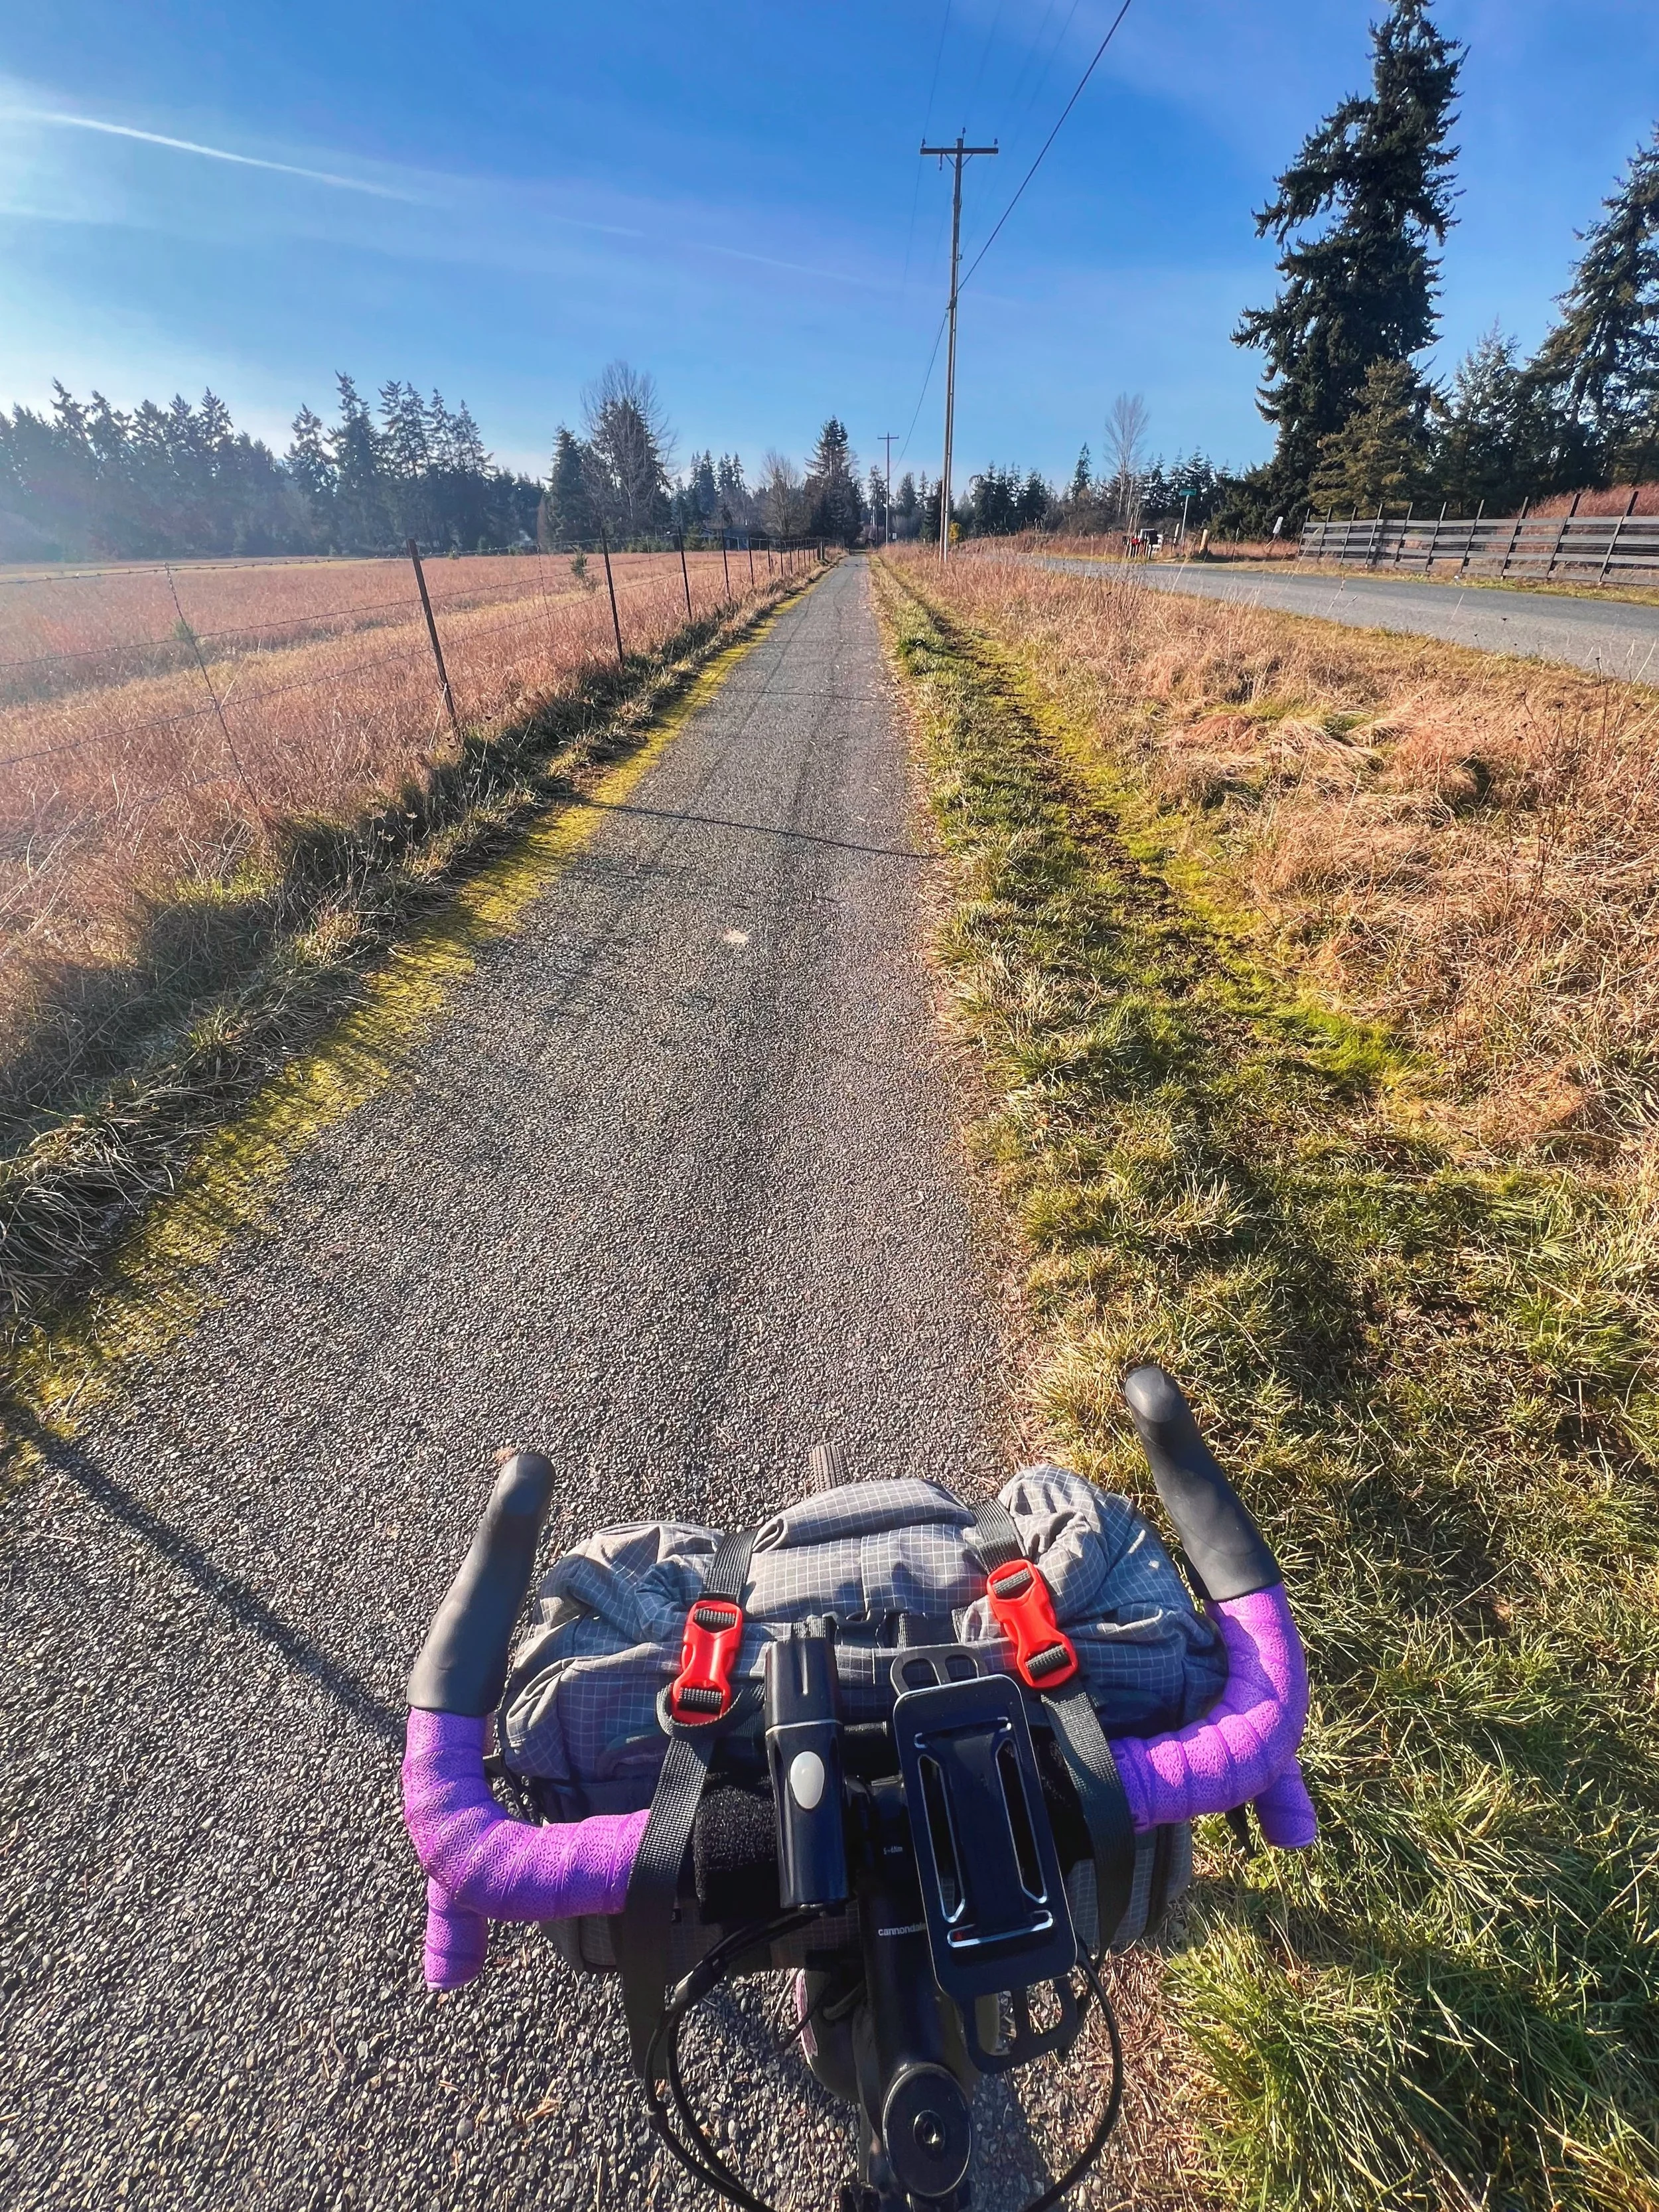
ODT: Sequim to Port Angeles
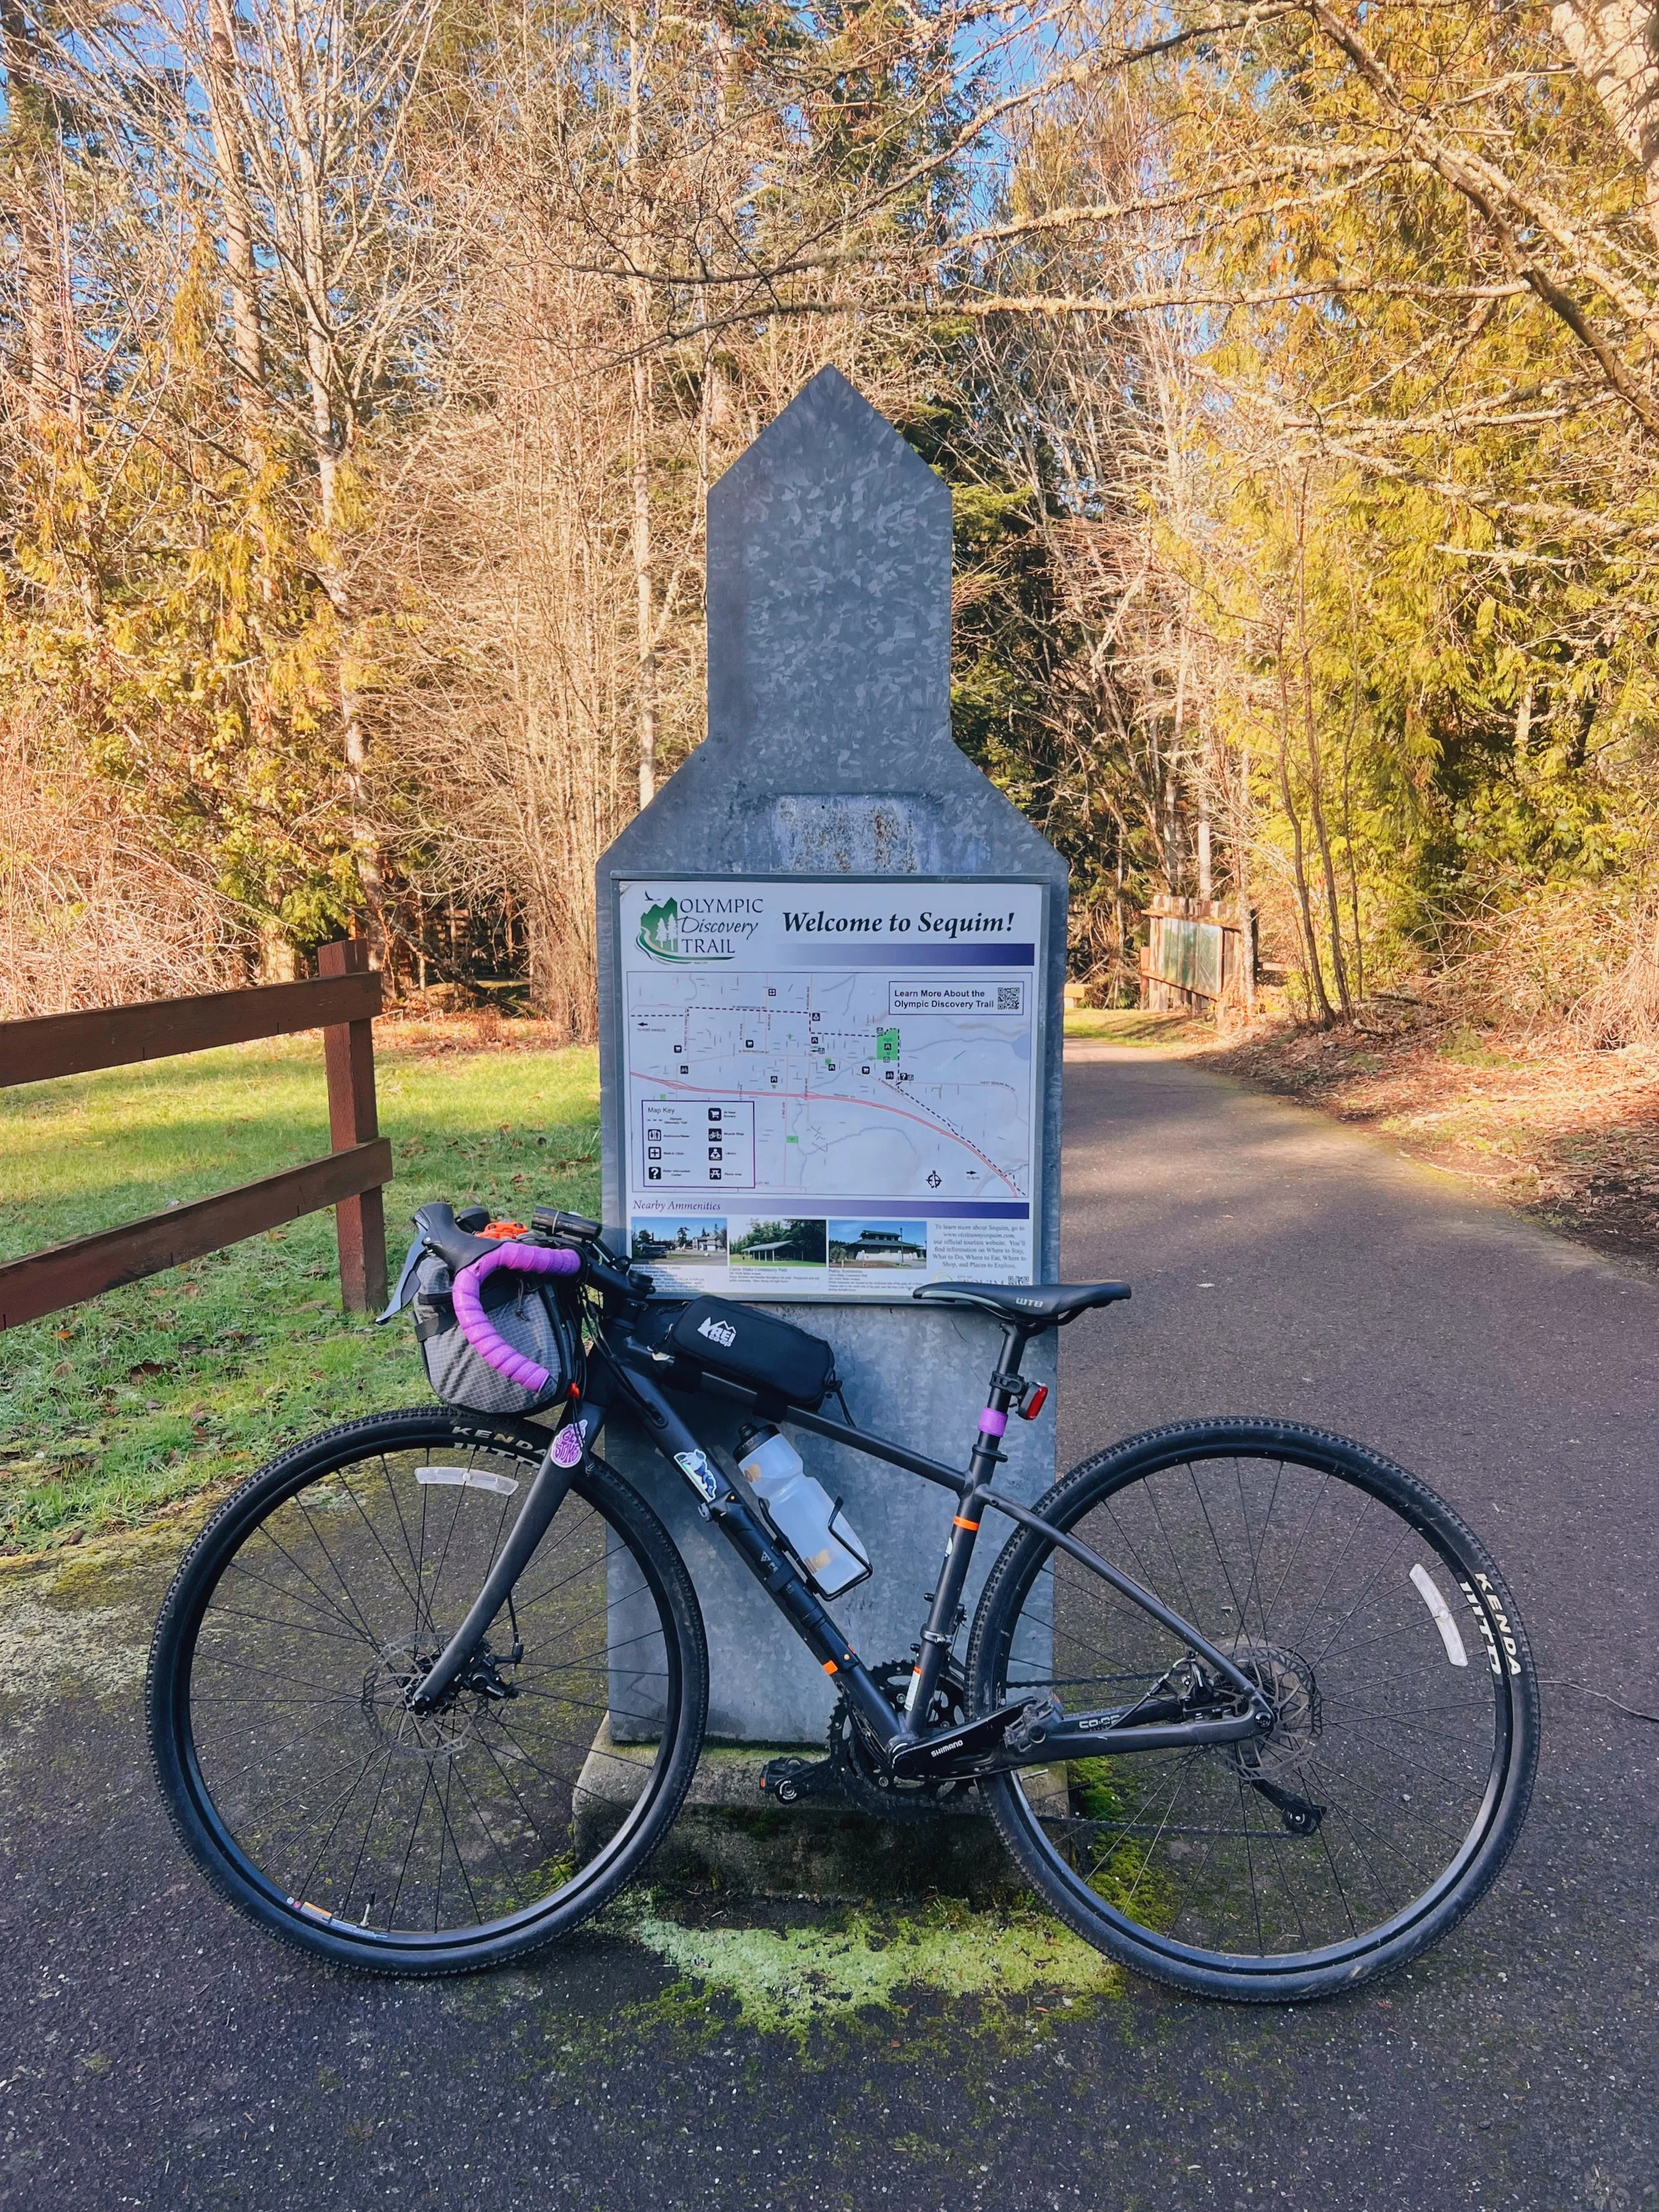

The one where everything went sideways before I even got on the bike
I was still without a car when I did this ride so I rented a car for the weekend specifically to do this. My original plan was the Lake Crescent segment. I left early to catch the Edmonds to Kingston ferry. Edmonds was down to one boat. I drove downtown to catch the ferry to Bainbridge Island instead. Somewhere between leaving my apartment and boarding that ferry, I realized I had forgotten my helmet.
I spent the rest of the ferry ride looking up bike shops on Bainbridge that might rent one. Good thing Bainbridge was super bike friendly and they had a bike shop that rents out helmets. I got there at 11:30am. The guy working there asked where I was headed. I told him Lake Crescent. He suggested something that didn’t require driving another hour and a half. I ended up on the Sequim to Port Angeles segment — a decision made by a bike shop employee on Bainbridge Island at noon, which is honestly a fine way to pick a route.
I told myself I'd turn around at mile 10. I ended up doing 19 miles one way. Then I had to ride back.
The trail is rolling. A little more elevation than you’d expect, with one steep switchback-y climb that I genuinely wasn’t sure if I’d make it up (or down). I was maybe four months in cycling at this point with my $200 bike I bought from Facebook Marketplace. By the time I got close to Sequim on the return, I was riding in complete darkness. My new handlebar bag was blocking my front light. It was also running low on battery. I rode the last stretch on feel and a healthy amount of adrenaline. But I made it back! I loaded the car.
Before I boarded the ferry, I decided to stop by Proper Fish, which is well known for their fish and chips. My heart was full.
ODT: Lake Crescent
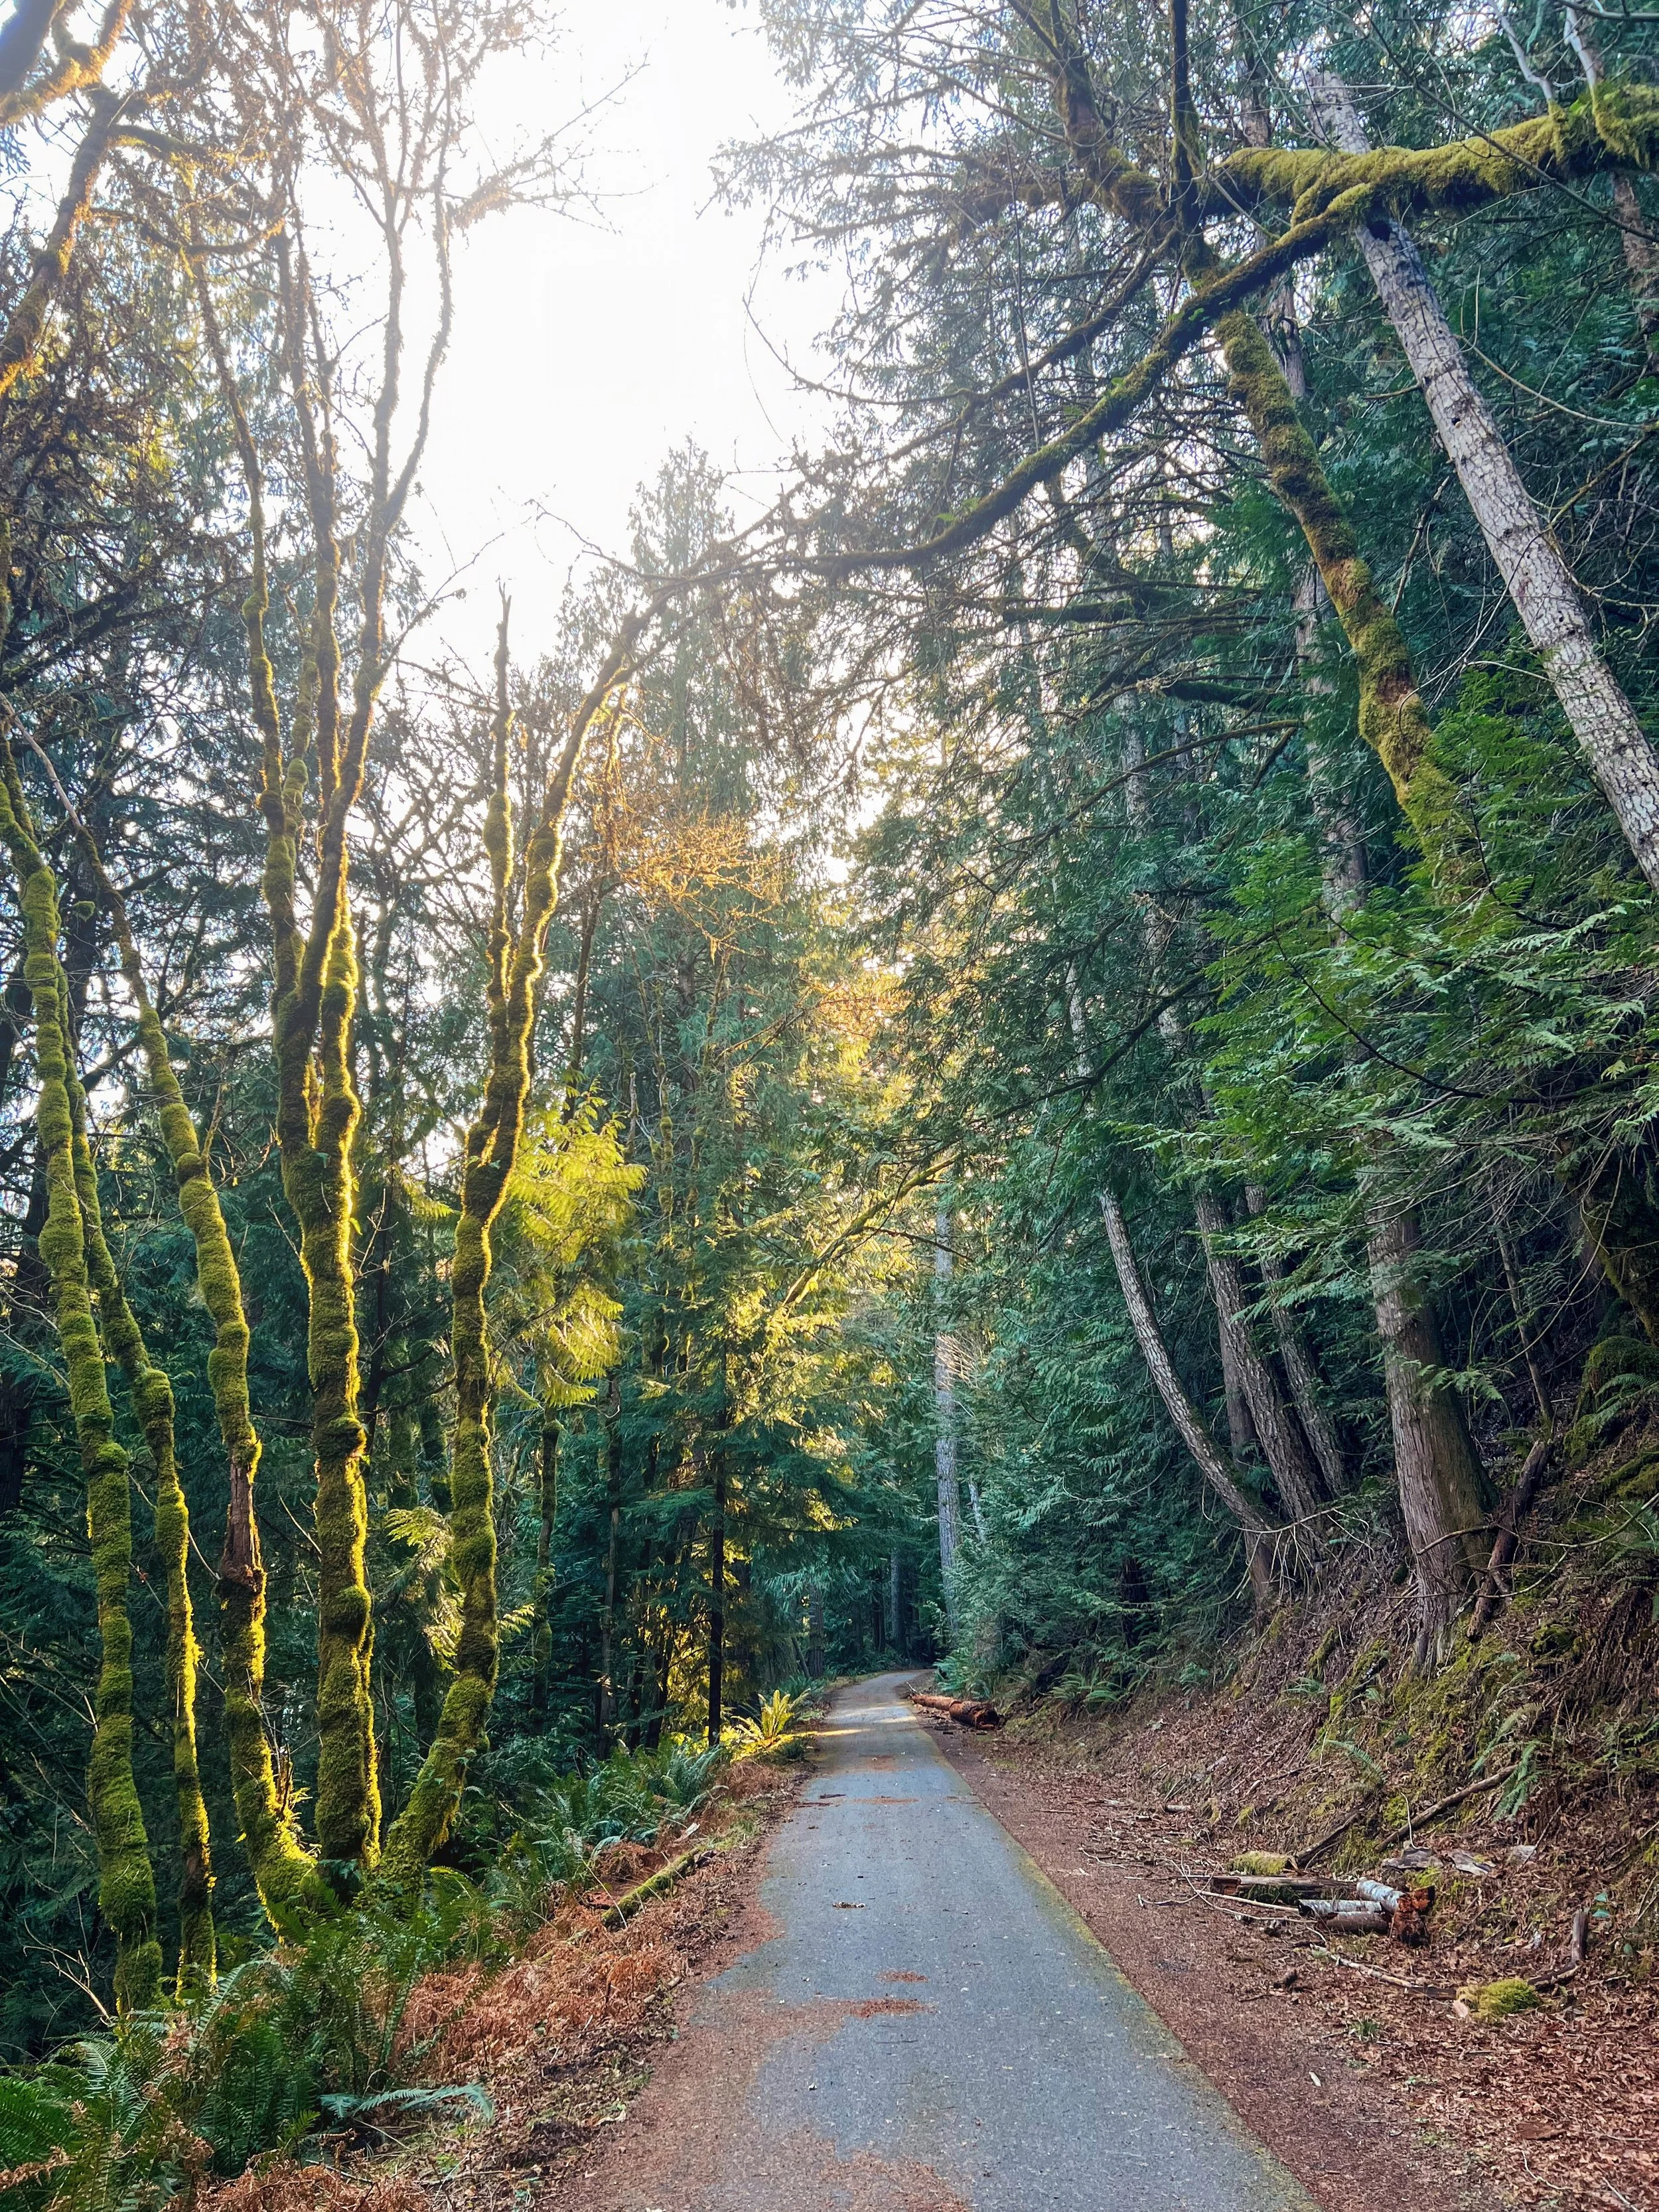
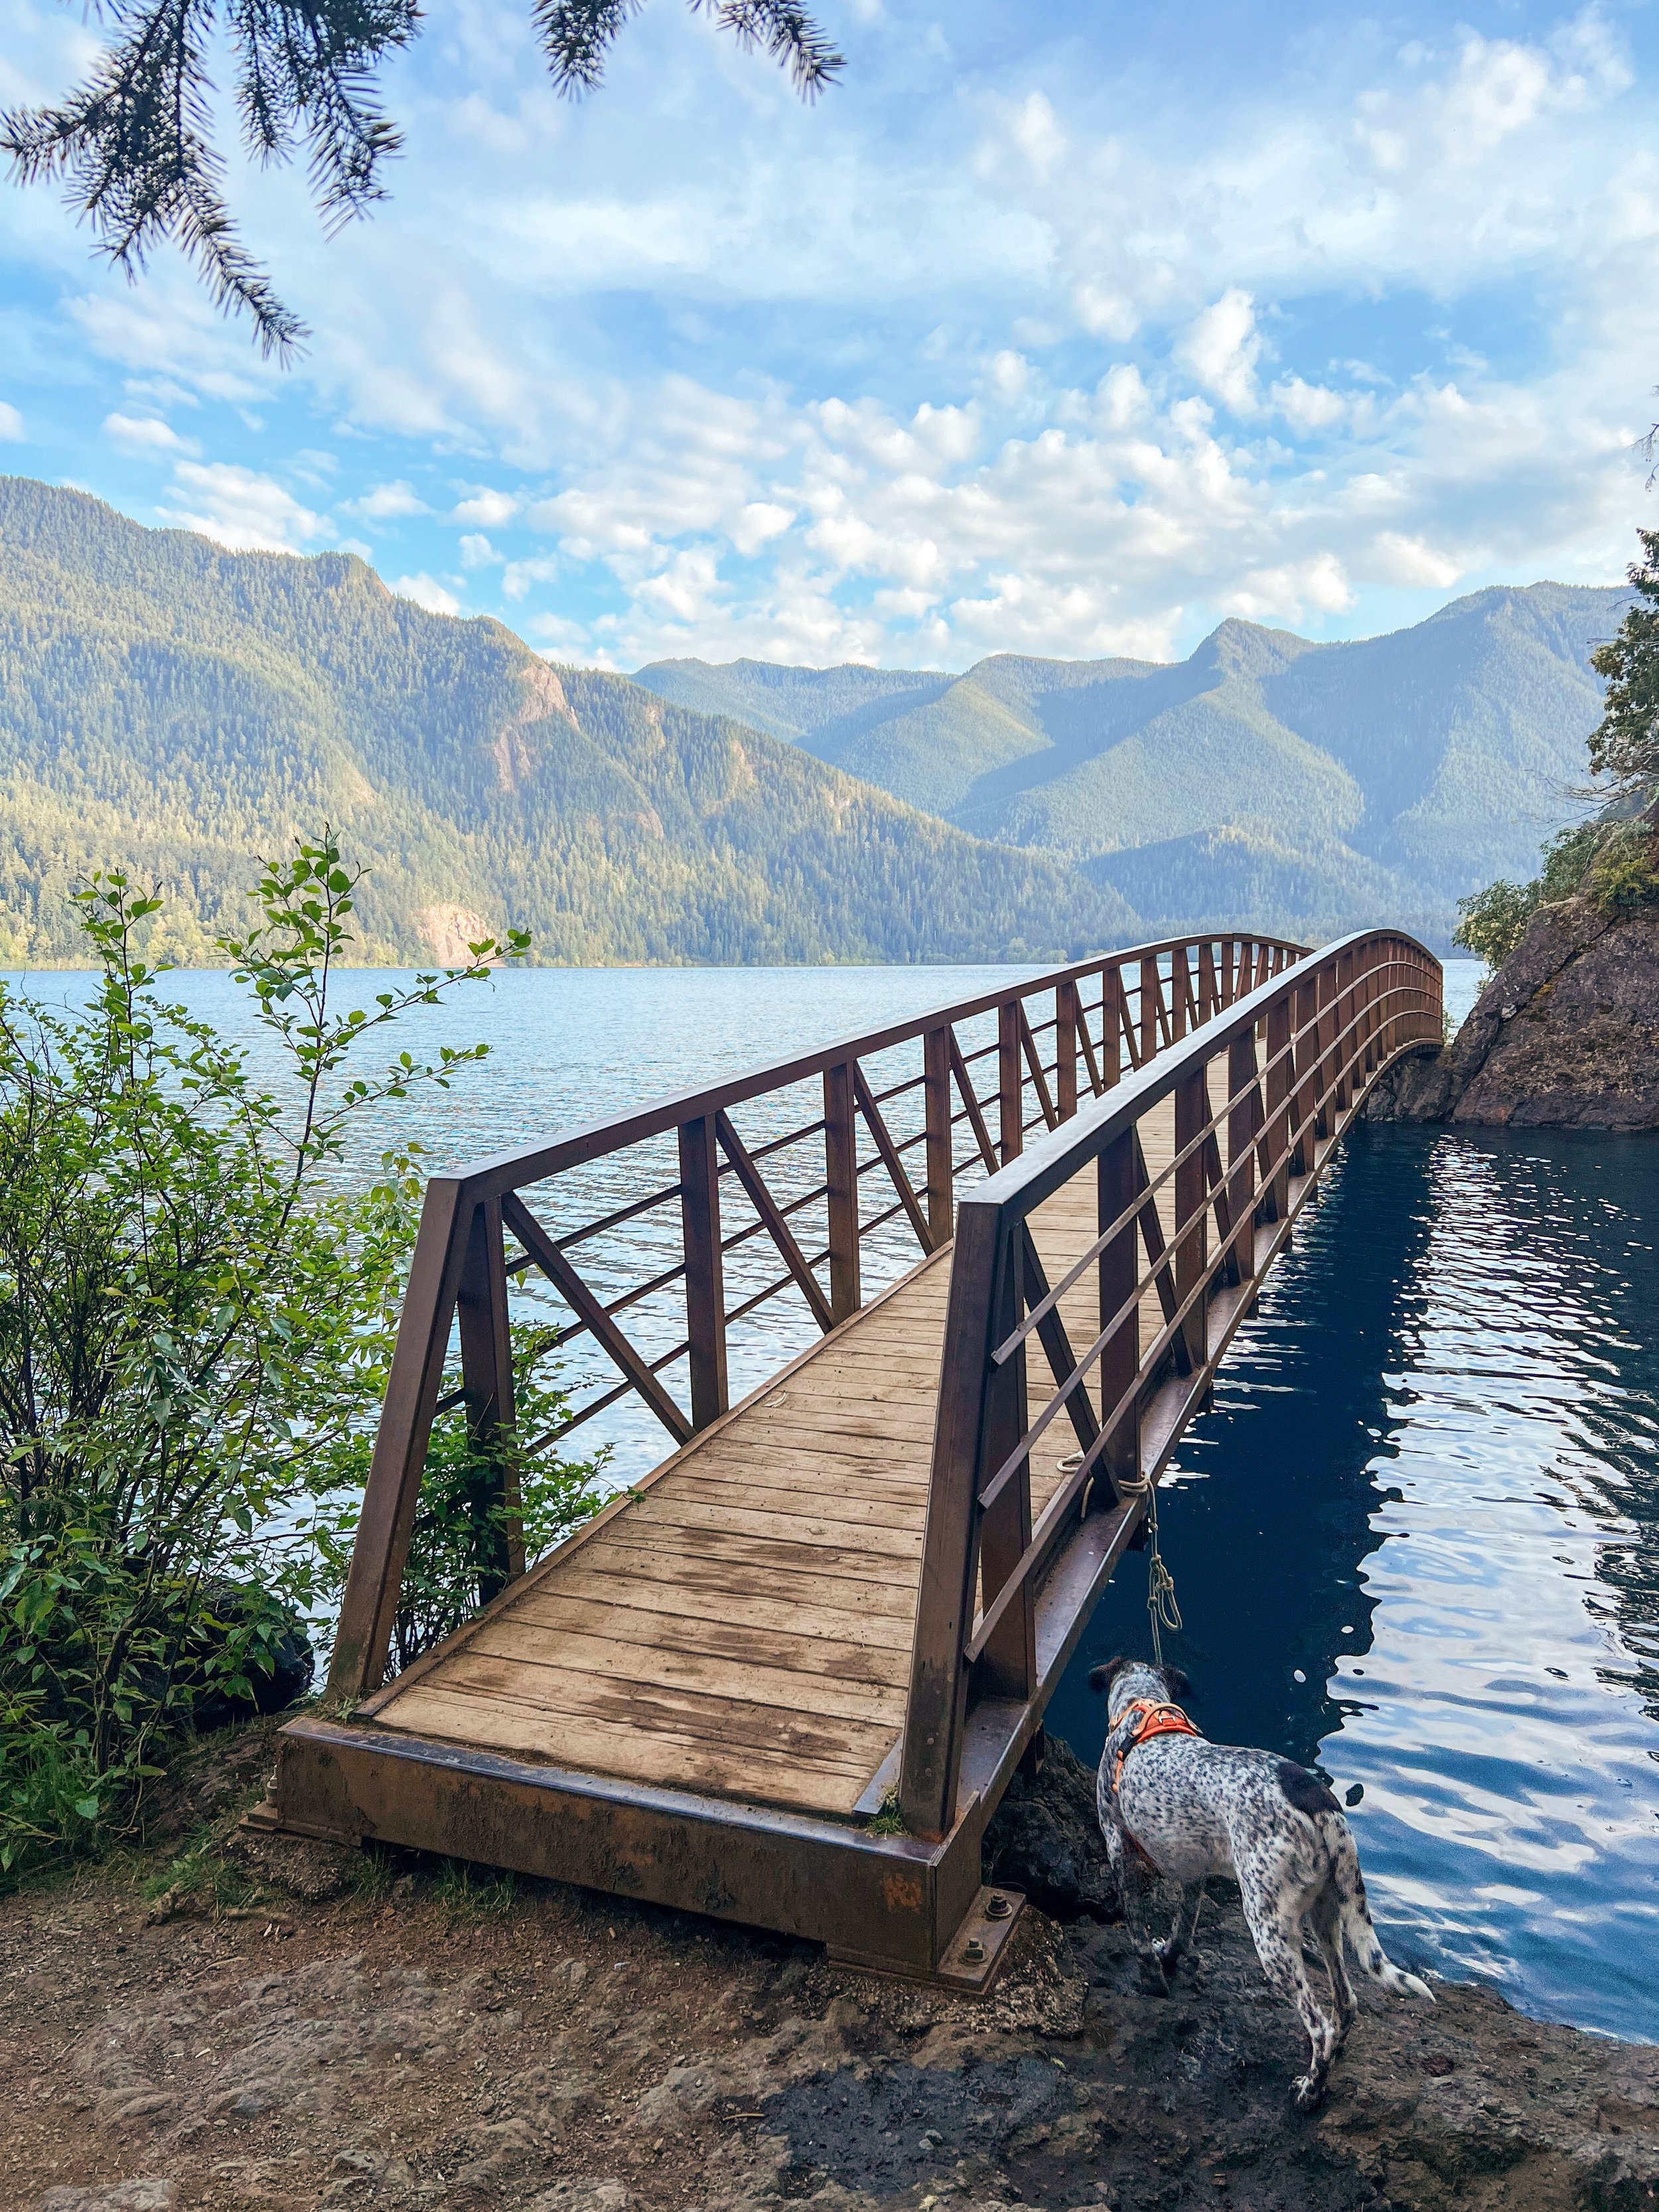
The prettiest segment — and one of the few that allows dogs
This is the segment I kept trying to get to. The Spruce Railroad Trail runs along the north shore of Lake Crescent inside Olympic National Park. This section is widely considered as one of the most scenic sections of the entire ODT. It is also one of the very few trails in the Olympics that allows dogs, which is why Tex finally got his Olympic Peninsula debut here.
I’ve done it twice. First time starting at Ovington, which is about 10.5 miles to where the trail meets the road. I started across the turnoff to Sol Duc the second time, which made it a 19.1 mile ride total. Tex did al 19 miles on that second ride and was completely passed out on the drive home. He tried to keep up the whole time, which says something his fitness and stubbornness.
The grade is genuinely mellow, and the lake views through the trees are the kind of thing that makes you stop pedaling just to look. Devil’s Punchbowl is worth the short detour. You can either leave your bike at either end or hike the bike down to the punchbowl, I did the latter.
If you only have time for one segment of the ODT and you’re bringing a dog, this is the one.
Resources
Getting around / transit
King County Metro Water Taxi schedule: Sailing times vary by season and extend later on Mariners game days. Always check before you ride to Alki.
Sound Transit light rail: Routes and schedules for the 1 Line — useful for rides starting at Husky Stadium, SODO, and Mercer Island.
Washington State Ferries: Schedules and fares for the Edmonds–Kingston and Fauntleroy–Southworth.
Trail Conditions
Washington Trails Association (WTA): WTA is my go-to for hiking trail conditions. Also useful for the ODT and Cascade Trail corridor where hiking and biking overlap.
Mt-Baker Snoqualmie National Forest — Road & Trail Conditions: Essential for Dead Horse Creek Road, the Cascade Trail area, and anything near the Mt. Baker Highway. Check here before you go.
Olympic Discovery Trail Official Website: Trail maps, segment information, and current conditions for the full ODT across the Olympic Peninsula.
Navigation & Route Planning:
My RideWithGPS Gravel Collection: All the routes from this post and more — variations, different starting points, and rides I haven't written about yet.
TrailLink: Trail maps and guides for biking and hiking. This is a great resource especially for rail trails include the Burke-Gilman, Snoqualmie Valley Trail, and the Centennial Trail
TrailForks: The best app for navigating mountain bike trail networks. Essential for the Teanaway — download the area maps before you leave cell service.
GaiaGPS: My go-to for backcountry navigation. The snow overlay feature is a hidden gem for finding XC ski trails repurposed for gravel biking — how I found the Cabin Creek network.
@openseason.cc on Instagram: Maps genuinely interesting routes around Seattle that stitch together singletrack and road. Their RideWithGPS collection is linked in their bio.
Further Reading:
Mountains to Sound Greenway Trust — West Teanaway Trailhead: The story behind the brand new Teanaway trail network and what's coming next for mountain biking access in the area.
Our Mother Our Mountain: a good resource for more intense gravel riding