
Kayak Camping for Beginners: How to Get Started in the PNW (No Hardshell Required)
Many of you might wonder, how the heck do I even get started with kayak camping? Do I need a fancy hardshell kayak? What if I only have an inflatable or a paddleboard? Can a total beginner actually pull this off? This post aims to answer all of those questions.
Here's the thing: I'm not an expert. I've done three kayak camping trips, I own an inflatable kayak, and I live in a small Seattle apartment with basically no storage. But I'm here to tell you it is completely doable! I'm going to break it down for you piece by piece so you can start planning your first trip, or your fourth, with a lot more confidence.

Table of Contents:
Do I Need a Hardshell?
The short answer is no. But a hardshell will definitely get you further with more confidence in the long run. However, a lot of folks that live in Seattle don’t have the proper storage space to store a hardshell and inflatables are becoming increasingly popular.
Hardshell vs Inflatable: Key Differences at a Glance
Camping at Moran State Park, Orcas Island
The fundamental tradeoff between a hardshell and inflatable comes down to performance vs portability. Hardshell kayaks offer better performance on the water. They glide smoothly, track well, and provide greater stability in rough water and open crossings (think Puget Sound). But one of the biggest advantages of inflatables is that they deflate and sometimes even fit into a backpack-sized bag (think packrafts). No roof rack, no extra storage space needed.
For someone in a Seattle apartment without a car, owning a hardshell wasn’t really an option.
Inflatables have improved significantly over the last decade. The gap in performance between a hardshell and inflatable is narrowing as well, especially with drop-stitch construction models. A lot of inflatables are made with more durable materials like PVC or Hypalon and they’ve become far more rigid, allowing you to go faster in more types of water.
But let’s be real - inflatables are still more susceptible to offshore winds due to their high flotation and less than ideal speed efficiency so they can be blown around more easily. However, if you are someone that needs portability more than anything else, the inflatable is your best option.
I’ve rented hardshells in the past but I’ve never looked into which one to purchase because that’s simply not an investment I am willing to make right now. However, after doing some quick research across the internet, here are a few models to help you get started.
For beginners, these are some hardshell models worth looking into:
Wilderness Systems Pungo 120 ($1100-$1300): It is maneuverable, swift, and stable with a large comfortable cockpit that's easy to get in and out of. A good all-around day touring kayak that can handle overnight camping on calm water.
Wilderness Systems Tsunami ($1500+): an entry-level sea kayak with two sealed bulkheads so it won't sink if capsized, stable and durable, good for longer overnight camping trips on mostly protected waters like calm rivers and lakes.
Pelican Argo 100X (Under $500): this one is frequently recommended as a budget beginner pick, good for calm lakes and rivers if you just want to try a hardshell without a big commitment.

If you are sold on the inflatables, here are a few I’d recommend:
NRS Kaholo 110 ($945): This one won Best Sea/Touring Kayak from Paddling Magazine in 2026. It has a drop-stitch floor that inflates to near-hardshell rigidity. It tracks and paddles more efficiently than most inflatables in its class. It has a weight capacity of 300 lb.
Advanced Elements AdvancedFrame Sport (~$350): a well-established brand that's been making great inflatable kayaks since the early 2000s. This one has a tapered recreational kayak shape that travels well through the water, and a built-in aluminum rib system that brings it closer to a folding kayak experience. A solid step up from beginner inflatables.
Advanced Elements AirVolution2™ (~$1,380): this model is currently considered one of the best drop-stitch inflatables available, with a paddling manner that closely resembles a hardshell kayak. At the correct 12 PSI, the boat is nearly as stiff as a hardshell and paddles similarly.
Kokopelli Moki-Lite ($699): I think this one has been discontinued by Kokopelli, how unfortunate. This is the one I own. It is a drop-stitch construction. Great for calm lakes and protected waters. It has enough attachment points to haul all your gear and is compatible with dry bags that are sold by Kokopelli.
Kokopelli has a newer inflatable kayak called the Platte ($949), it is advertised to be made for flat open water, touring and ocean paddling. The weight capacity is listed as 300 lb and made with 1000-denier PVC, making it quite strong.
Choosing Your First Kayak Camping Destination

What to Look For
Not all water is created equal and choosing the right destination for your first kayak camping trip can make or break the experience. If you’re not an experienced paddler, you don’t want to find yourself padding into choppy open water with a fully loaded kayak and nowhere to go. So before you start daydreaming about which campsite to book, here are a few things to look for in a beginner-friendly spot:
Calm, protected water: lakes are ideal for beginners. No tides, no strong currents, and generally more predictable conditions than coastal or river paddling. If you don’t own a rigid hardshell, I highly recommend staying away from open waters.
Short paddle distance: aim for somewhere you can reach your campsite in under 2 hours. You'll be surprised how much harder paddling feels with 40 lbs of gear loaded up especially with winds.
Established boat-in campsites: designated sites can mean picnic tables, bear boxes, pit toilets, and clear landing areas like a boat ramp.
Ranger support nearby: especially reassuring if something goes wrong or you have questions before you launch.
Clear permit process: more on this in a later section, but knowing exactly how to book your site before you go removes a huge barrier and anxiety.
Diablo Lake: A Great Beginner Kayak Camping Destination
Diablo Lake is located in North Cascades National Park and that was one of the reasons it appealed to me as a first-time kayak camping spot. There's something reassuring about picking up your permit in person — rangers know where you're headed, campsites are established and maintained, and because I'd been to the park before, it felt familiar.
The water of Diablo Lake is unreal.
Dogs are not allowed on most hiking trails in the park, but they are allowed in campsites. This allowed me to bring Tex along and let him experience this stunning place with me.
There are three boat-in campsites on Diablo Lake. The closest one is Thunder Point and the paddle from the launch at Colonial Creek Campground is only roughly 1.5 miles. That sounds short, and on calm water it is. However, factor in a fully loaded inflatable kayak and a 65 lb dog who likes to shift his weight at the worst possible moments, and the fact that you are navigating to a campsite for the first time, felt like plenty.
I picked up my permit at the Marblemount Wilderness Information Center, which is about a 45-minute drive to the launch. In the summer of 2022, Colonial Creek was closed so I had to launch from the Environmental Learning Center but when I did this again in the summer of 2024, I launched from Colonial Creek.
The weather in the North Cascades can be unpredictable and the water on Diablo Lake can get choppy in the afternoon as winds pick up, but more on that later. The weather in the North Cascades can be unpredictable and the water on Diablo Lake can get choppy in the afternoon as winds pick up, but more on that later.
If you're looking for your first kayak camping destination in the Pacific Northwest, Diablo Lake checks every box. It's beautiful, manageable, and just remote enough to feel like a real adventure.
How to Pack for Kayak Camping
For me, packing for a kayak camping trip is somewhat similar to packing for a backpacking trip. Space can often become a constraint but then weight becomes less of a concern. I know folks that have hauled an additional raft behind them so they can bring more gear with them. Some might even be willing to paddle back and forth to load and unload gear.
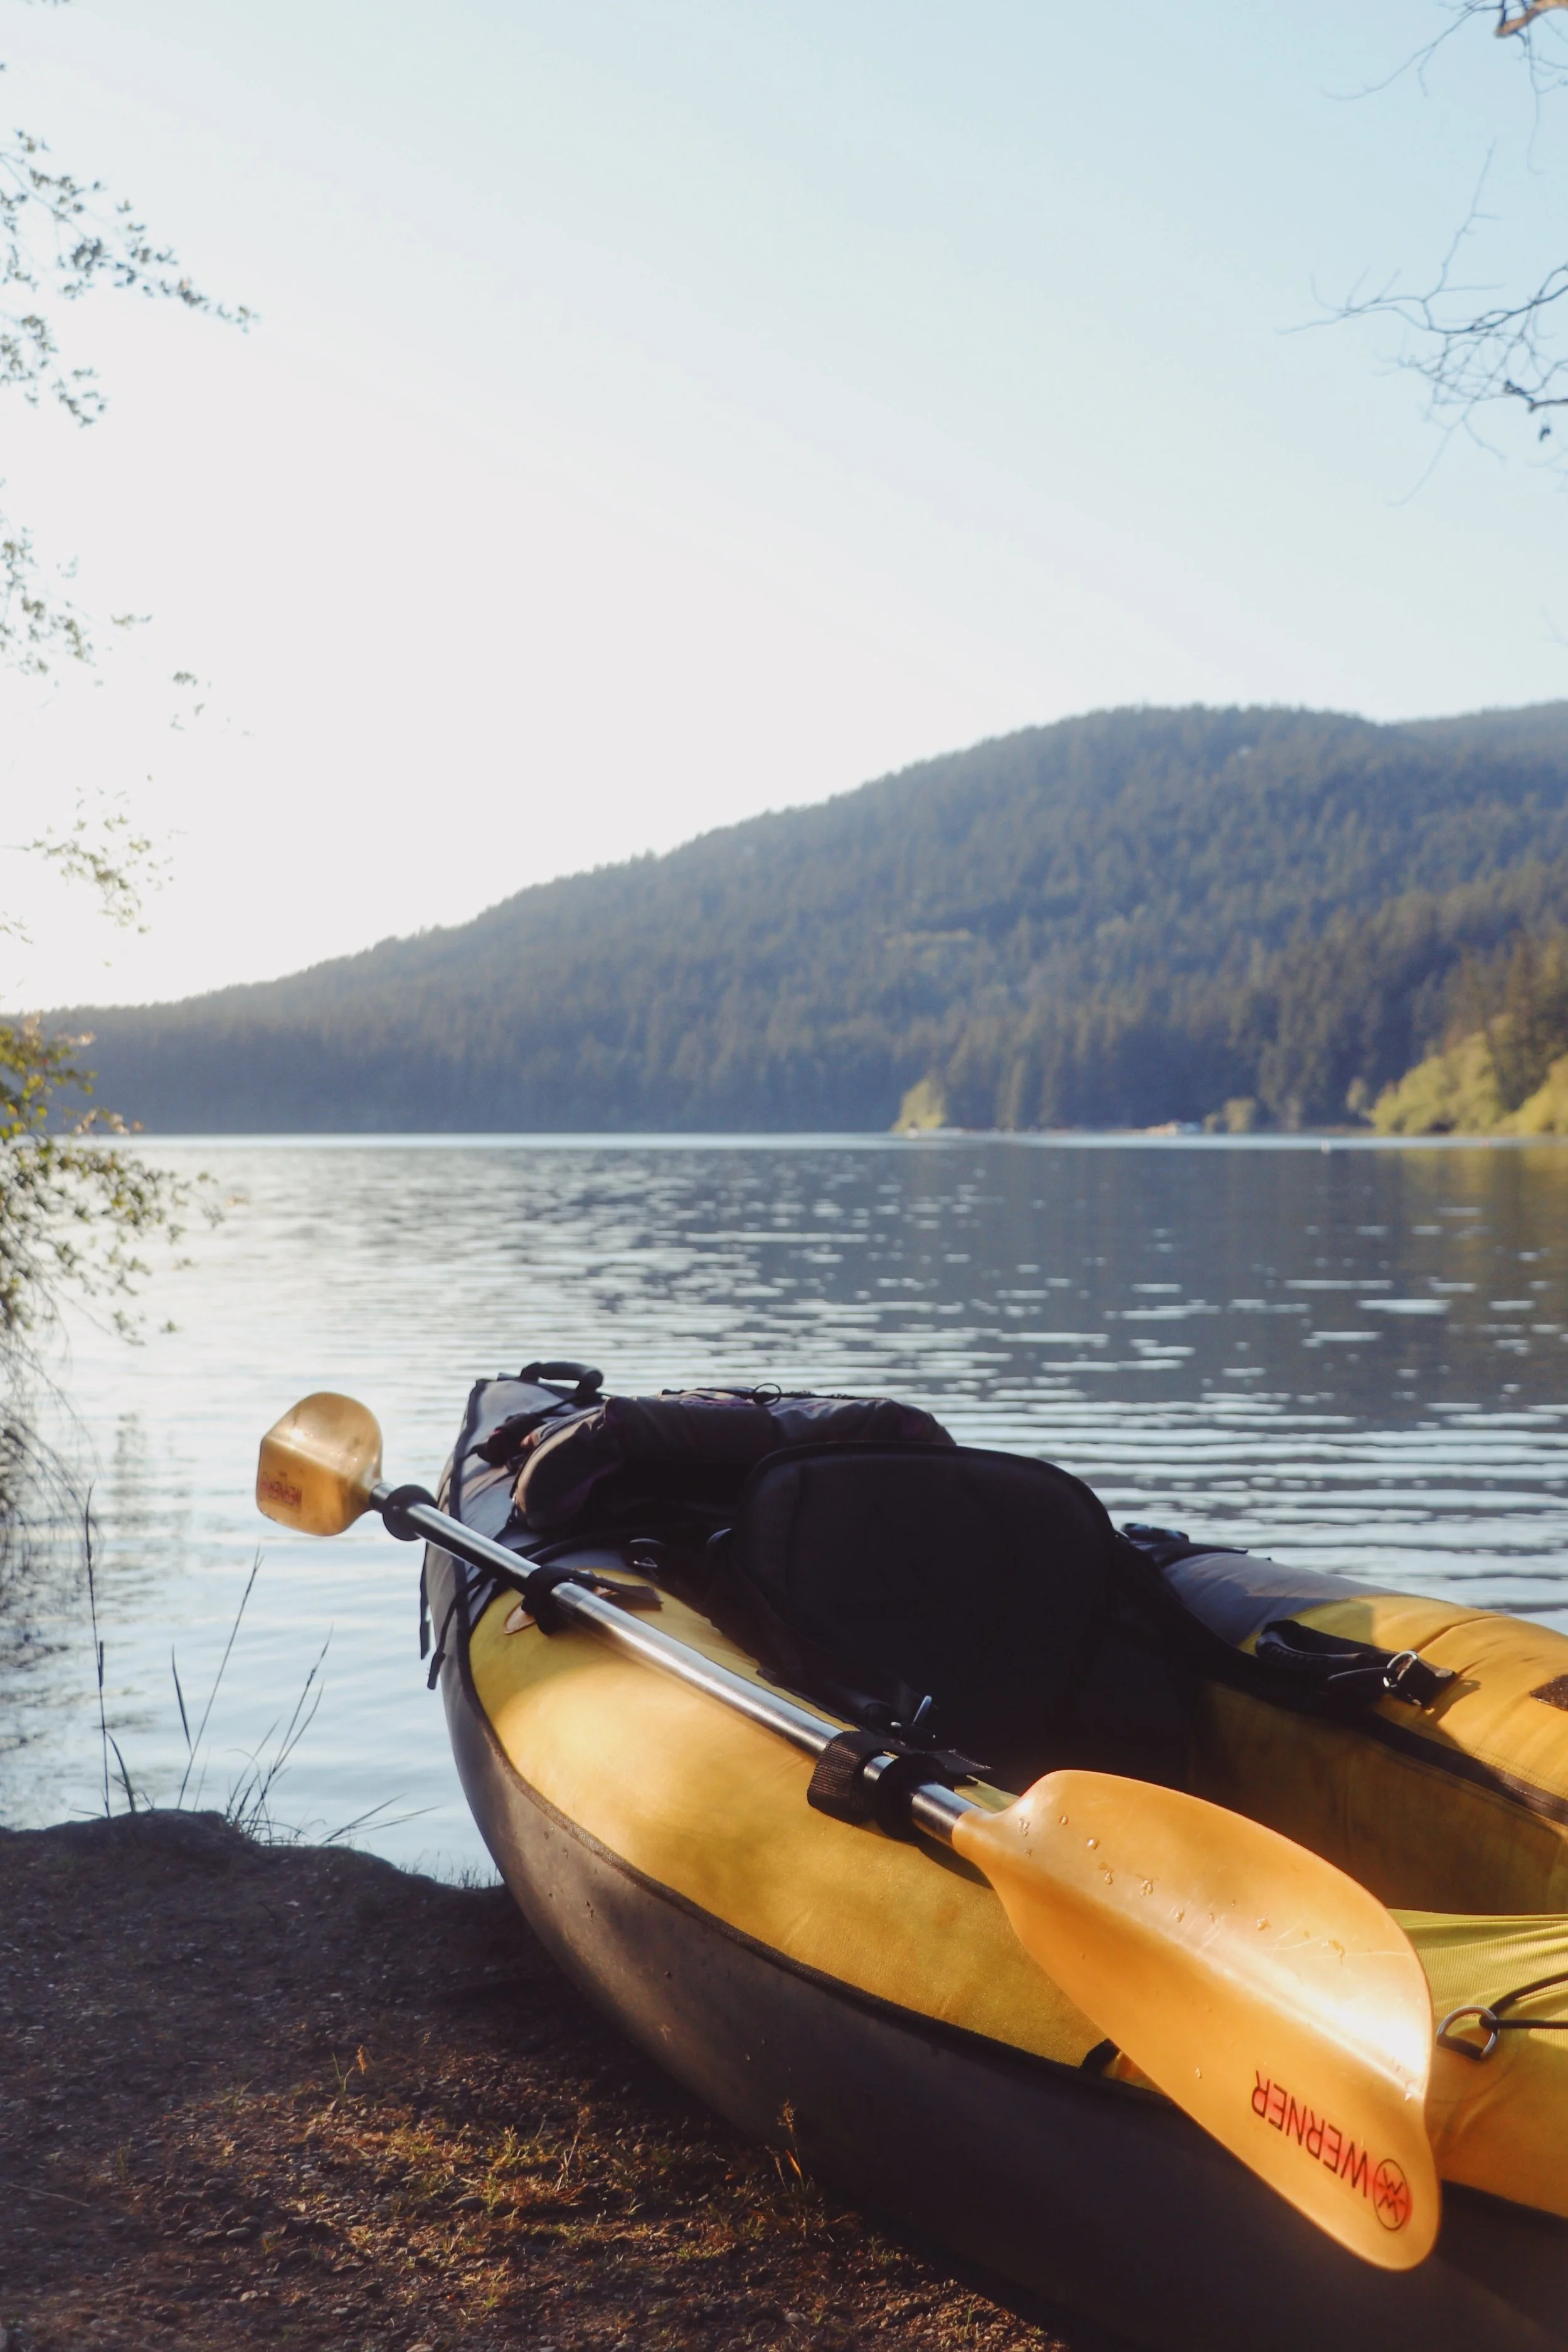
I do wish I had a slightly larger inflatable kayak that I could fit more gear, Tex and I more comfortably. I had to give up on leaving some normal car camping equipment at home in order to make things work. As you can see below, with Tex inside the kayak, the Moki-Lite is packed to the max.

Colonial Creek Campground, August 2022

Thunder Point, August 2024
Things to Consider
Know your weight limit before anything else:
My Kokopelli Moki-Lite has a weight capacity of 400 lbs. It sounds generous but adds up quickly.
Do the actual math before your trip. You may be closer to the weight limit of your inflatable than you think.
Overloading can affect how the kayak sits in the water and how it handles, especially in windy situations.
The backpacking mindset is your best framework!
I went minimal with this trip only because space and weight were my biggest concerns. I also wasn’t sure how windy it was going to be.
I personally packed dehydrated meals for this trip. I did pack a small cooler with me but the cooler bag I had was so incompetent that everything turned warm sitting in the bear box in August
Find the balance between car camping and backpacking comforts. Having a kayak does generally mean you can pack more but be mindful of how these items will be packed.
Dry bags are a must!
Everything goes in a dry bag - splash, condensation, and unexpected rain are all real.
Use different sizes for different purposes: large roll-top for your sleep system; medium for clothes; small for electronics and valuables.
Soft roll-top dry bags compress better than rigid cases. But I did win a Delta Deck Dry Bag from Kokopelli and that one fits perfectly at the nose of my Moki-Lite and it was a game changer!
What goes where:
Heavy items should be low and centered in the kayak. This keeps you stable.
Lighter and bulkier items (your sleep system and clothes) can be strapped using D-Rings and bungee cords or Voile straps.
Snacks, sunscreen, rain layer or anything else you need mid-paddle should be accessible.
Tex takes up a lot of space! To be honest, we didn’t have any wiggle room. However, I did make sure he had space in the cockpit with me. It wasn’t the most comfortable but at least he kept me warm and cozy.
Inflation tips you might not know:
Don’t inflate your kayak to the absolute max in cold morning air. As the sun heats up the kayak, air expands and can stress the seams.
An electric pump gets you most of the way but a hand pump is needed for the final top-offf.
Always pack your repair kit!
Deflate, dry completely then pack away. Skipping the drying step leads to mold inside the chambers.
What I Packed


Feel free to download this!
Download this packing list!
I created this packing list so you can conveniently refer back to this when you pack for your first kayak camping trip. I understand that this might not including everything. But just think about how you would normally pack for a camping trip.
Start there and trim down on items that you might not be able to pack in your kayak.
Check out the list of gear I use to get a sense of what you might need to bring if you haven’t gone camping before.
In addition to this list, I like to refer to this article for a comprehensive checklist.
For further reading on tips for kayak camping, this REI article provides additional information.
Getting Permits
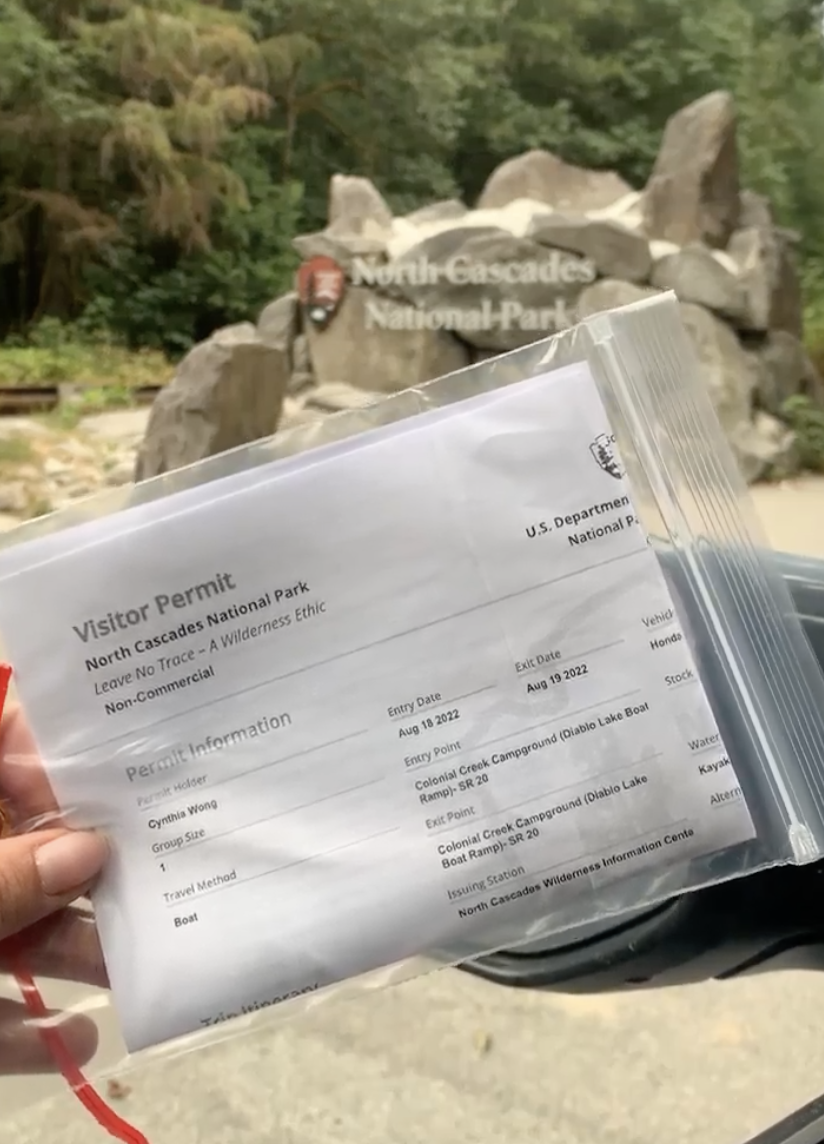
Picked up my backcountry permit before driving to the boat launch.
Not every kayak camping destination requires a permit or campsite reservation but I’d recommend seeking out ones that do, at least for your first few trips. Having a designated campsite waiting for you when you arrive removes a huge variable from an already new experience. And when you are within the national park system, rangers will know your planned and campsite, providing an extra layer of peace of mind in case of an emergency on the water.'
Here is another reason why I recommend planning your first trip at a national park. For me, I picked Diablo Lake because there is a ton of information available online through the official North Cascades National Park website.
There are three main areas where boat-in camping is possible within the park system: Diablo Lake, Ross Lake and Lake Chelan. I recommend starting with Diablo Lake because the logistics for the latter two can be tricky but completely doable using the resources you can find on the official NPS website.
How to Secure a Permit
The only downside is a backcountry permit is required to camp at any boat-in campsites in the North Cascades. It utilizes a lottery system for backcountry permits including boat-in sites.
The lottery opens ahead of the season. Check recreation.gov for exact dates each year as these change.
Didn’t win the lottery? Don’t give up. Permits often become available as people cancel.
Walk-up permits can be a backup plan:
Show up at the Marblemount Wilderness Information Center (WIC) early in the morning, some people even arrive the night before to be first in line.
Rangers can tell you which sites are still available and give you current conditions as well
When I went to pick up my permit, I was able to ask questions such as the best time to launch, what can I expect on the paddle to Thunder Point? What are the campsites like? Is there a fire ban?
Other Practical Tips
Cell service in Marblemount and the park is unreliable. Screenshot or download your permit confirmation.
Pick up your permit in person at the WIC even if you booked online. You will need to carry your permit with you.
Ask rangers about current fire bans, weather patterns, and water conditions while you’re there. Free and valuable info!
WIC hours in the summer are generally 7am to 4pm daily, so plan accordingly and watch for updates and alerts on the official website.
On the Water: What to Expect
I have paddled in Diablo Lake a few times prior to my kayak camping trip. I’ve also been consistently padding at larger lakes like Lake Washington and Lake Union just to get more comfortable in my kayak with Tex.
I am no expert but here are a few things to look out for:
Start paddling early: After chatting with the ranger at the WIC, I would say start paddling no later than 11am. Winds generally pick up in the afternoon and often dramatically. This is consistent based on the other times I’ve paddled.
Check the weather before you go. And then check it again: like hiking or mountaineering, it is important to always check the weather. Mountain weather is not city weather, conditions change fast. I recommend checking the night before and the morning of. Wind matters more than rain for paddling - a calm rainy day is safer than a sunny windy one. When picking up your permit, ask the rangers for the most up-to-date conditions.
Reading the water: if you notice whitecaps forming, I would just try to paddle as close to the shore as possible. Flat water with small ripples is fine and you will run into a lot of this at Diablo Lake. If conditions look a little sketchy at the launch, wait it out, there is absolutely no shame to start late.
Navigating to your campsite: I don’t have a specific map for my ‘marine adventures’ but I did download an offline map on Gaia GPS. However, each boat-in campsite on Diablo Lake has a sign so it’s hard to miss. What’s better is that all of them also has a boat launch, which makes it even harder to miss. If you can, try to paddle closer to the shoreline rather than cutting straight across open water.
Arriving at camp: secure your kayak immediately. Deflate slightly if you plan on leaving it in direct sun for hours, heat expands air and stresses the seams.
Bringing Your Dog
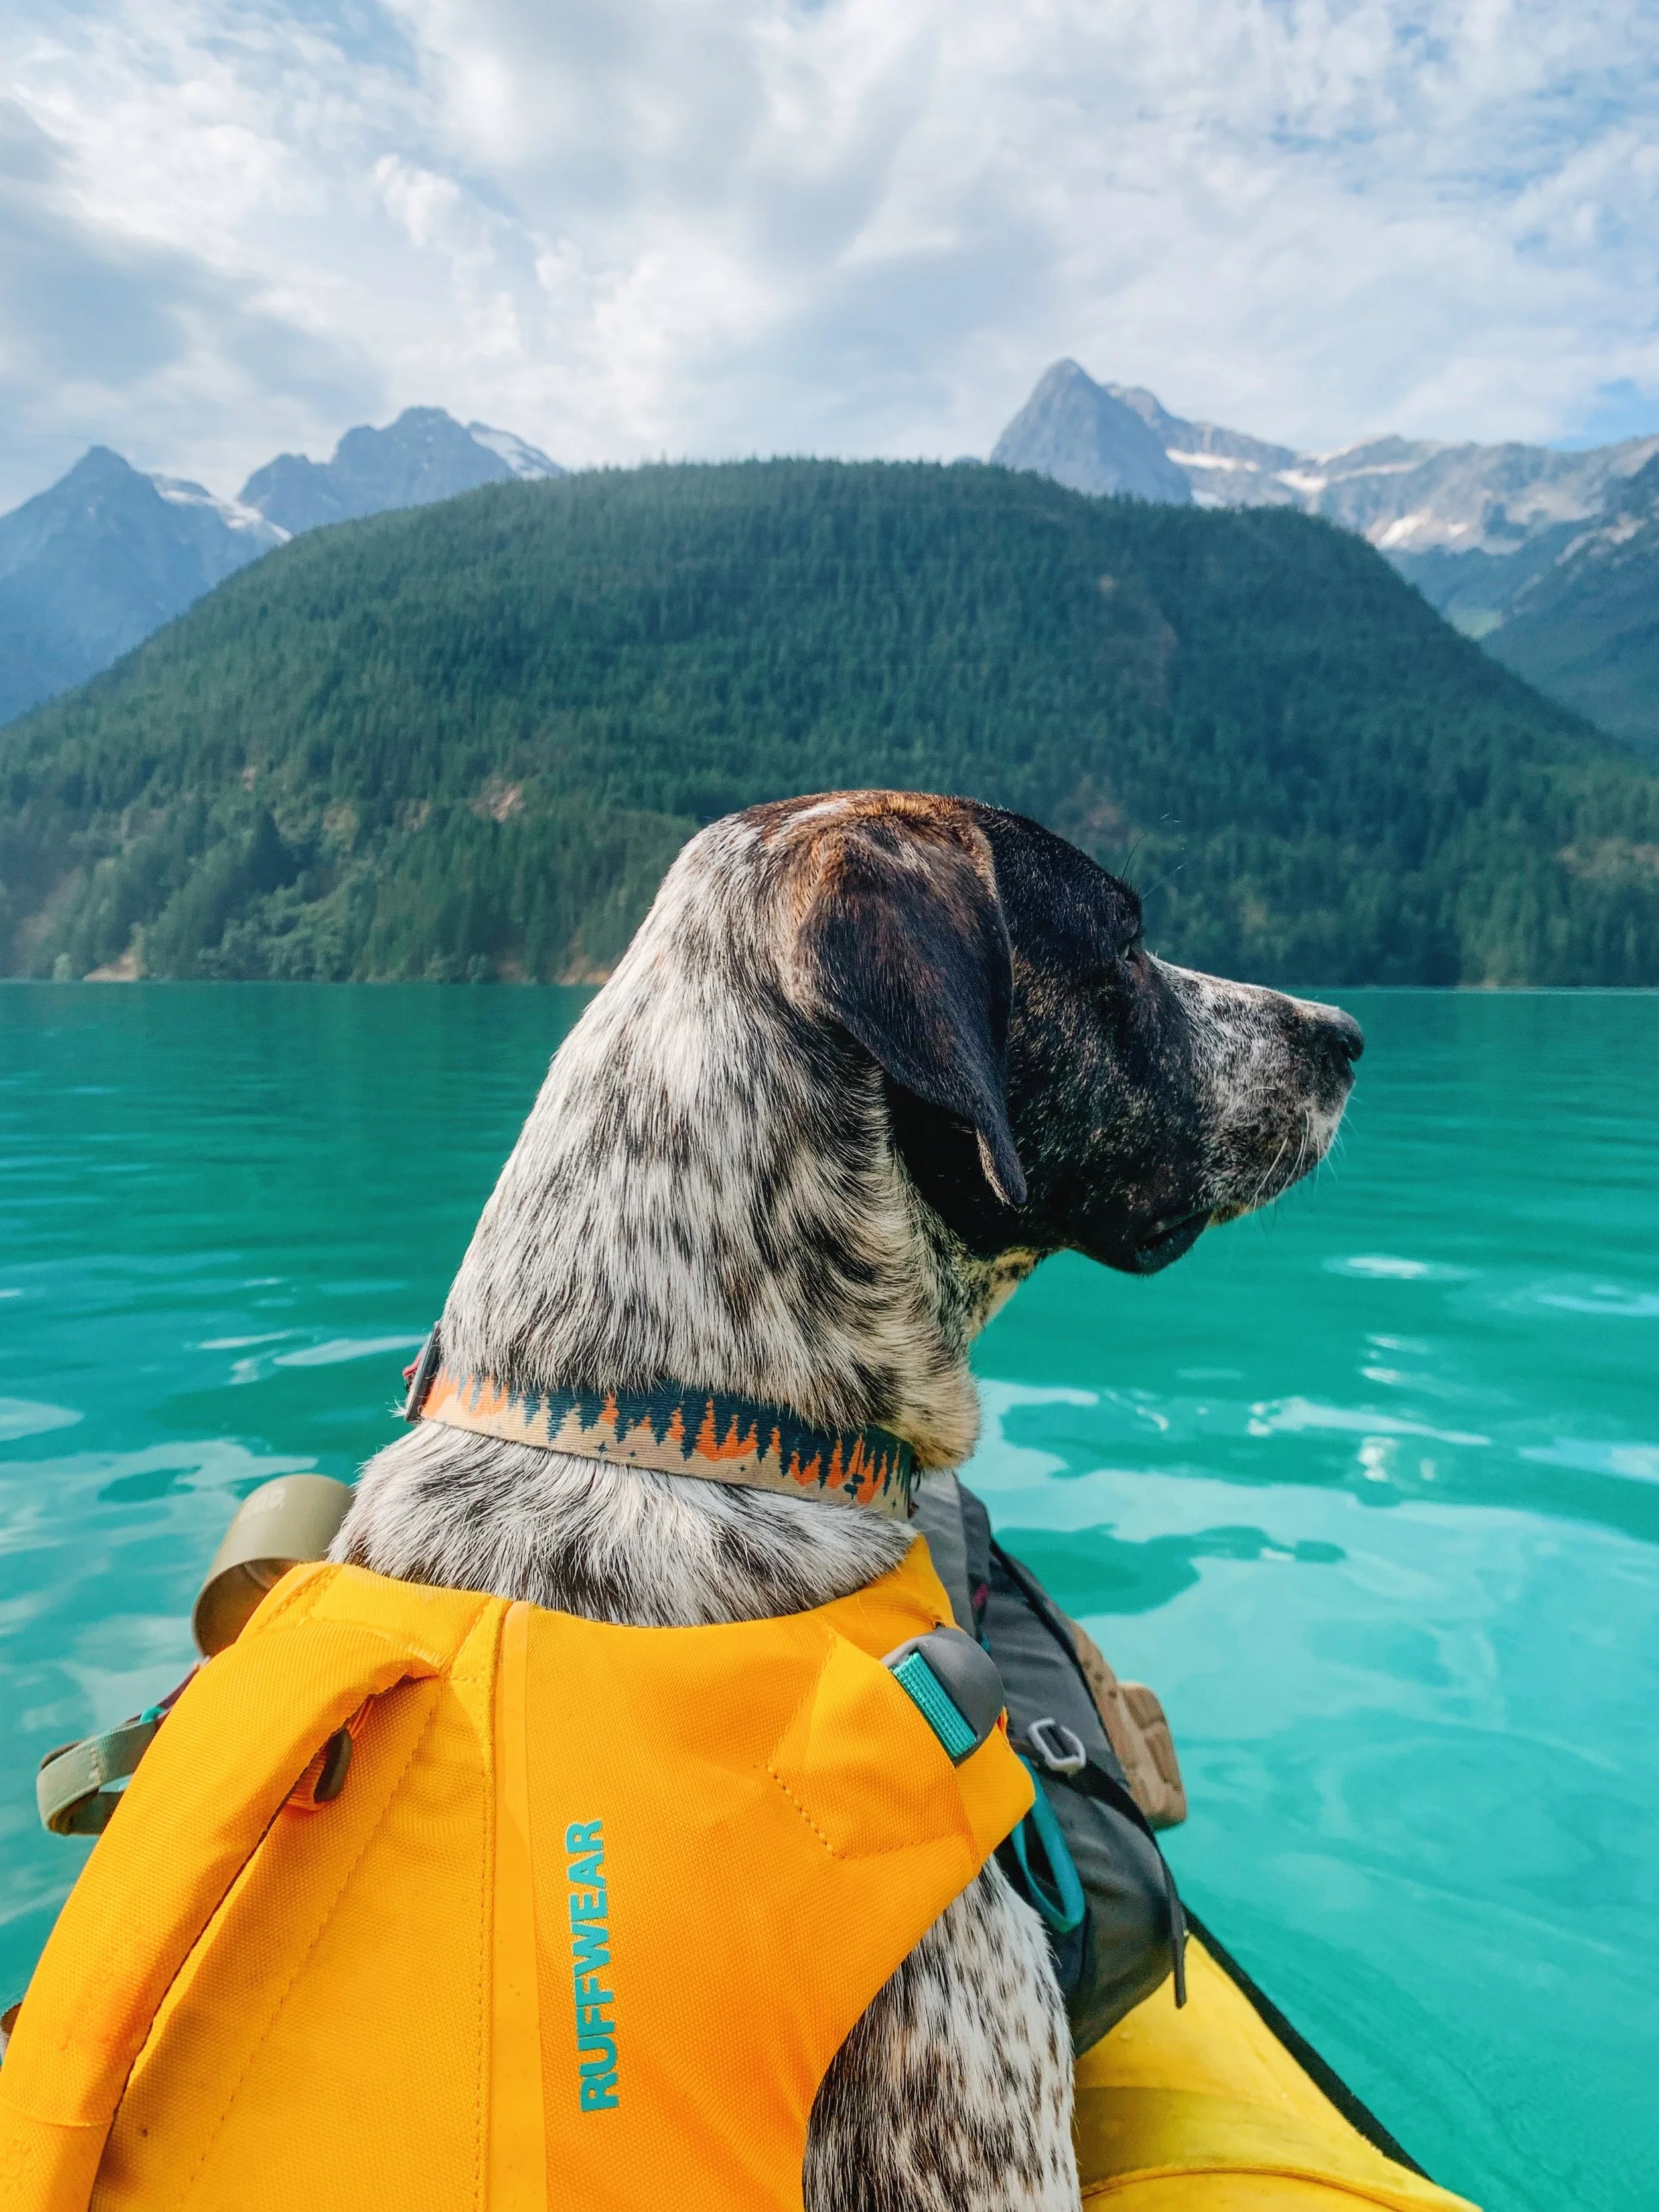
I haven’t kayak camped without Tex so I can’t tell you what it’s like without a dog. What I can tell you is that bringing a 65 lb German Shorthaired Pointer mix on a fully loaded inflatable kayak is completely doable, and also occasionally chaotic in the best possible way.

Tex wearing his lifejacket in my Hornet Lite
Here’s what I’ve learned from doing it with Tex all three times.
Get your dog a life jacket: your dog can probably swim. A life jacket isn’t just about swimming. It’s about visibility, buoyancy when they are tired, and a handle to grab if they go overboard. Look for one with a top handle and high visibility color. You’ll thank yourself the one time you need to haul them back into your kayak.
Practice before your trip: if your dog has never been on the water with you, don’t let a loaded camping trip be their first experience. Take them out on a calm lake close to home. Let them get used to the movement and wobble. Tex is generally pretty calm on the water but it took a few trips to get there.
Pack for them too: Tex gets his sleeping bag and pad on every trip we go on now. Remember to pack enough poop bags for the whole trip! Leave No Trace principles apply to your dog just as much as to you.
Know the rules before you go: dogs are not allowed on most hiking trails in North Cascades National Park but they are allowed in campsites and on the water. The ranger did tell me that the little trail at the Thunder Point campground allows dogs and that was great because Tex could still get a workout. Always check specific rules for wherever you’re headed before you go.
Where to Go Next
I know this seems to be a post about how to go kayak camping in Diablo Lake but in Washington state, there are other options where you can get your feet wet (no pun intended) with kayak camping. A lot of things mentioned in this post should be very applicable to another destination, minus the permits part.
Like planning a first backpacking trip, start small and gradually build confidence and experience. Going back to what to look out for when picking a spot for kayak camping, choose somewhere with calm, protected waters (avoid open waters); short paddle distance; established boat-in campsites; ranger support nearby (varies) and clear permit process (varies).
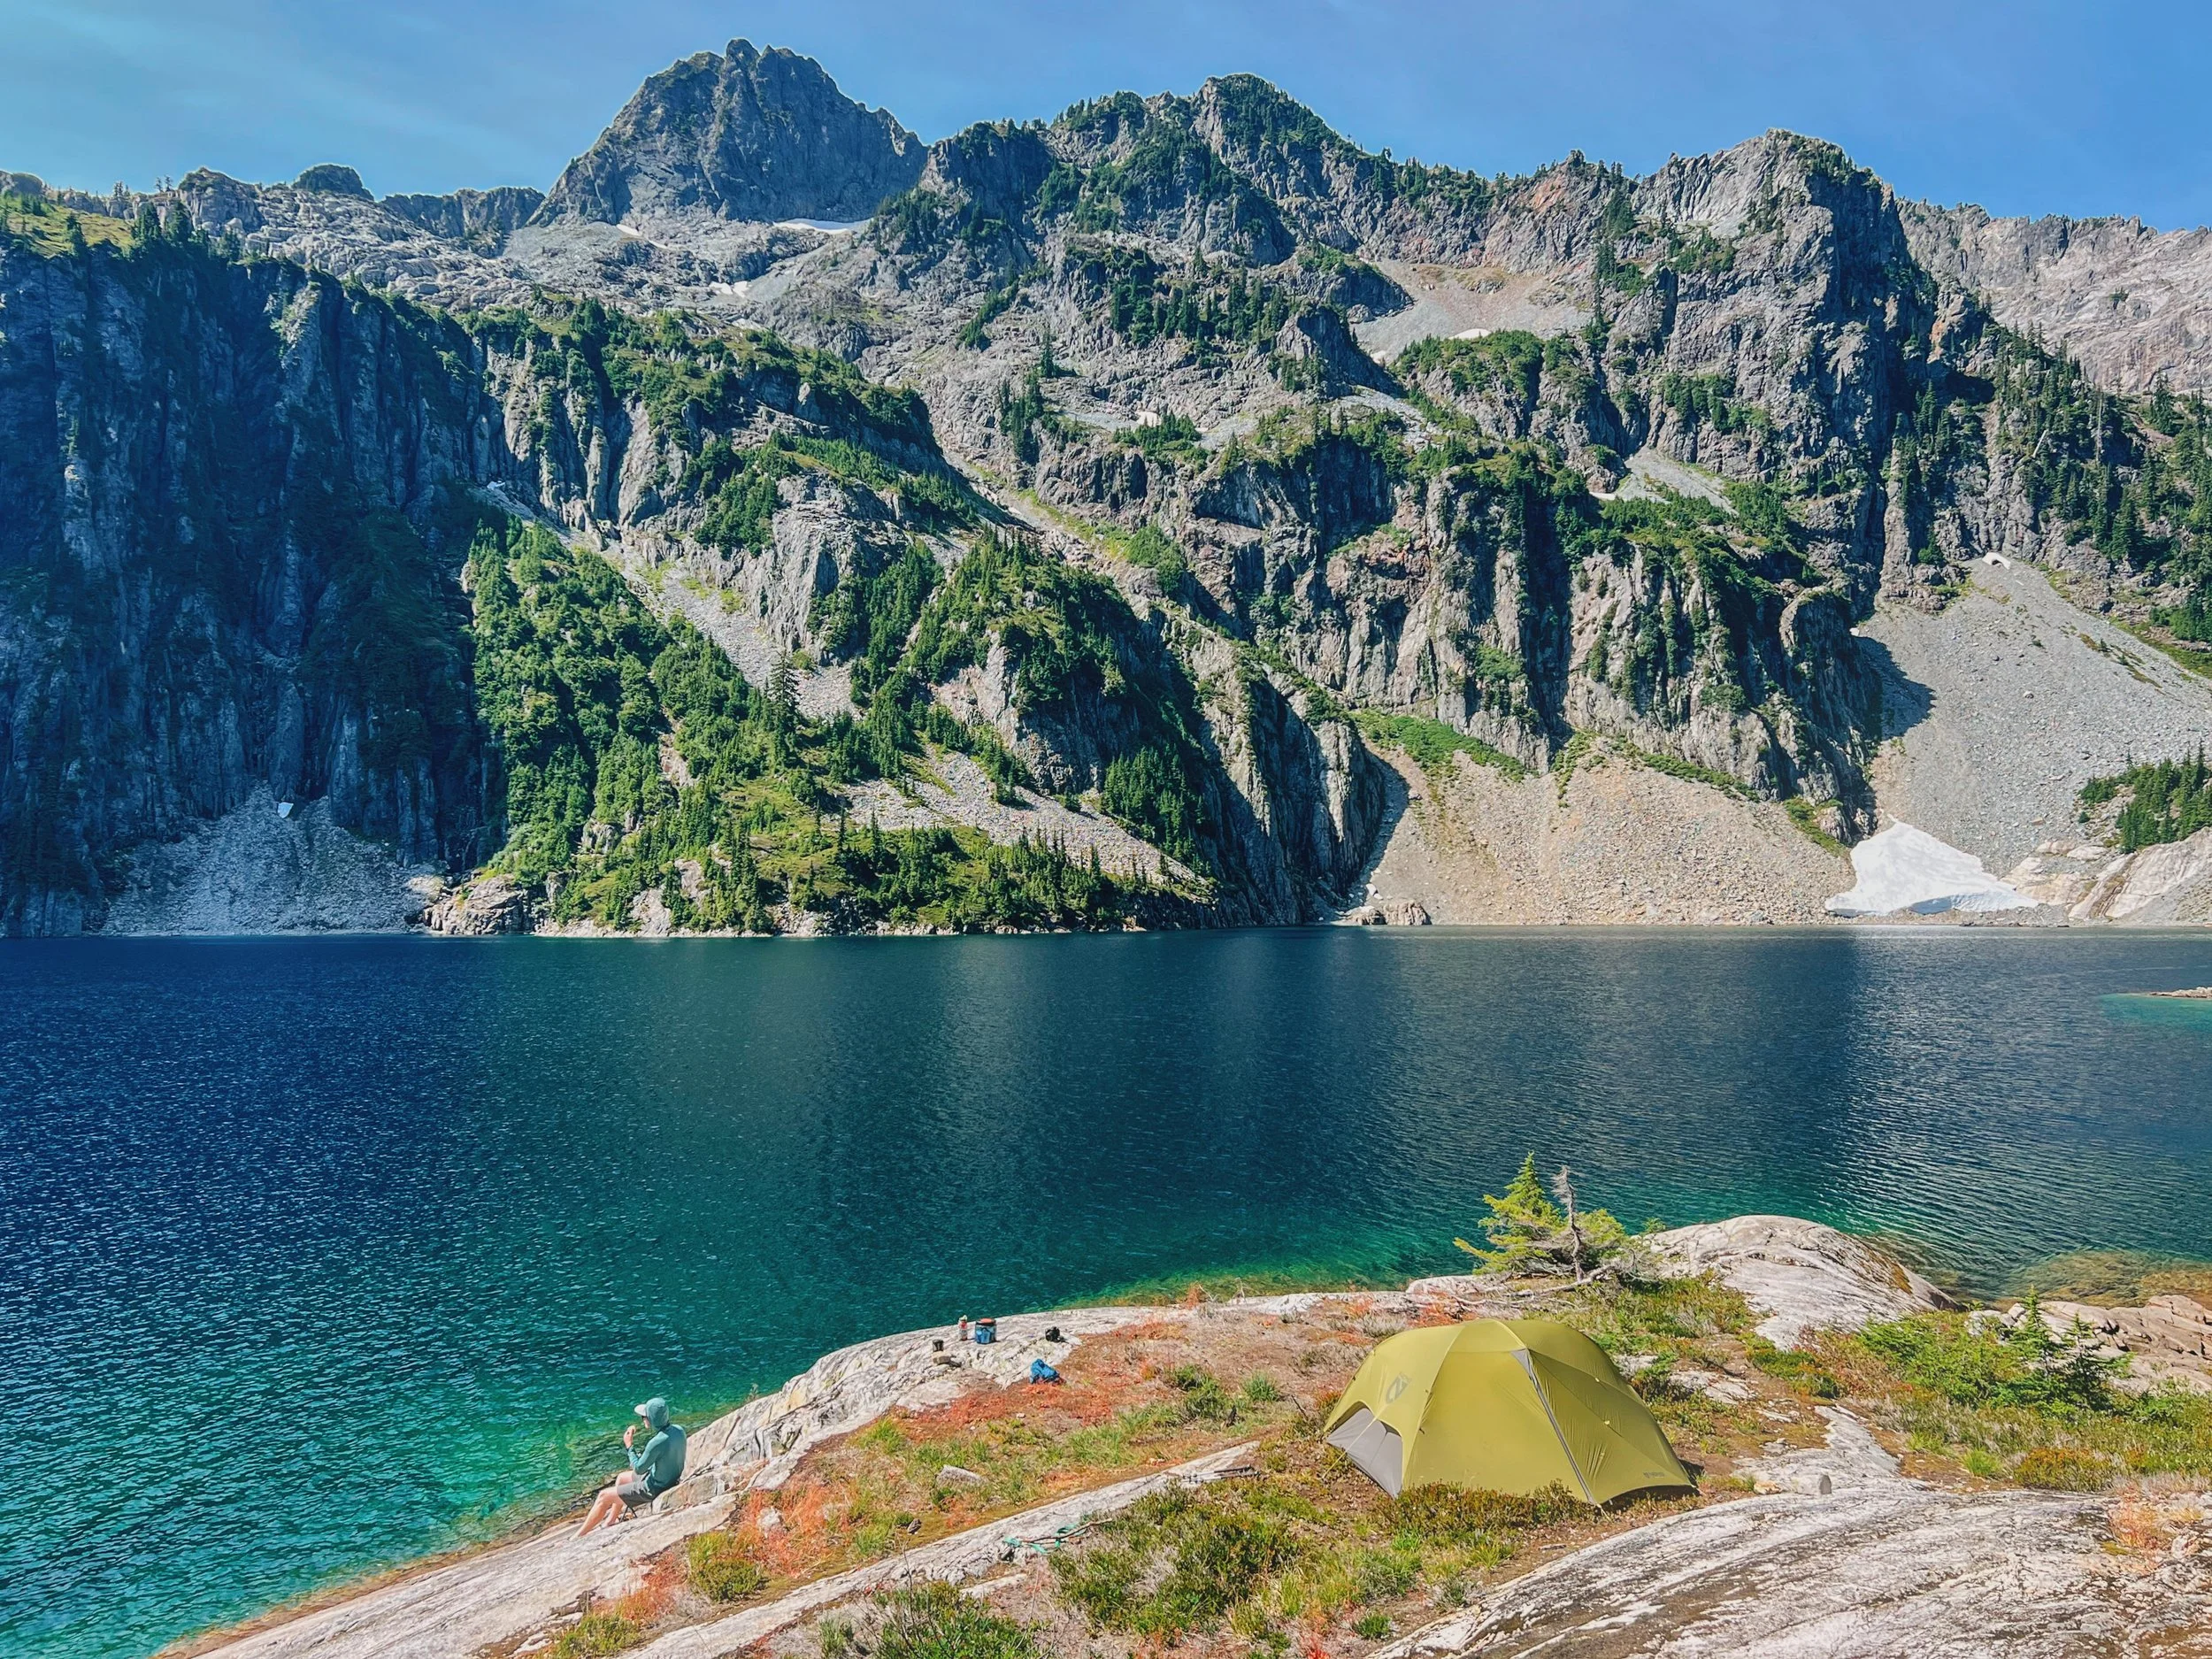
Snow Lake located in the Alpine Lakes Wilderness can be a inflatable camping paradise too
Kayak Camping in North Cascades National Park: I wrote this post a couple years back. This post specifically refers to my experience camping at Diablo Lake. You will find a lot more information of what the campground looks like and launch information.
17 Best Places to Kayak in Washington: Ready to take things to the next level? This list includes spots where you can do some trial runs and work on your paddling strokes before you head out on your first kayak camping trip.
Other saltwater options: I rarely take my inflatable kayak on saltwater only because I don’t have a dedicated spot to rinse my kayak off afterwards. Salt residue can build up and that can cause damage to an inflatable kayak. If you have the option to rent a kayak, here are a few marine state parks, managed by Washington State Parks that you could explore. But these are more advanced options as you will be paddling in open waters and the winds and waves can be even more unpredictable.
Baker Lake: there are two options to paddle to, Anderson Point and Maple Grove
It looks like this fellow WTA trip reporter has done several kayak camping trips, here is the link to their trip reports.
Another article about camping on the San Juan Islands
Explore the trail systems by the Washington Water Trails Association
Spencer Spit State Park - located on Lopez Island

Tex on a kayak in Spark Lake, Oregon
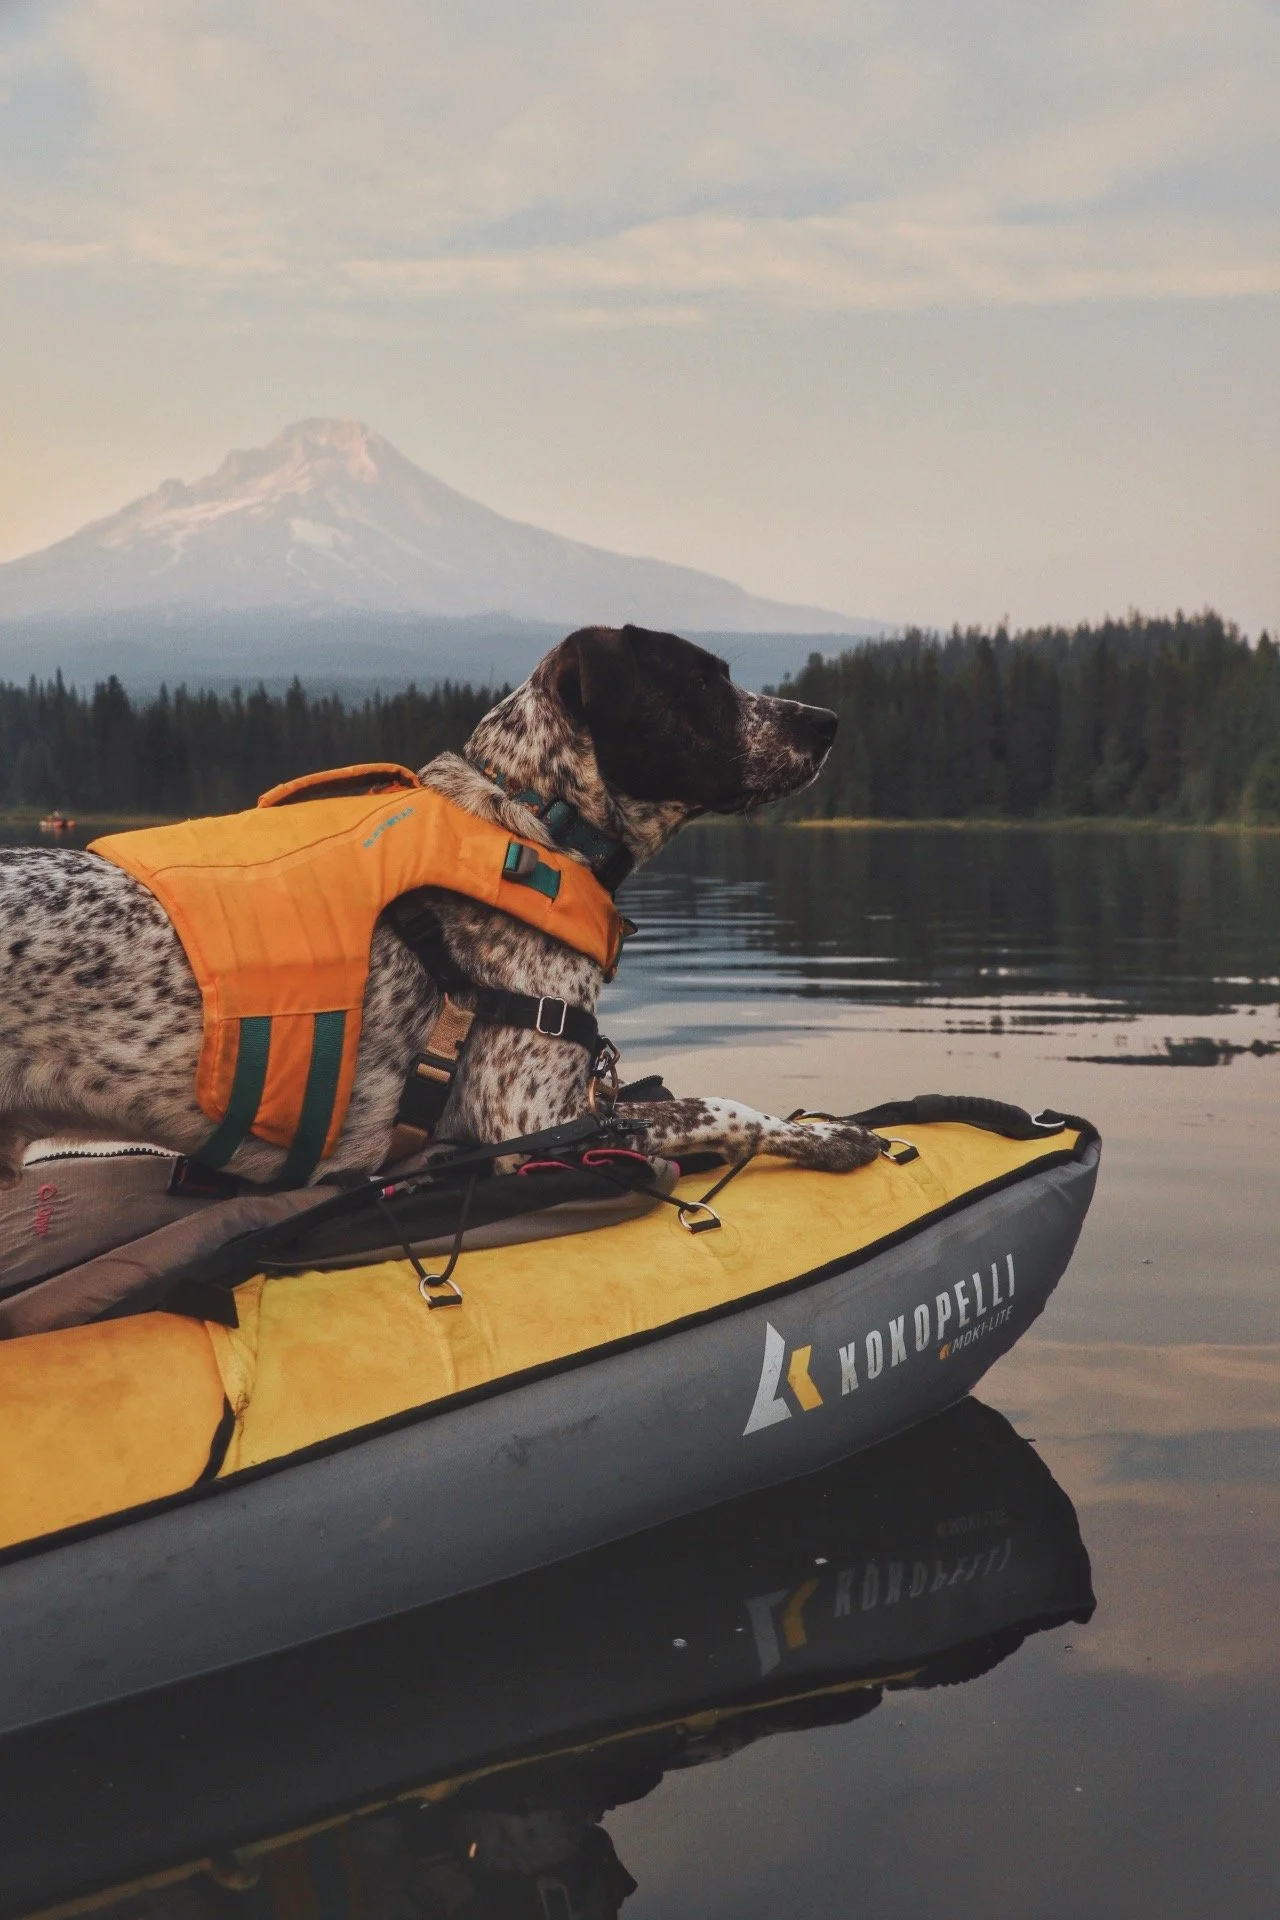
Tex enjoying Trilium Lake in Oregon
Resources
Expert Advice:
Best Inflatable Kayaks For 2026: Paddling Magazine's annually updated buyer's guide covering top-rated inflatable kayaks across categories, with reviews from experienced paddlers.
REI Kayaking Expert Advice: REI's full library of kayaking articles covering gear selection, paddling skills, safety, and trip planning — a good starting point for beginners.
Where to go next:
Washington Water Trails Association — Water Trails: An overview of Washington's mapped water trails for paddlers, including the Cascadia Marine Trail, Lakes-to-Locks, and several other multi-day paddling routes across the state.
Washington State Parks — Marine Parks: A directory of Washington's saltwater marine parks, many accessible by boat. Not all accommodate kayak camping, but it's a useful reference for planning paddle-in destinations along the coast and Puget Sound.
Kayak Camping in North Cascades National Park: I wrote this post a couple years back — this specifically covers my experience camping at Diablo Lake, including what the campground looks like and launch information.
17 Best Places to Kayak in Washington: Ready to take things to the next level? This list includes spots where you can do trial runs and work on your paddling strokes before heading out on your first kayak camping trip.
Information of boat-in camping and permits:
Boat-In Camping — North Cascades National Park: The official NPS page for boat-in camping at North Cascades, covering campsite locations, rules, and what to know before paddling into the backcountry.
North Cascades National Park Backcountry Permits — Recreation.gov: Where to reserve your overnight backcountry permit for North Cascades. Reservations must be picked up by 11am on your trip start date or they'll be cancelled.