
Snowshoeing to Artist Point: A Guide to One of the Most Rewarding Winter Adventures
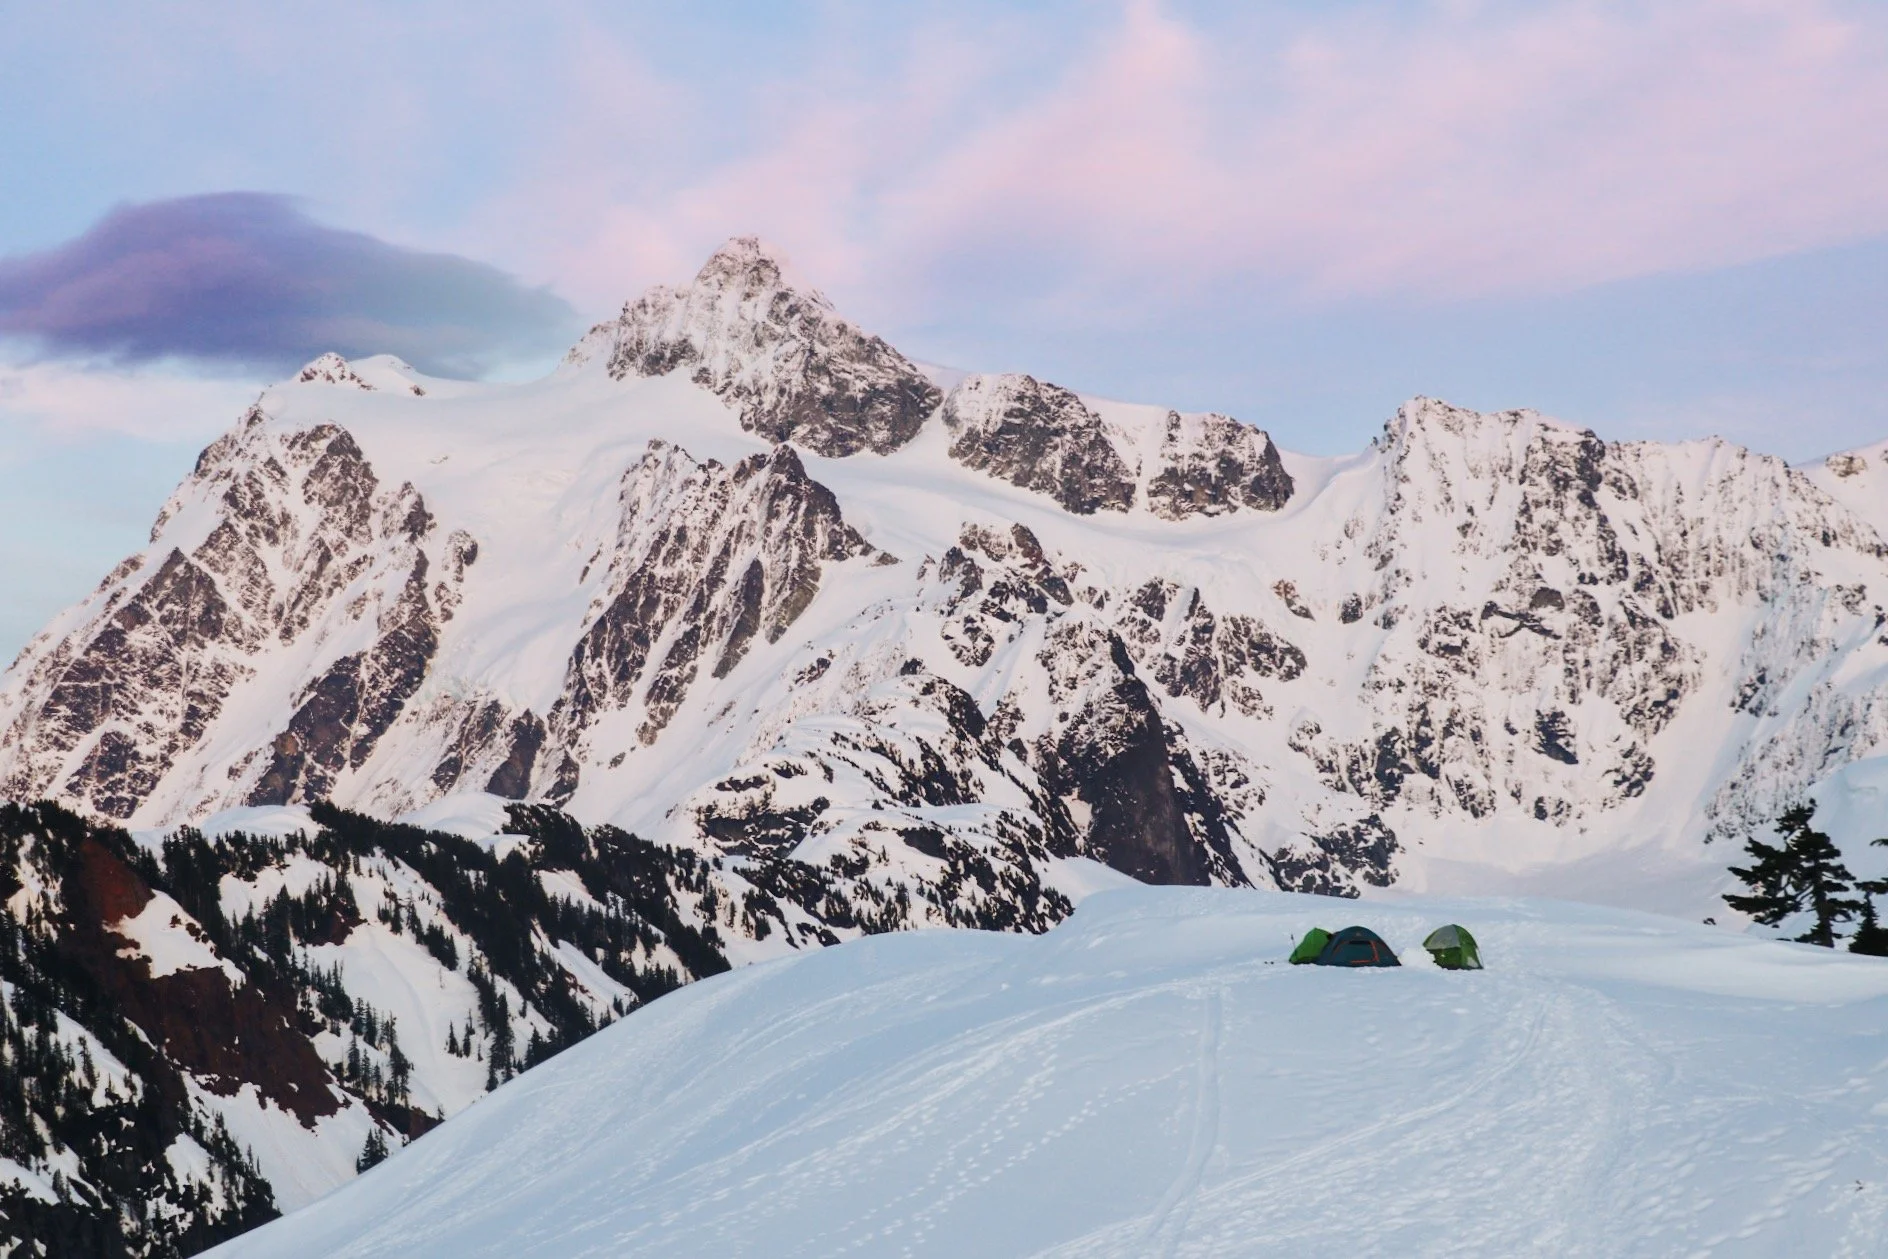
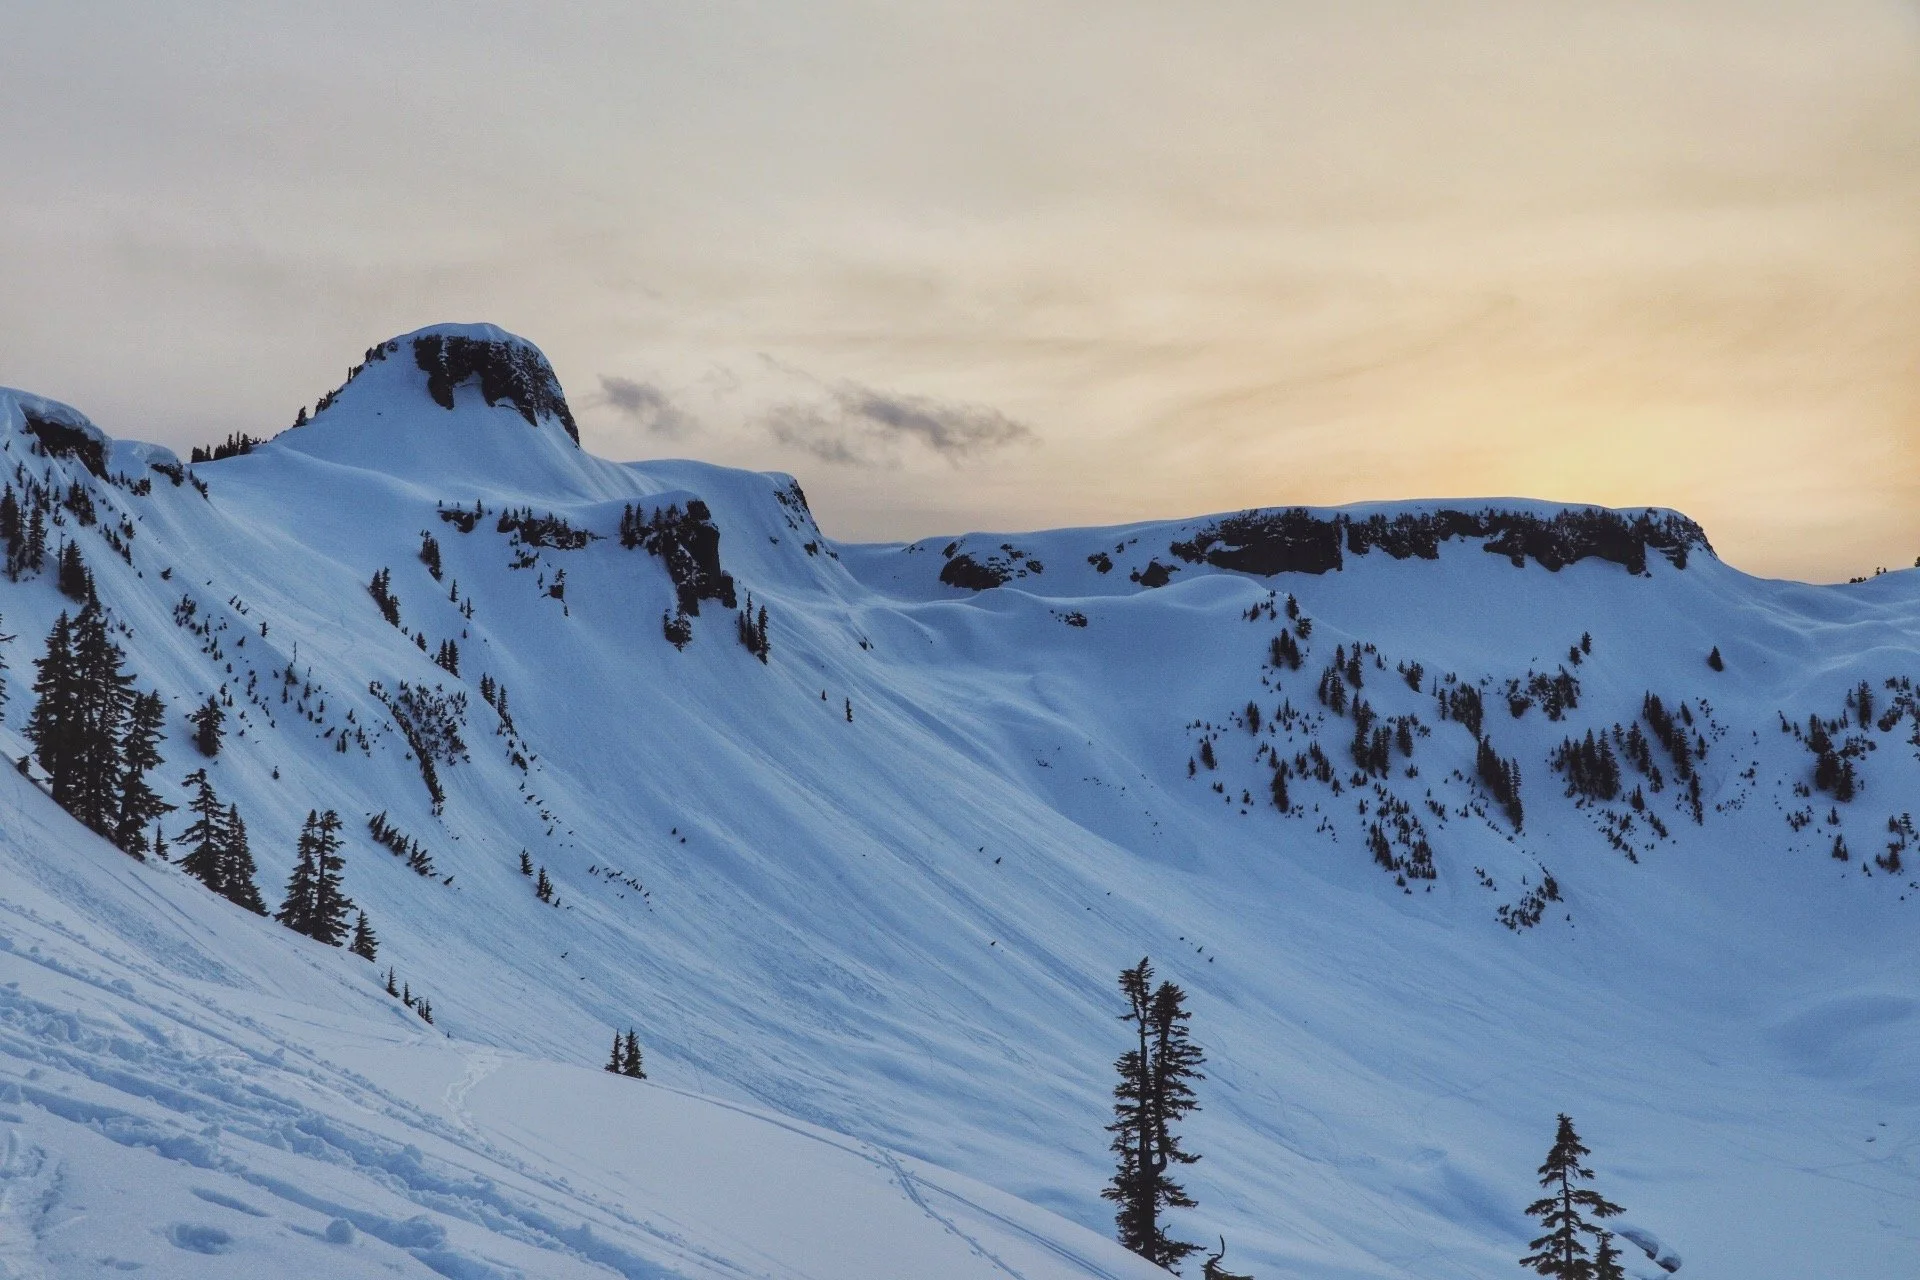
Sunset overlooking Mount Shuksan at Artist Point
Artist Point is one of Washington’s most iconic alpine destinations. This area offers breathtaking views of Mount Baker, Mount Shuksan, and the North Cascades. This accessible viewpoint draws visitors year-round for hiking, snowshoeing, skiing, and snowboarding. In summer, meadows are filled with wildflowers. In winter, the area transforms into a snowy wonderland perfect for snowshoeing, snow camping, and winter recreation. In this blog post, I will focus on snowshoeing up to Artist Point and how to go snow camping for the first time if you haven’t done it before.
Distance:
~4 miles
Elevation Gain:
~1000 feet
Passes:
America the Beautiful/NW Forest Pass
Dog-Friendly:
Yes
Safety First: What You Absolutely Need to Know
I am not going to sugarcoat this because I learned this the hard way. You pass through avalanche terrain at Artist Point in the winter, and conditions can change faster than you’d think.
Avalanche Chutes
The winter route crosses several avalanche paths, particularly as you approach Artist Point itself. Dangers do exist. On my third attempt, I thought I was taking a shortcut back to the parking lot. I did see ski tracks and footprints so I thought to myself, this might be safe to traverse. But I didn’t properly assess where I was stepping. I broke through a snow bridge and suddenly I was sliding down the mountainside. I self-arrested and wasn’t seriously hurt but that experience scared the hell out of me.
Non-Negotiable Safety Checklist
Check the NWAC Avalanche Forecast before you head out. If it’s anything above low (green), I would seriously reconsider.
Weather changes rapidly. What starts as blue skies can become a complete whiteout within an hour. Bring navigation tools and know how to use them. I love using GaiaGPS to guide me. Other options include OnX Backcountry.
If you have the option to go with other people, I would.
Cell service is spotty to nonexistent. Don’t count on calling for help.
If you have avalanche training and have a beacon/shovel/probe, great. If you don’t, I would stick to low-danger days and be ready to turn around if something doesn’t feel right.
NWAC offers free online courses. I highly recommend taking one of them before you do any type of winter recreating.
If something feels off—weather rolling in, snow conditions changing, your gut saying "not today"—listen. Those turnarounds weren't failures. They were good decisions.
Getting to the Trailhead
Winter Access
In winter, the road up to Artist Point is closed. You will park at the Mount Baker Ski Area parking lots (essentially where the plowed road ends). From there, you start snowshoeing from the backcountry ski area and up the closed summer road.
If you are planning to stay overnight, you will need to purchase an overnight parking pass, which you can usually get in advance here.
Directions from Seattle:
Take I-5 North to Exit 255 for WA-542 (Mount Baker Highway)
Drive through Glacier (last reliable stop for food, gas, and coffee—hit up Graham's if you need a breakfast burrito for the road)
Continue on 542 for about 30 miles until you reach the ski area parking
On weekends and powder days, parking fills up FAST. Arrive early or be prepared to park further down and add distance to your trek
Pro tip: Check WSDOT road conditions before you leave. Chain requirements are common, and sometimes the road closes entirely due to avalanche control work. Due to flood damage, expect delays on the Mount Baker Highway between milepost 41 and 44 as they continue to repair the highway.
Best Time to Go
Season: Late December through April, depending on snow conditions. I went in April and the snow pack was still really good but the weather was more reliable with longer days.
Day of Week: Weekdays are quieter, though "quiet" is relative—winter Artist Point is never as crowded as summer. Weekends bring more ski tourers and snowshoers.
Time of Day: Start early if you're day-tripping. Weather tends to be more stable in the morning, and you want to give yourself plenty of daylight buffer. For camping, timing matters less—just get up there before dark.

Passes & Permits
Parking is a little bit different in the winter. If you are planning to just visit Artist Point for the day, you can park at either White Salmon (Milepost 52) or Heather Meadows (Milepost 54). Both have limited availability, especially on the weekends.
If you are planning to stay overnight, you would need to make a reservation online. You can find information about overnight parking passes and purchase one here.
The Route: What to Expect
Section 1: Parking Lot to Heather Meadows (~1 mile)
From the ski area peaking, you will follow the closed summer road towards Heather Meadows. If you need a snack, stop by the Heather Meadows Visitor Center. They also have bathrooms here.
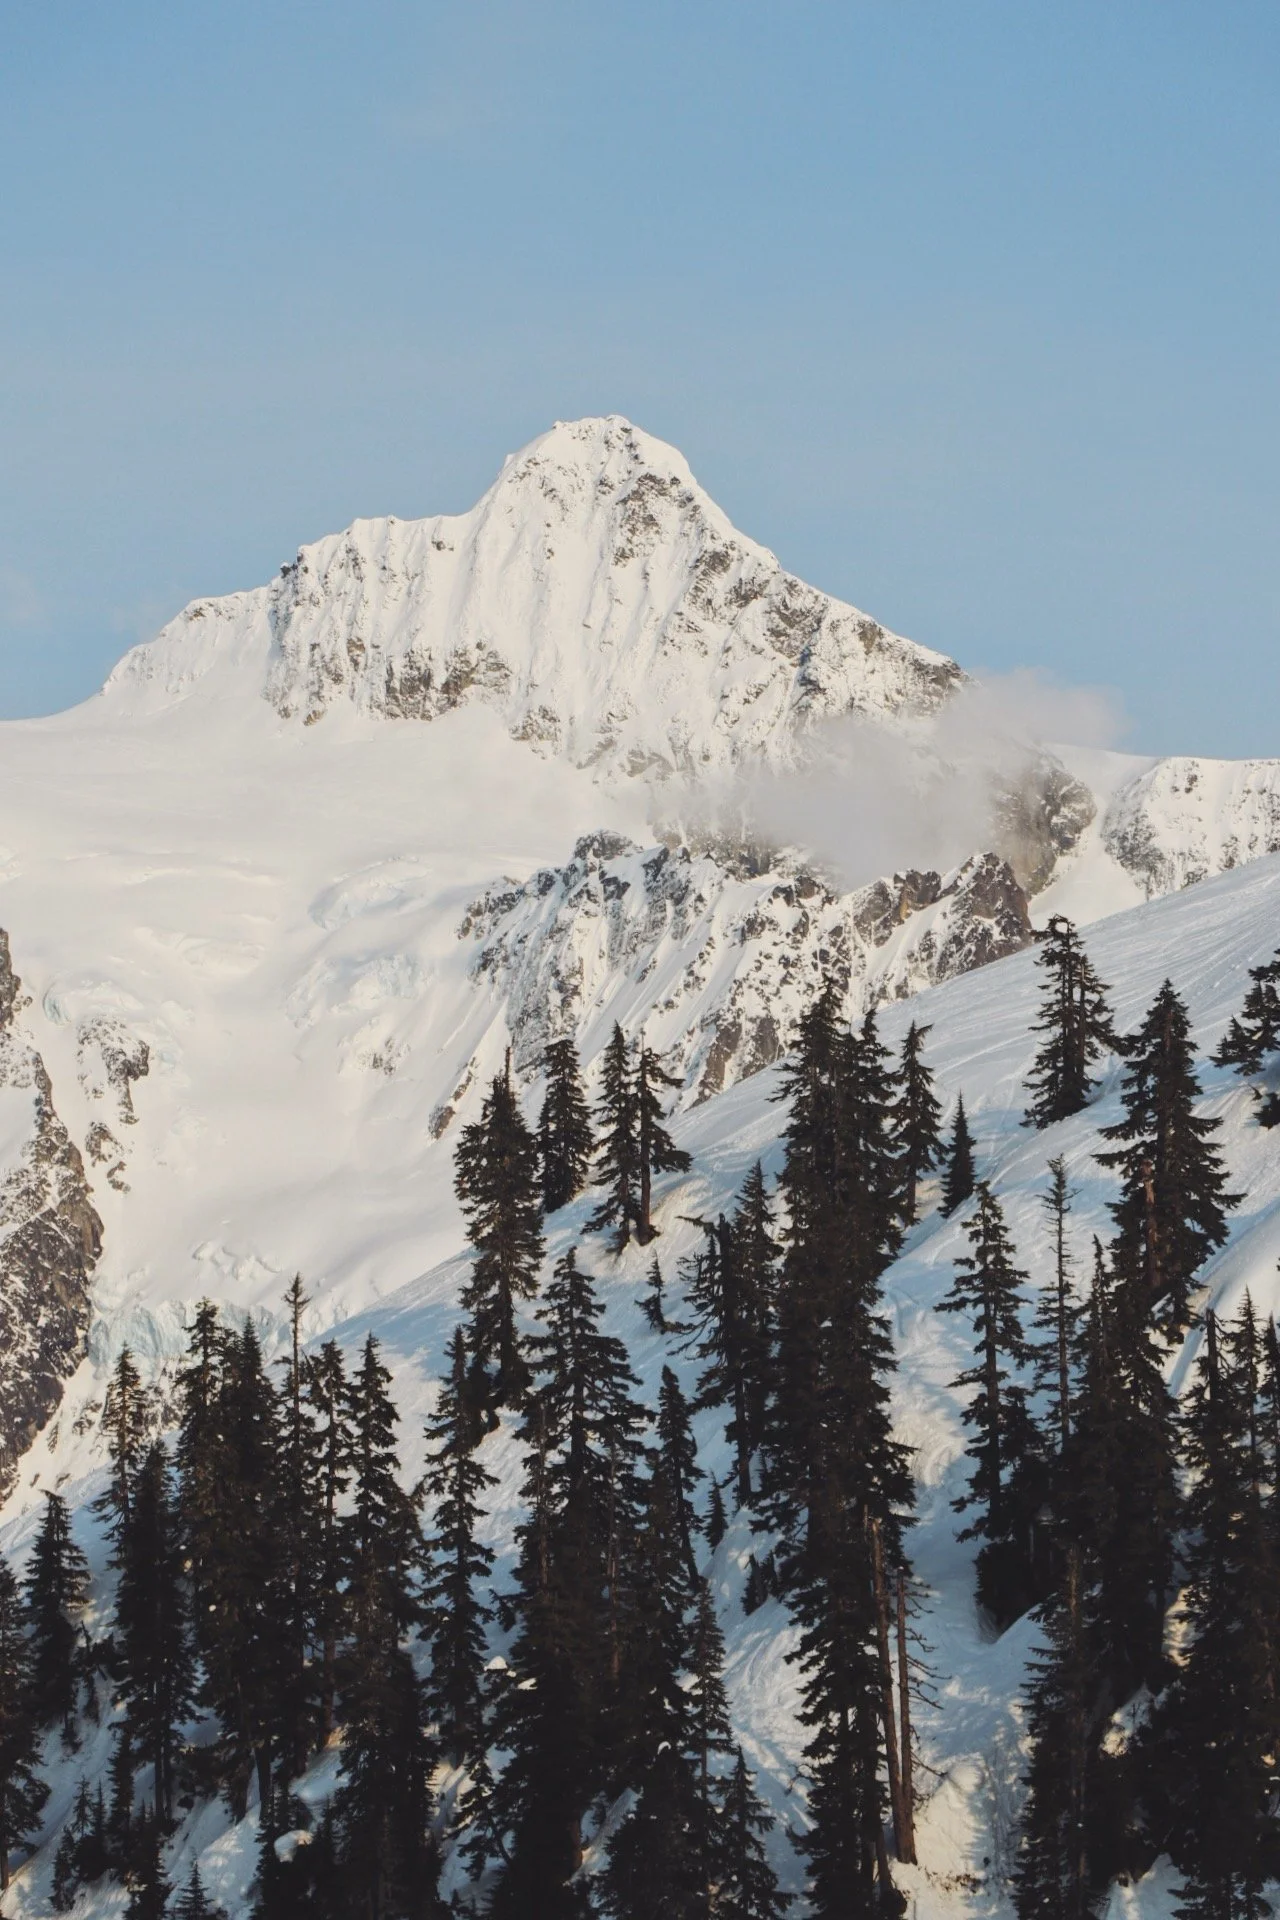
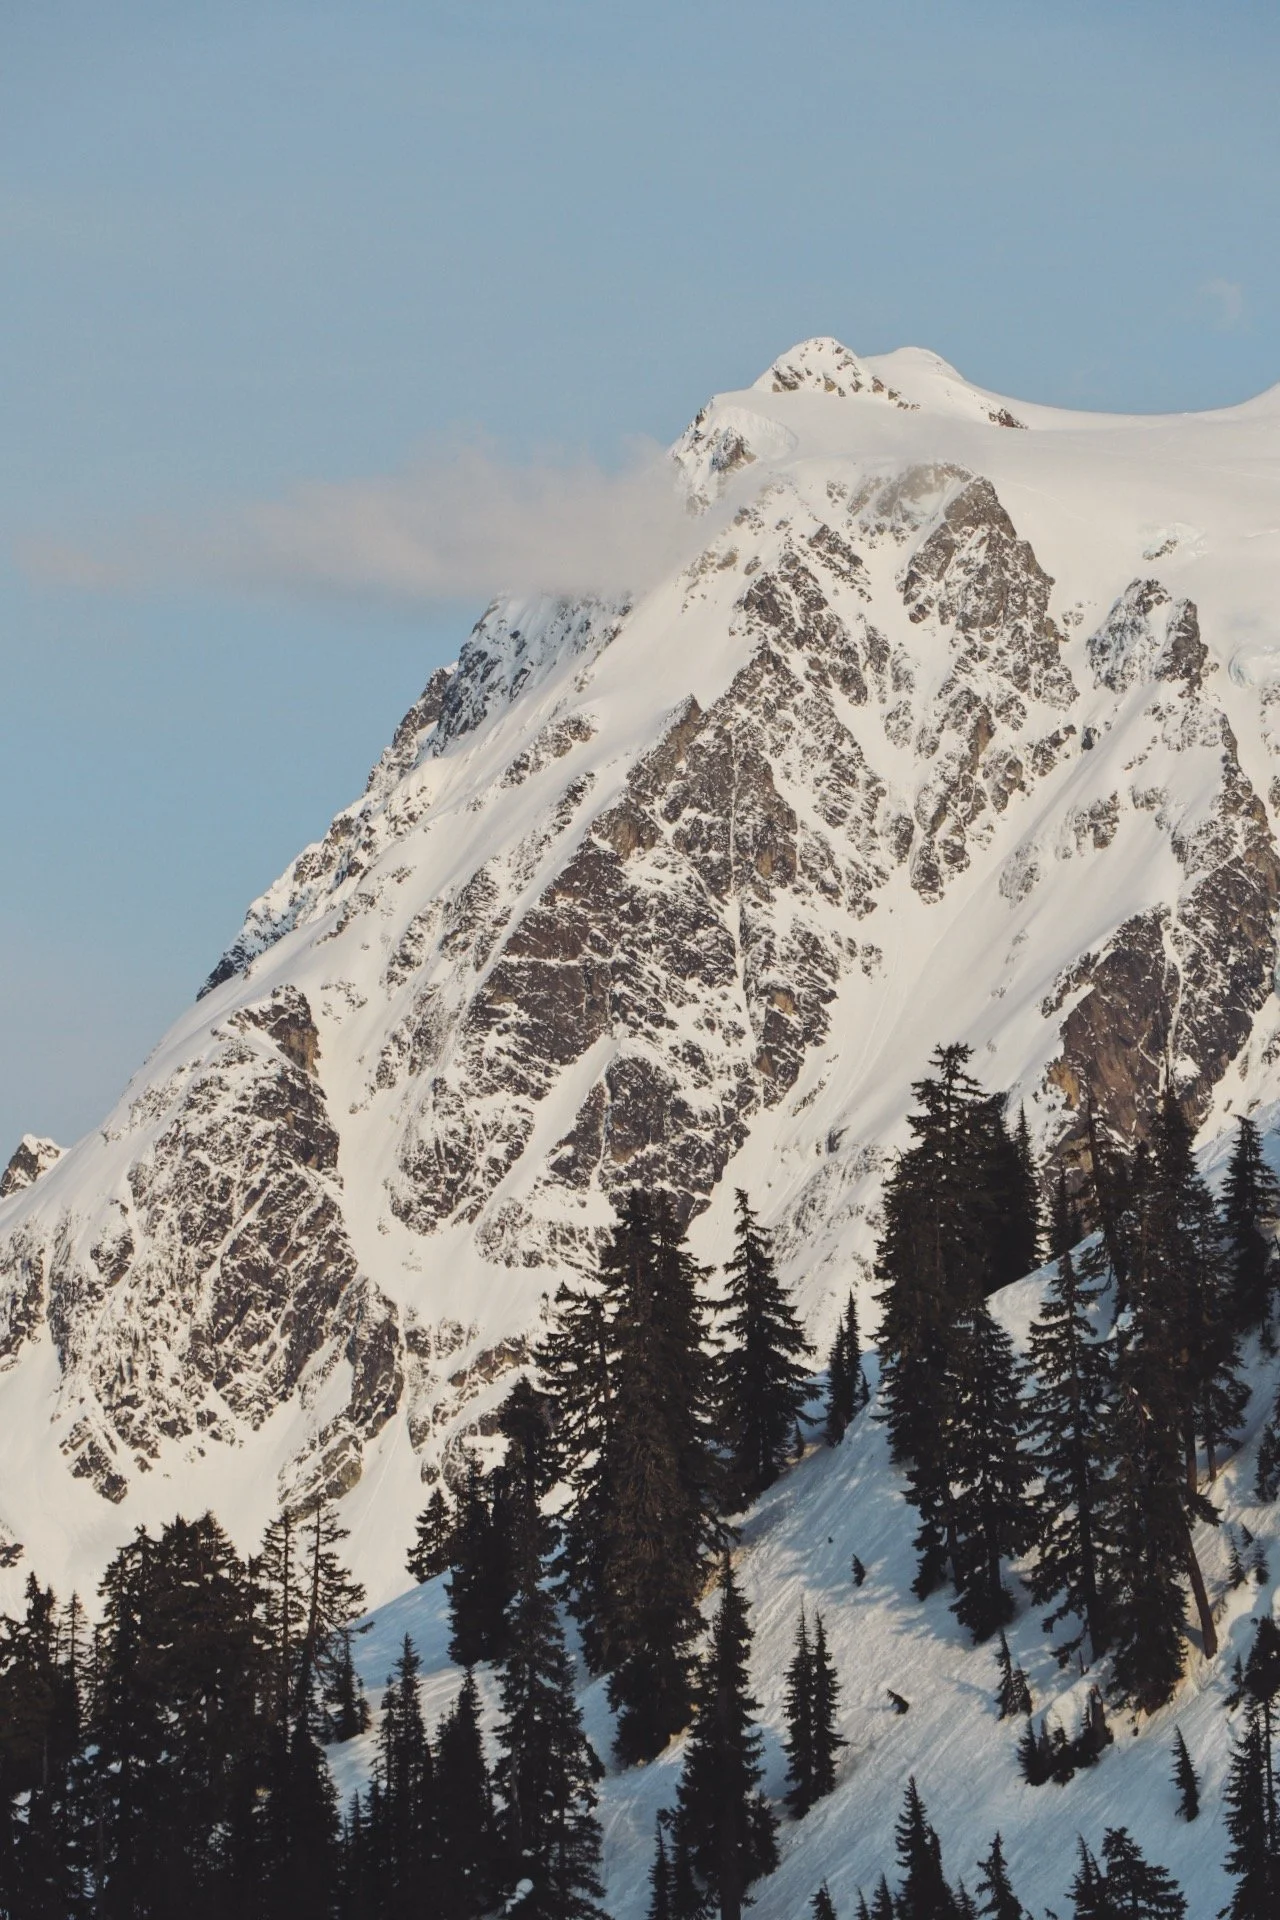
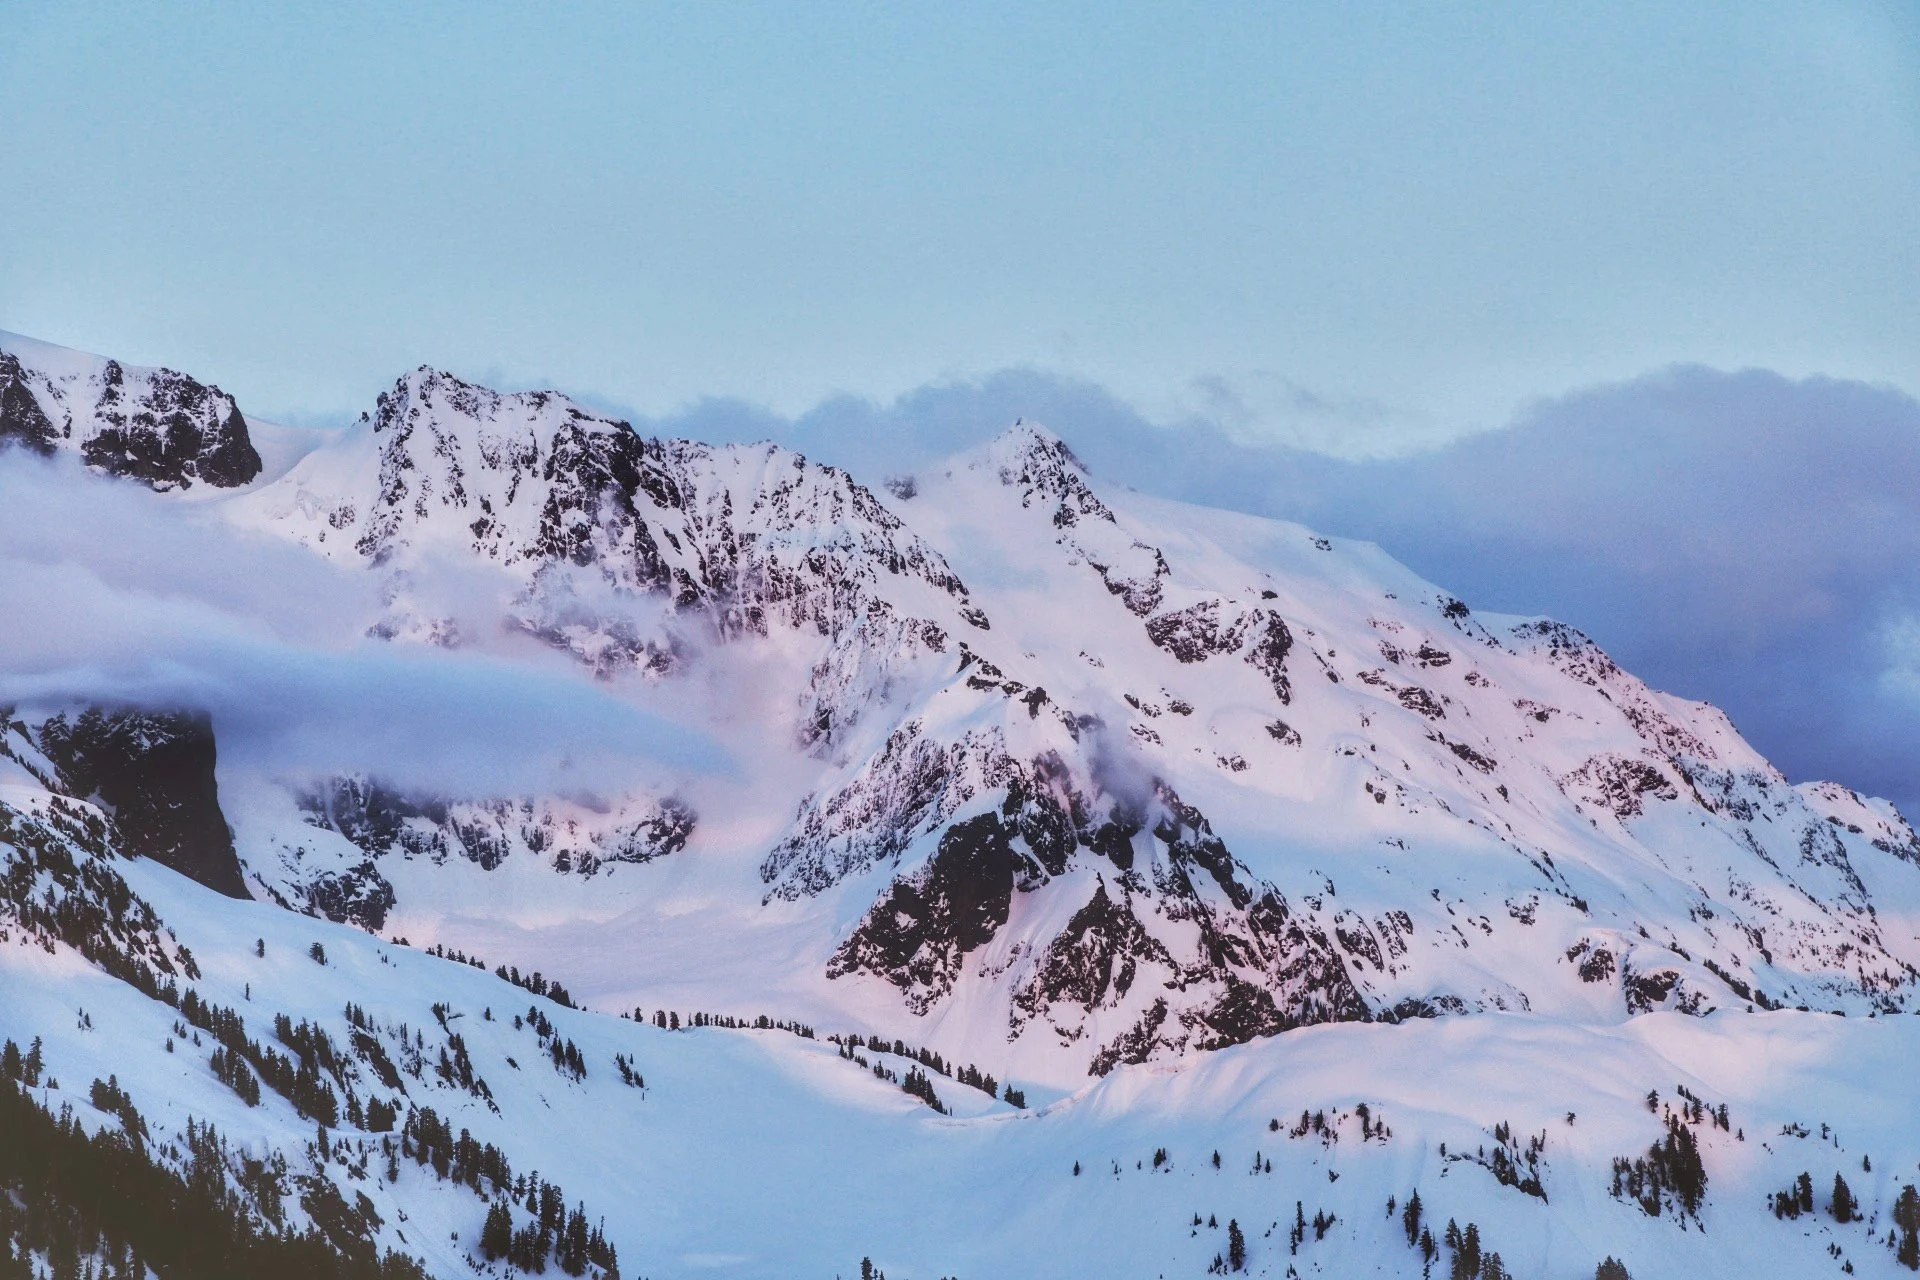
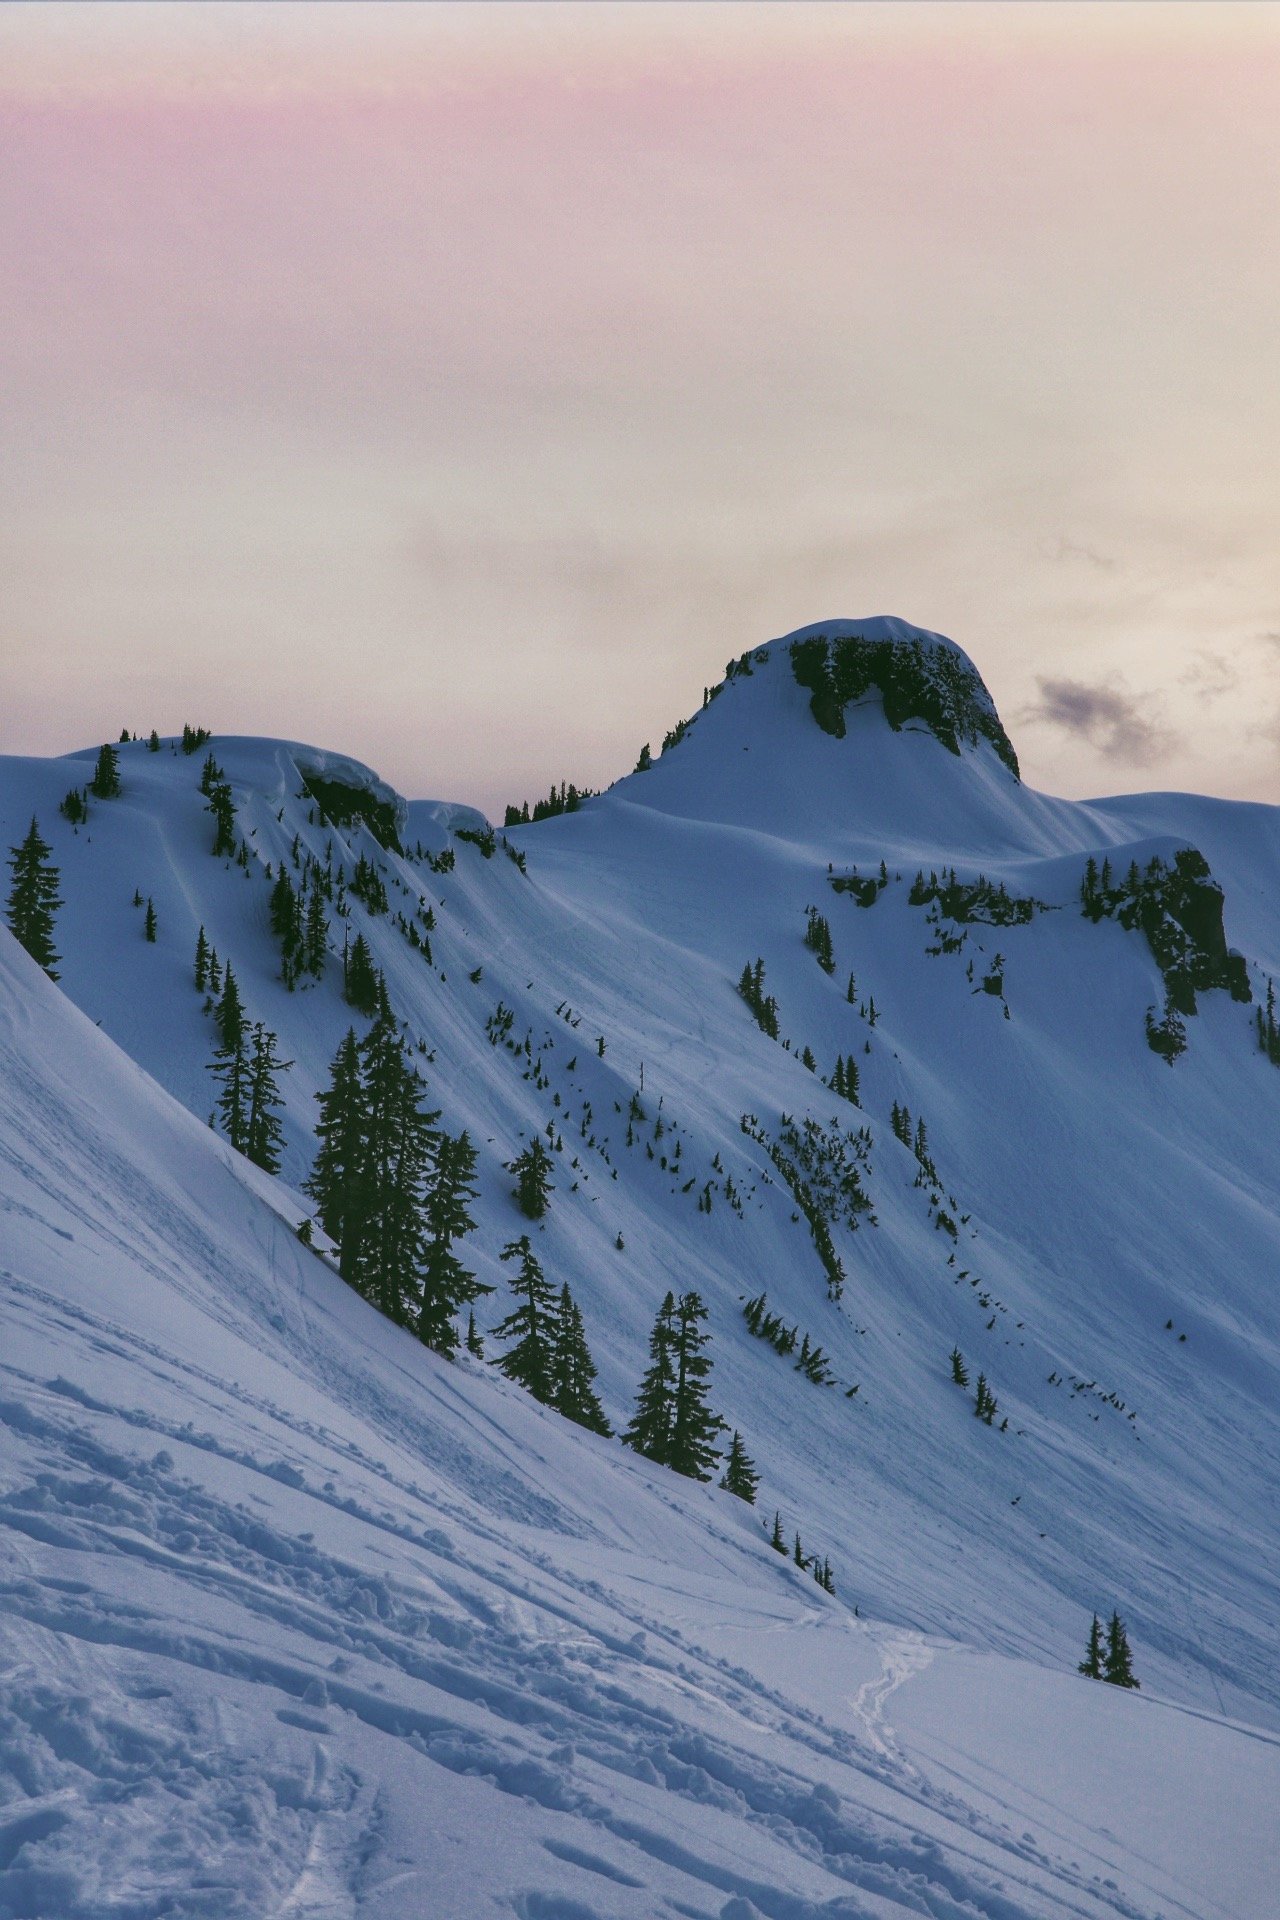
This section is mellow, good for warming up your legs and getting your snowshoe rhythm down. The road winds gently uphill through trees at first, then opens up with views of Table Mountain to your left. It’s hard to miss Table Mountain as the top of it literally looks like a table. On a clear day, Mount Shuksan starts peeking through on your right.
Note: I always forget where I end up parking but I do believe the lot I park in is usually the summer backcountry lot. From here, you just need to follow skiers and snowboarders. There is an obvious ‘entrance’ to the backcountry ski area.
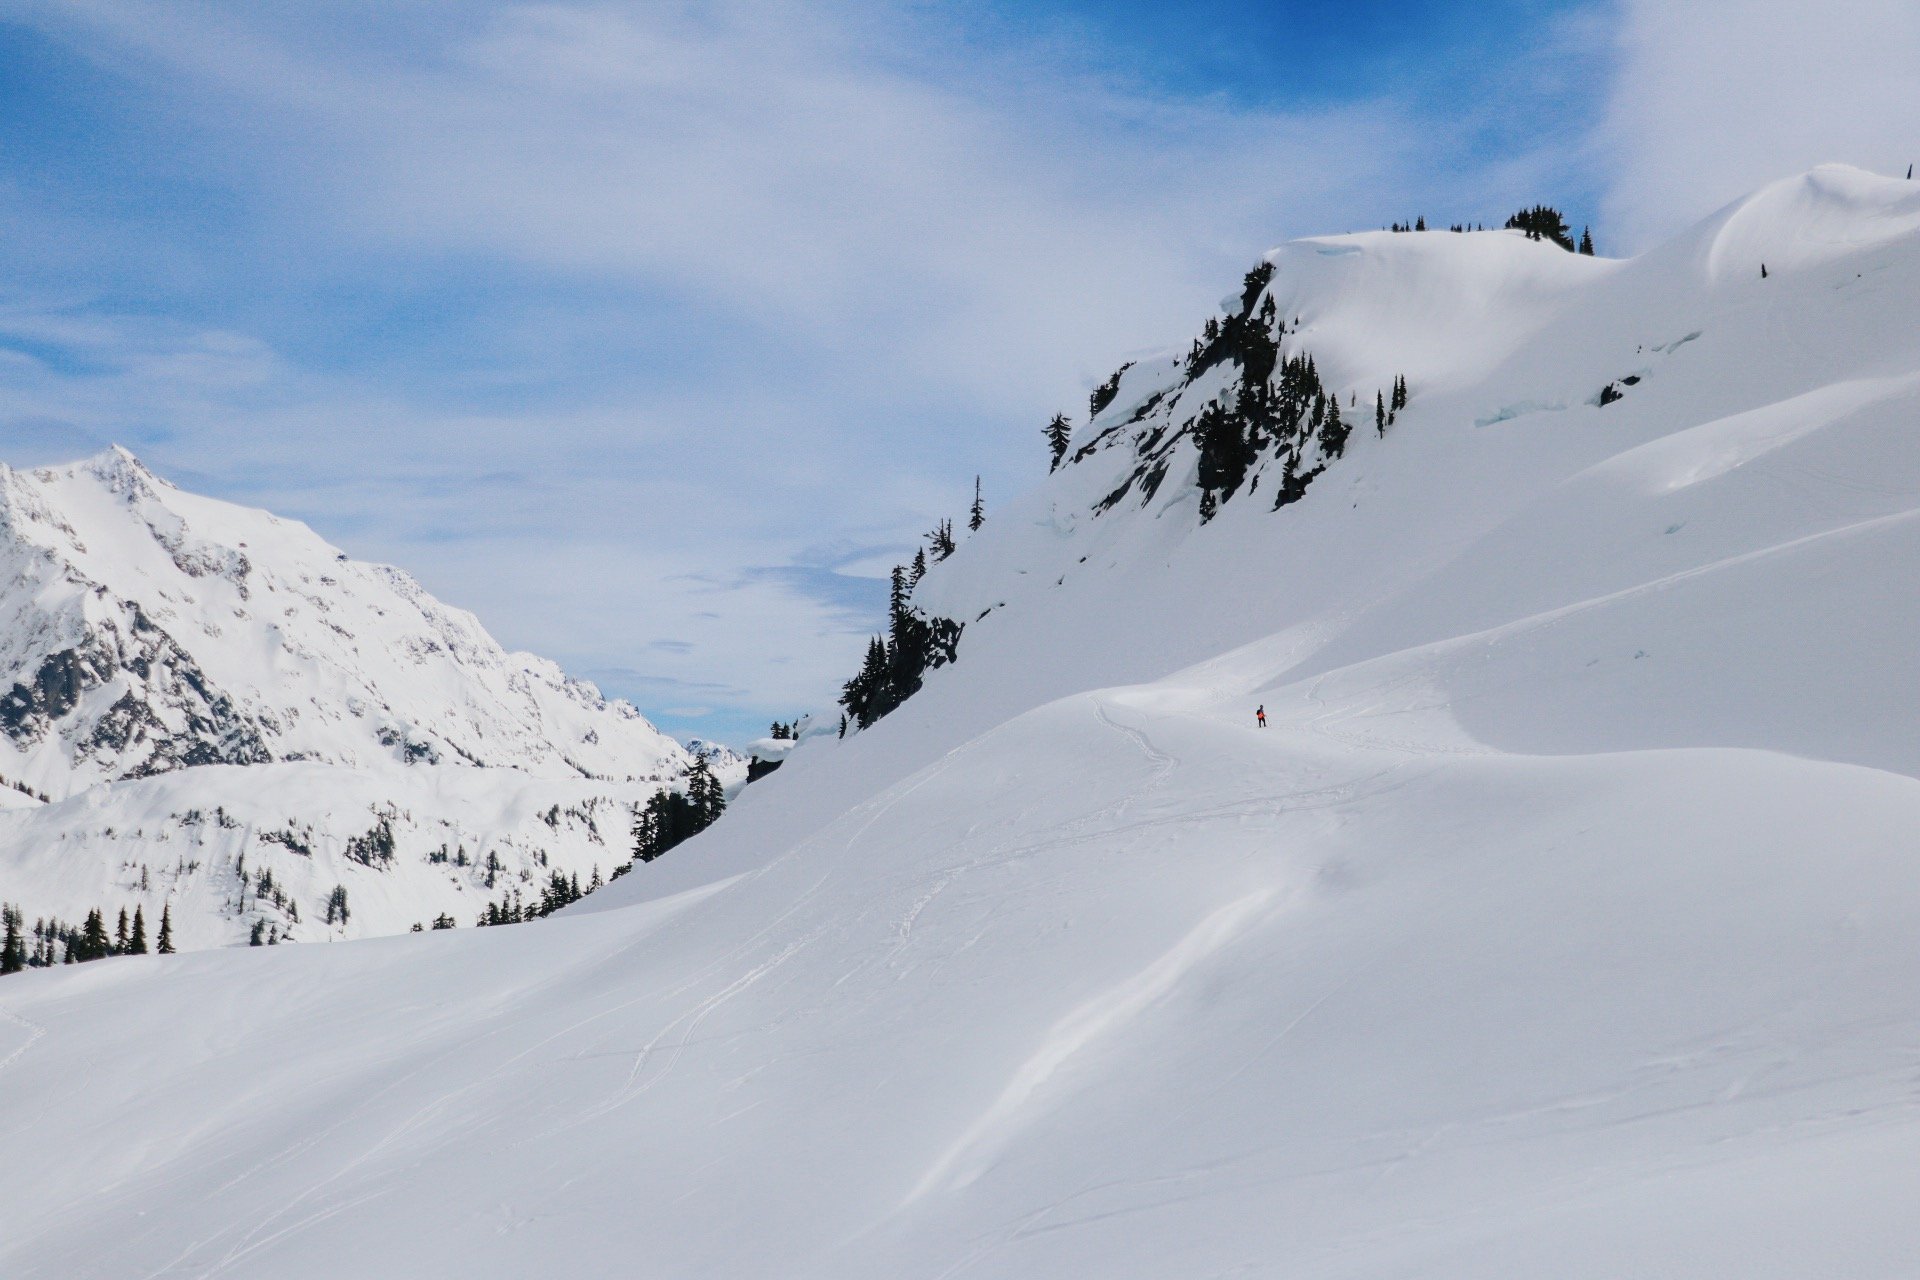
Getting close to Artist Point, just a few more climbs.
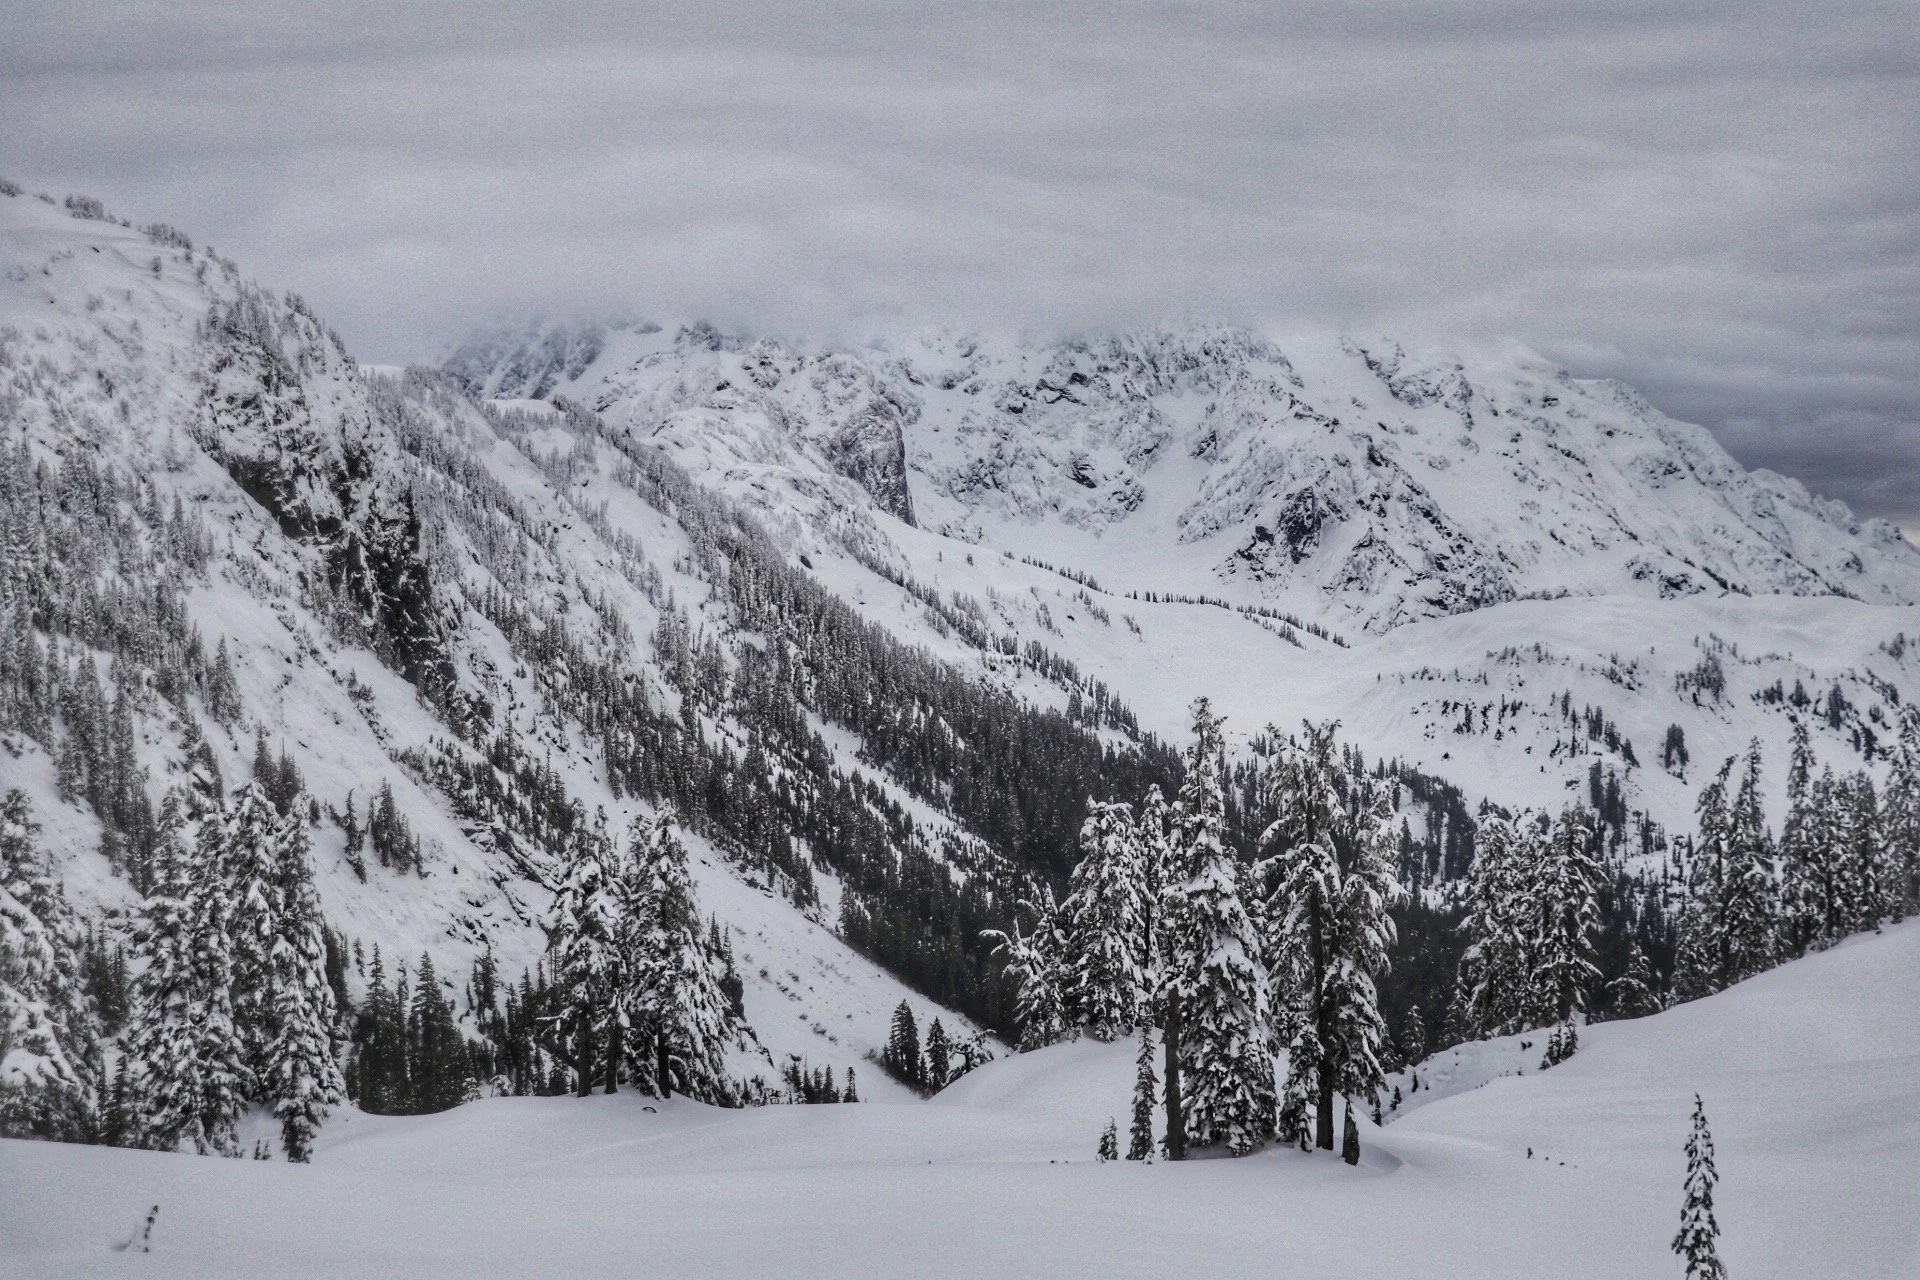
Section 2: Heather Meadows to Artist Point (~1.5 miles)
This is where things get real and a little steeper! You begin to cross some avalanche chutes in this section. On a low risk day, there isn’t too much to worry about but I would still stay alert with your surroundings and watch for unusual activity. As you cross this section, you are actually hiking on the summer road but it is covered deep in snow. Continue to zigzag up through open slopes. This section is easy to follow as you are basically hugging the boundary of the backcountry ski area.
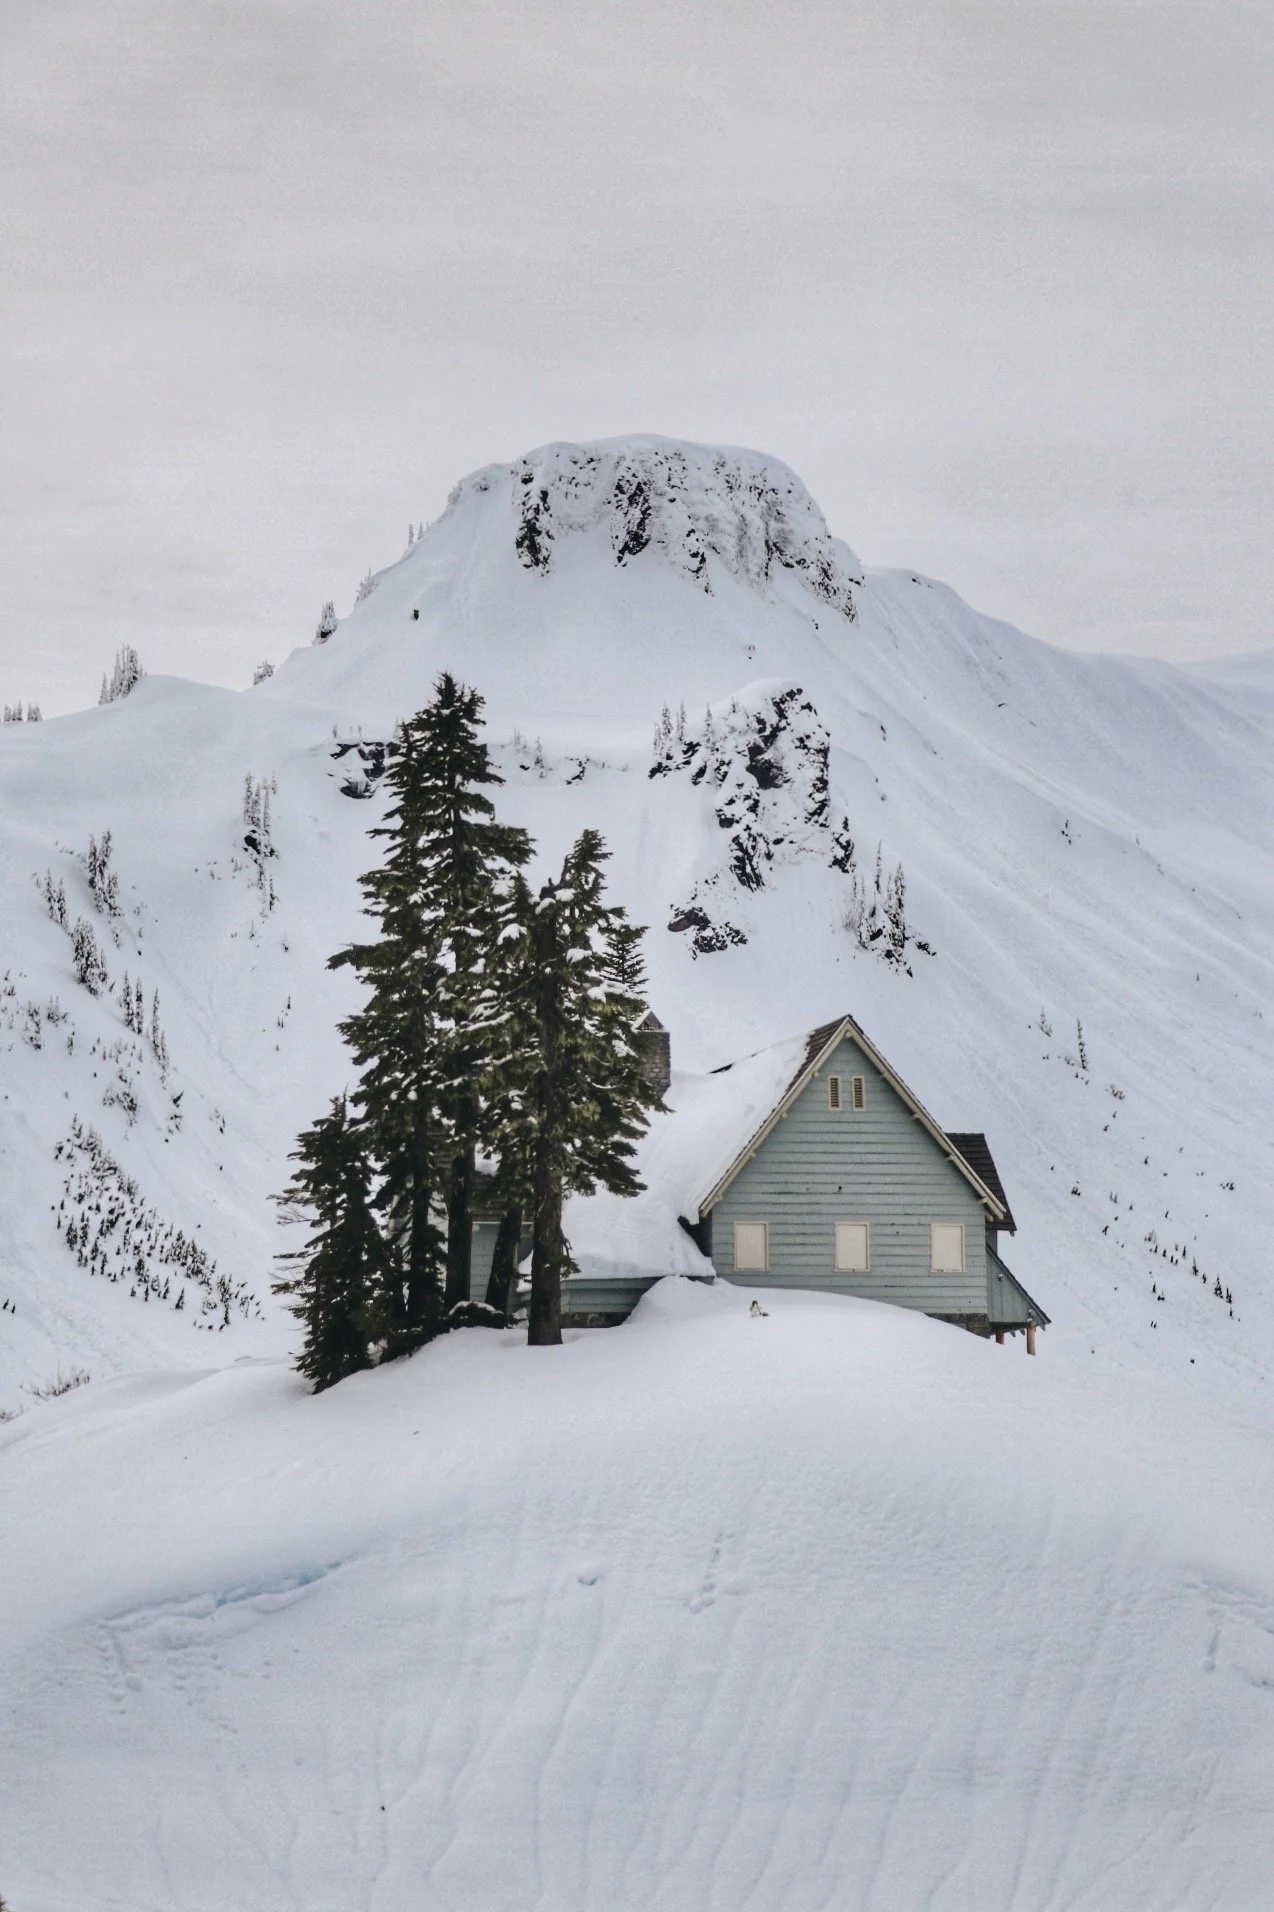
Structure in the winter
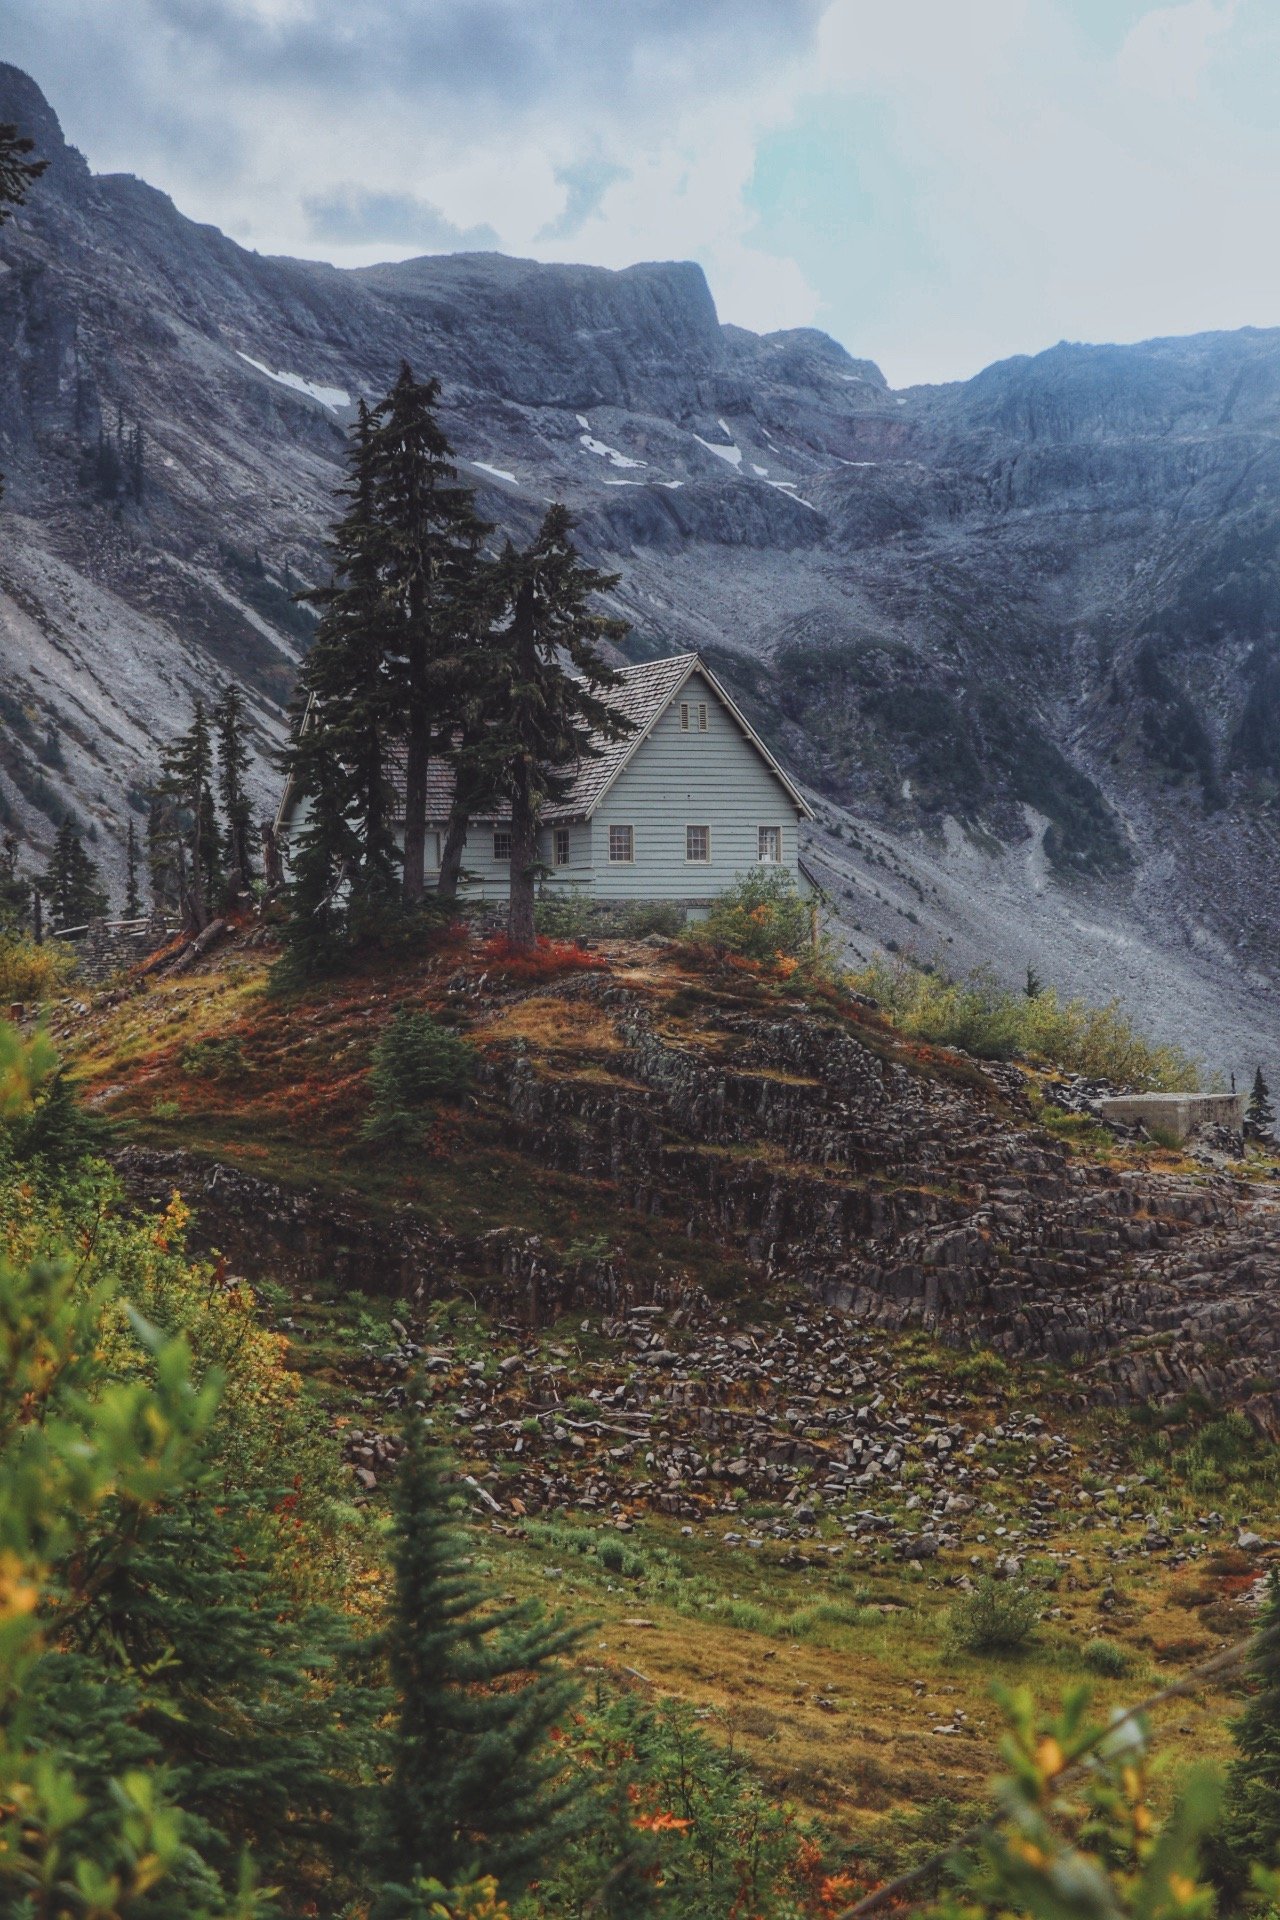
Same structure in the summertime
Challenges
I think a lot of people underestimate the underlying dangers of snowshoeing up to Artist Point or in winter conditions in general. Here are some challenges I have personally encountered and I want to share them because these tips will help better prepare yourself so you can have a fun time while enjoying amazing views.
Route-Finding Challenges
In good visibility, you can generally follow ski tracks or previous snowshoe tracks. But when visibility drops (which it does often), navigation gets a little tricky at times. The summer road is almost never obvious under deep snow. I use Gaia GPS and download an offline map before I go. There is no cell service beyond Heather Meadows.
Snow Bridges & Terrain Traps
I took a fall when I traversed over a snow bridge. Creek crossings get covered by snow bridges and they tend to be weak and can easily collapse. Test suspicious-looking areas with your poles before committing your weight. I would also generally stay on the path most-traveled. On a good visibility day, this will be easy to follow. You hardly have to wander off the trail to get great views. Safety first!
Landmarks to Watch For:
Bagley Lakes area: you will skirt around these
Table Mountain becomes more prominent to your west
Mount Shuksan dominates the east as you continue to gain elevation
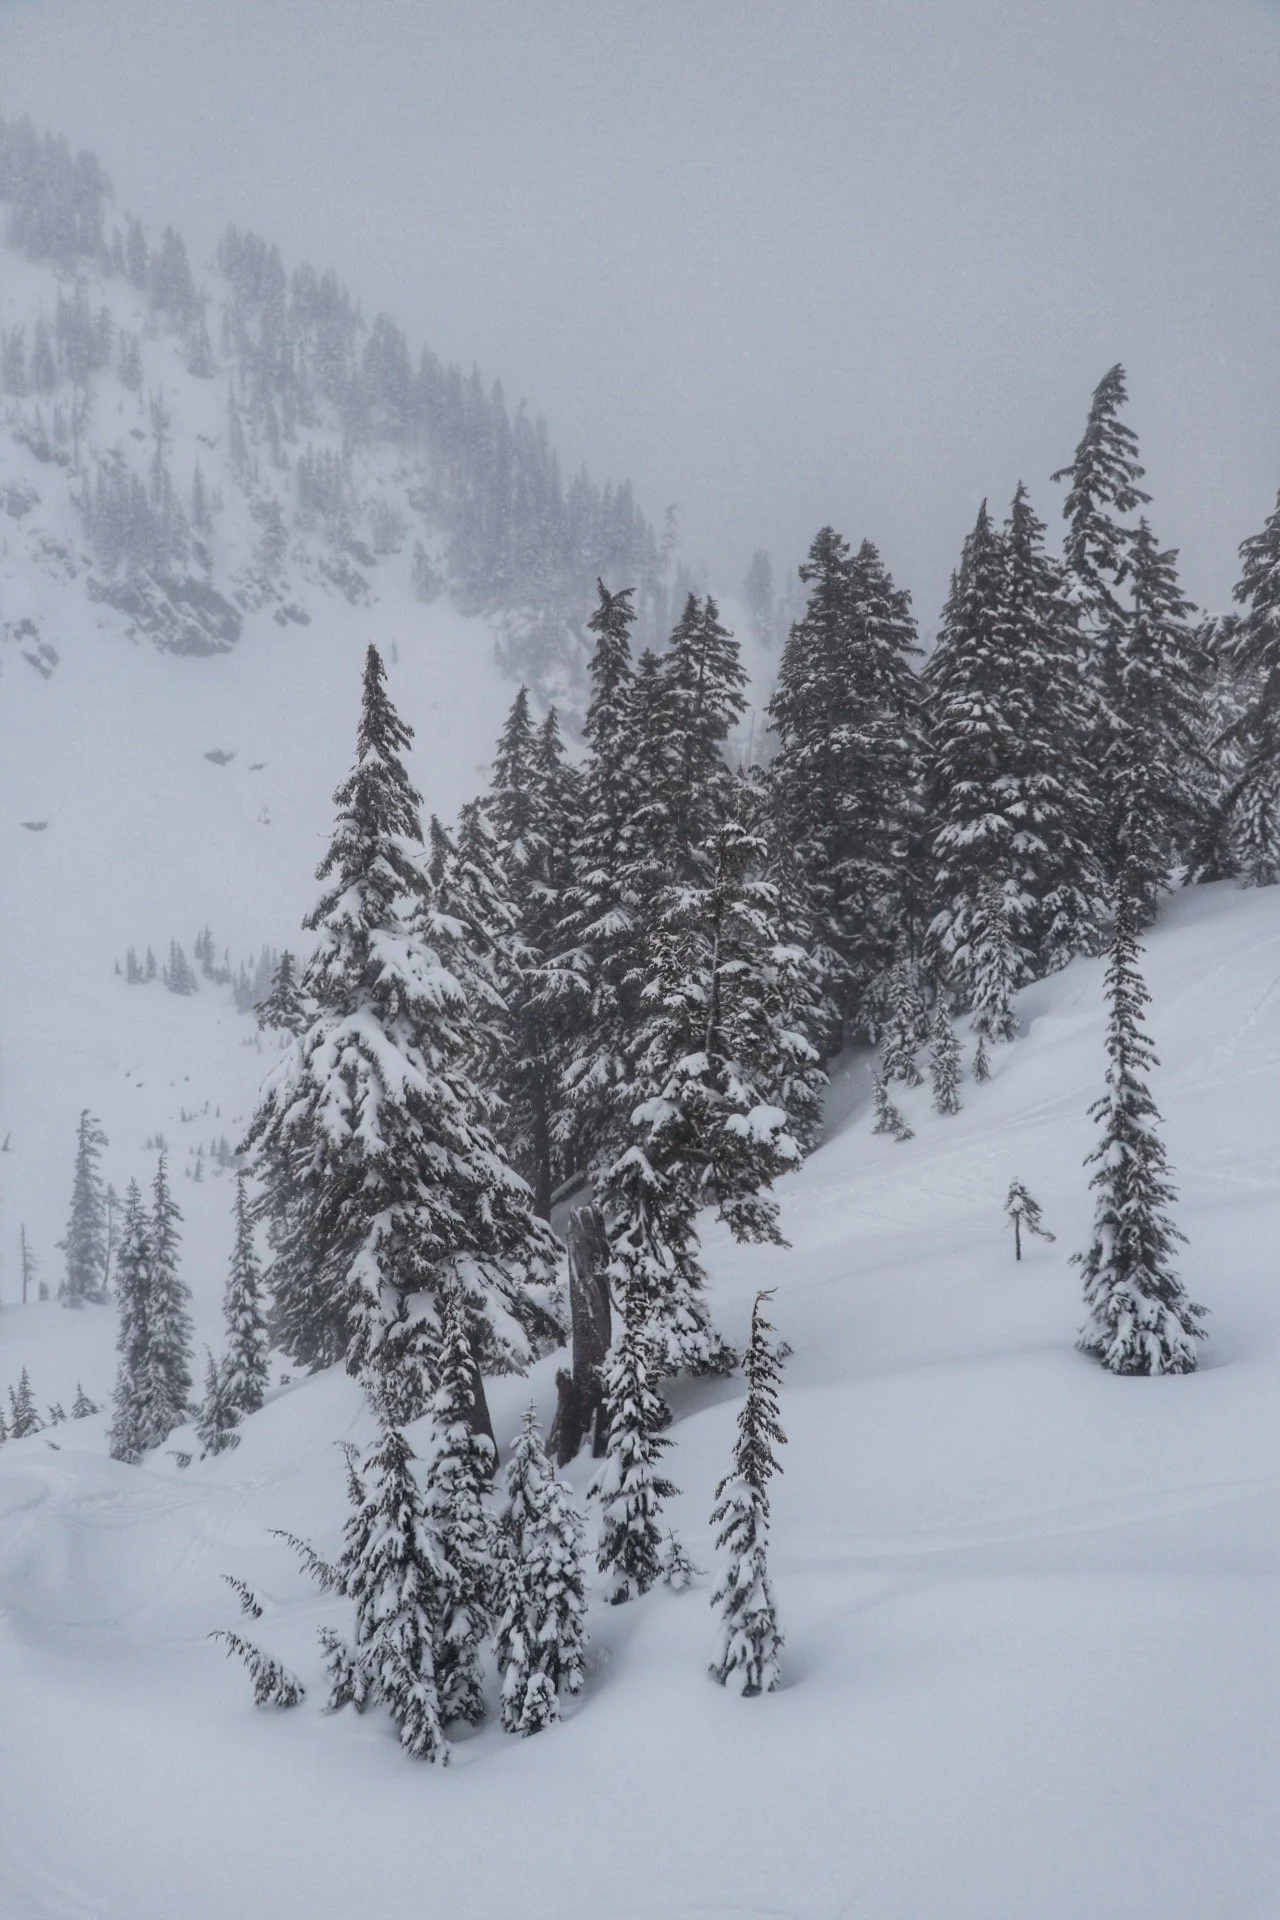
That day’s visibility wasn’t super good. This was in February of 2023.
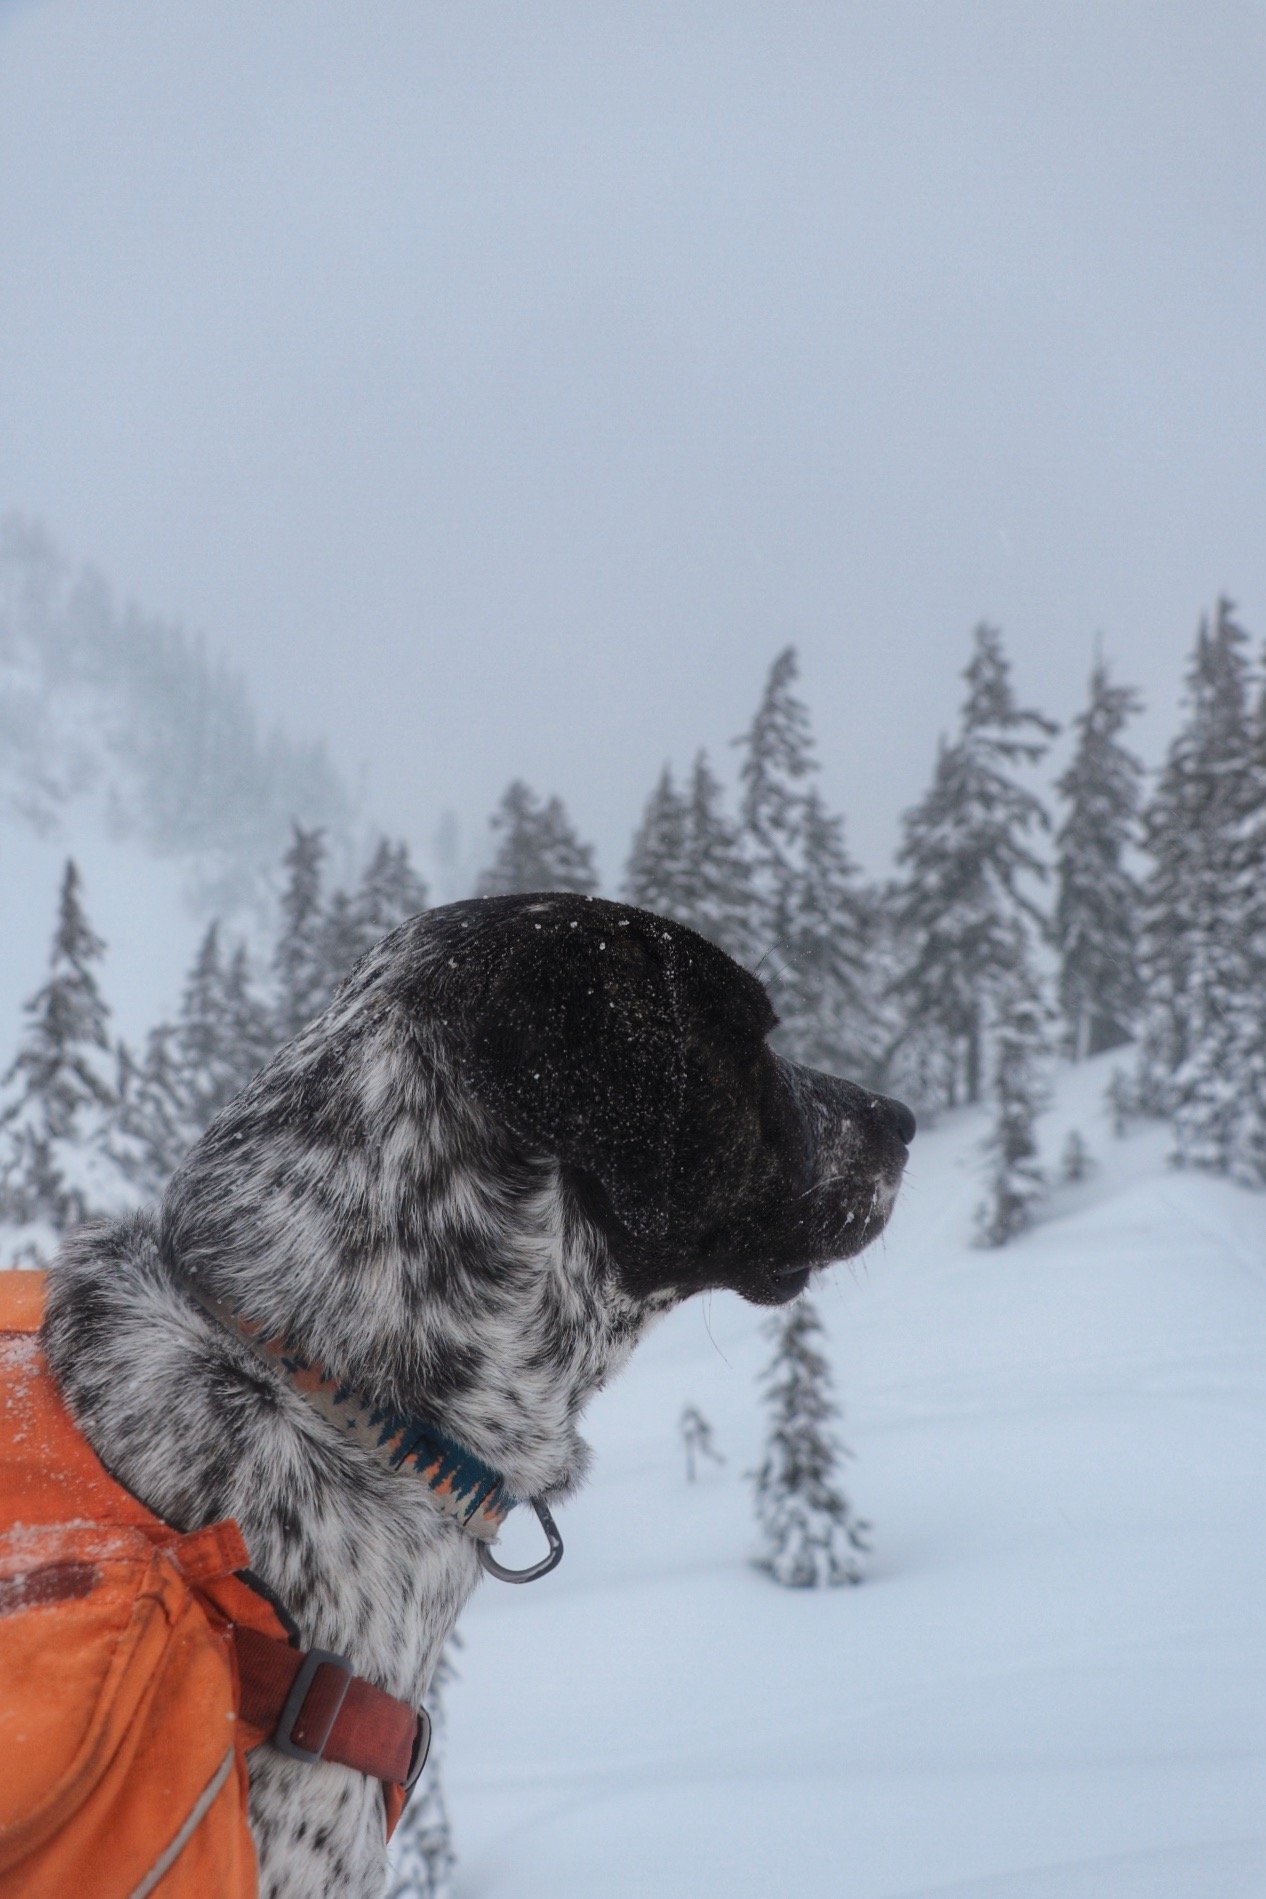
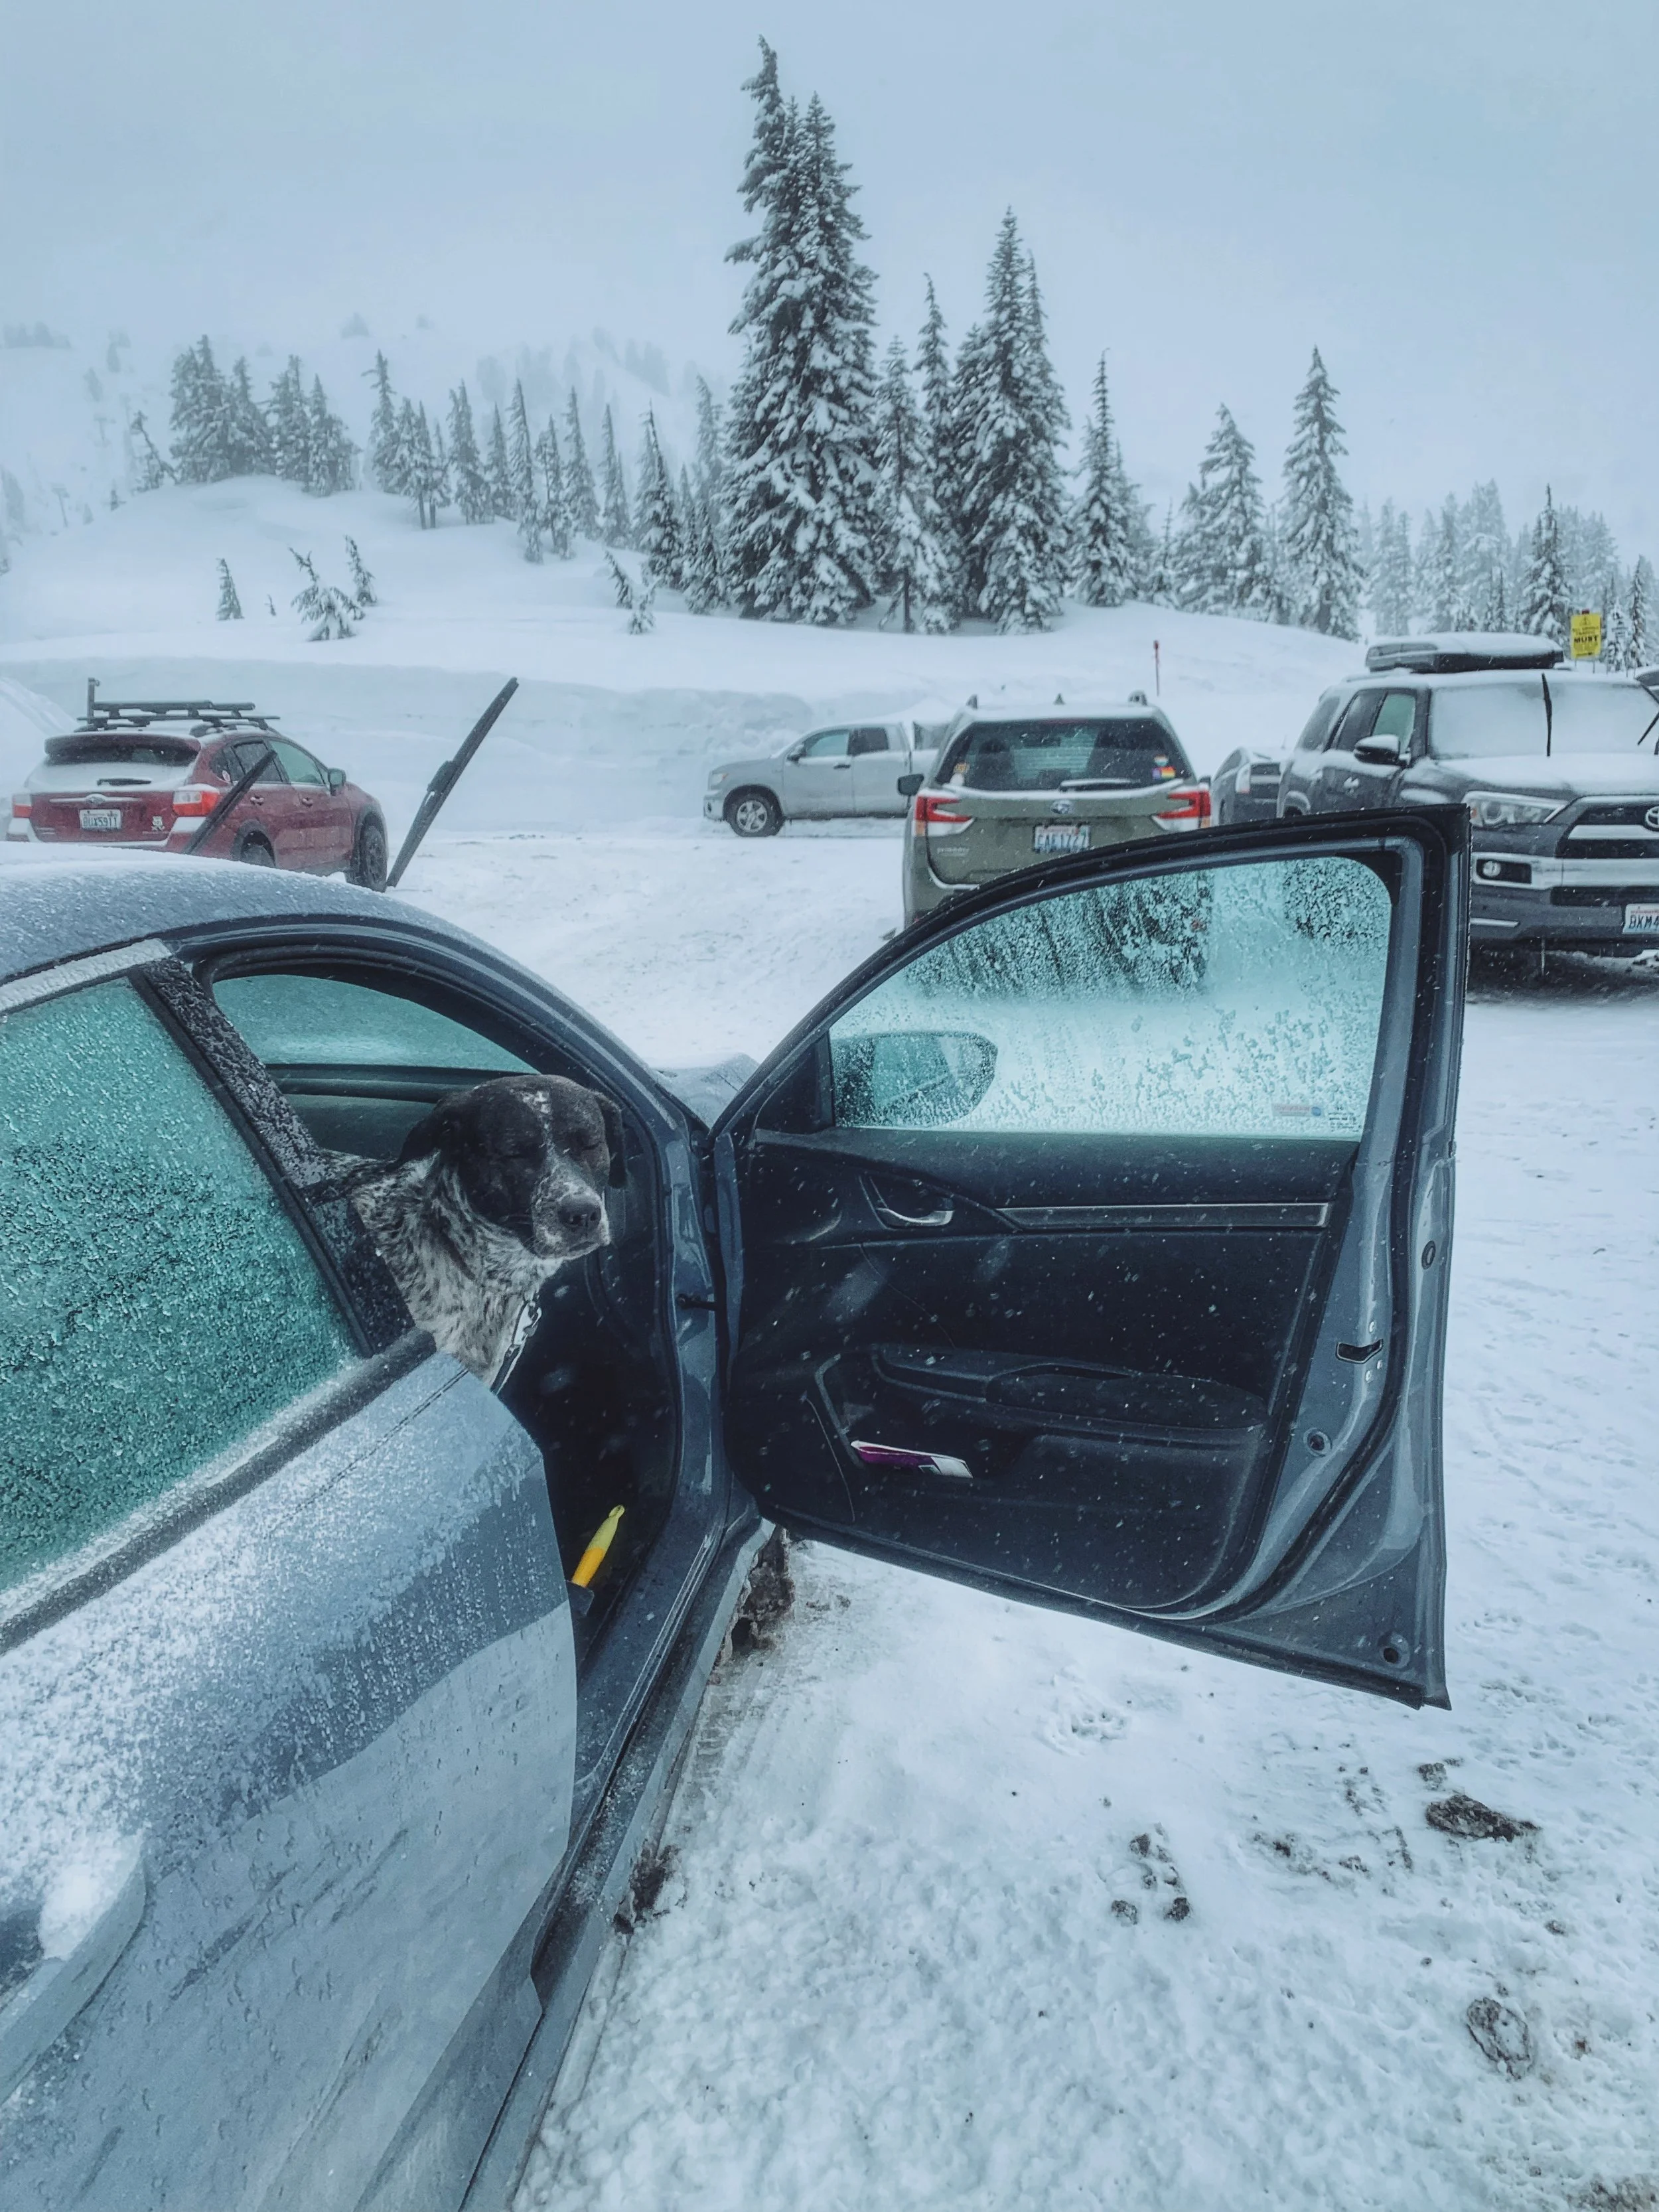
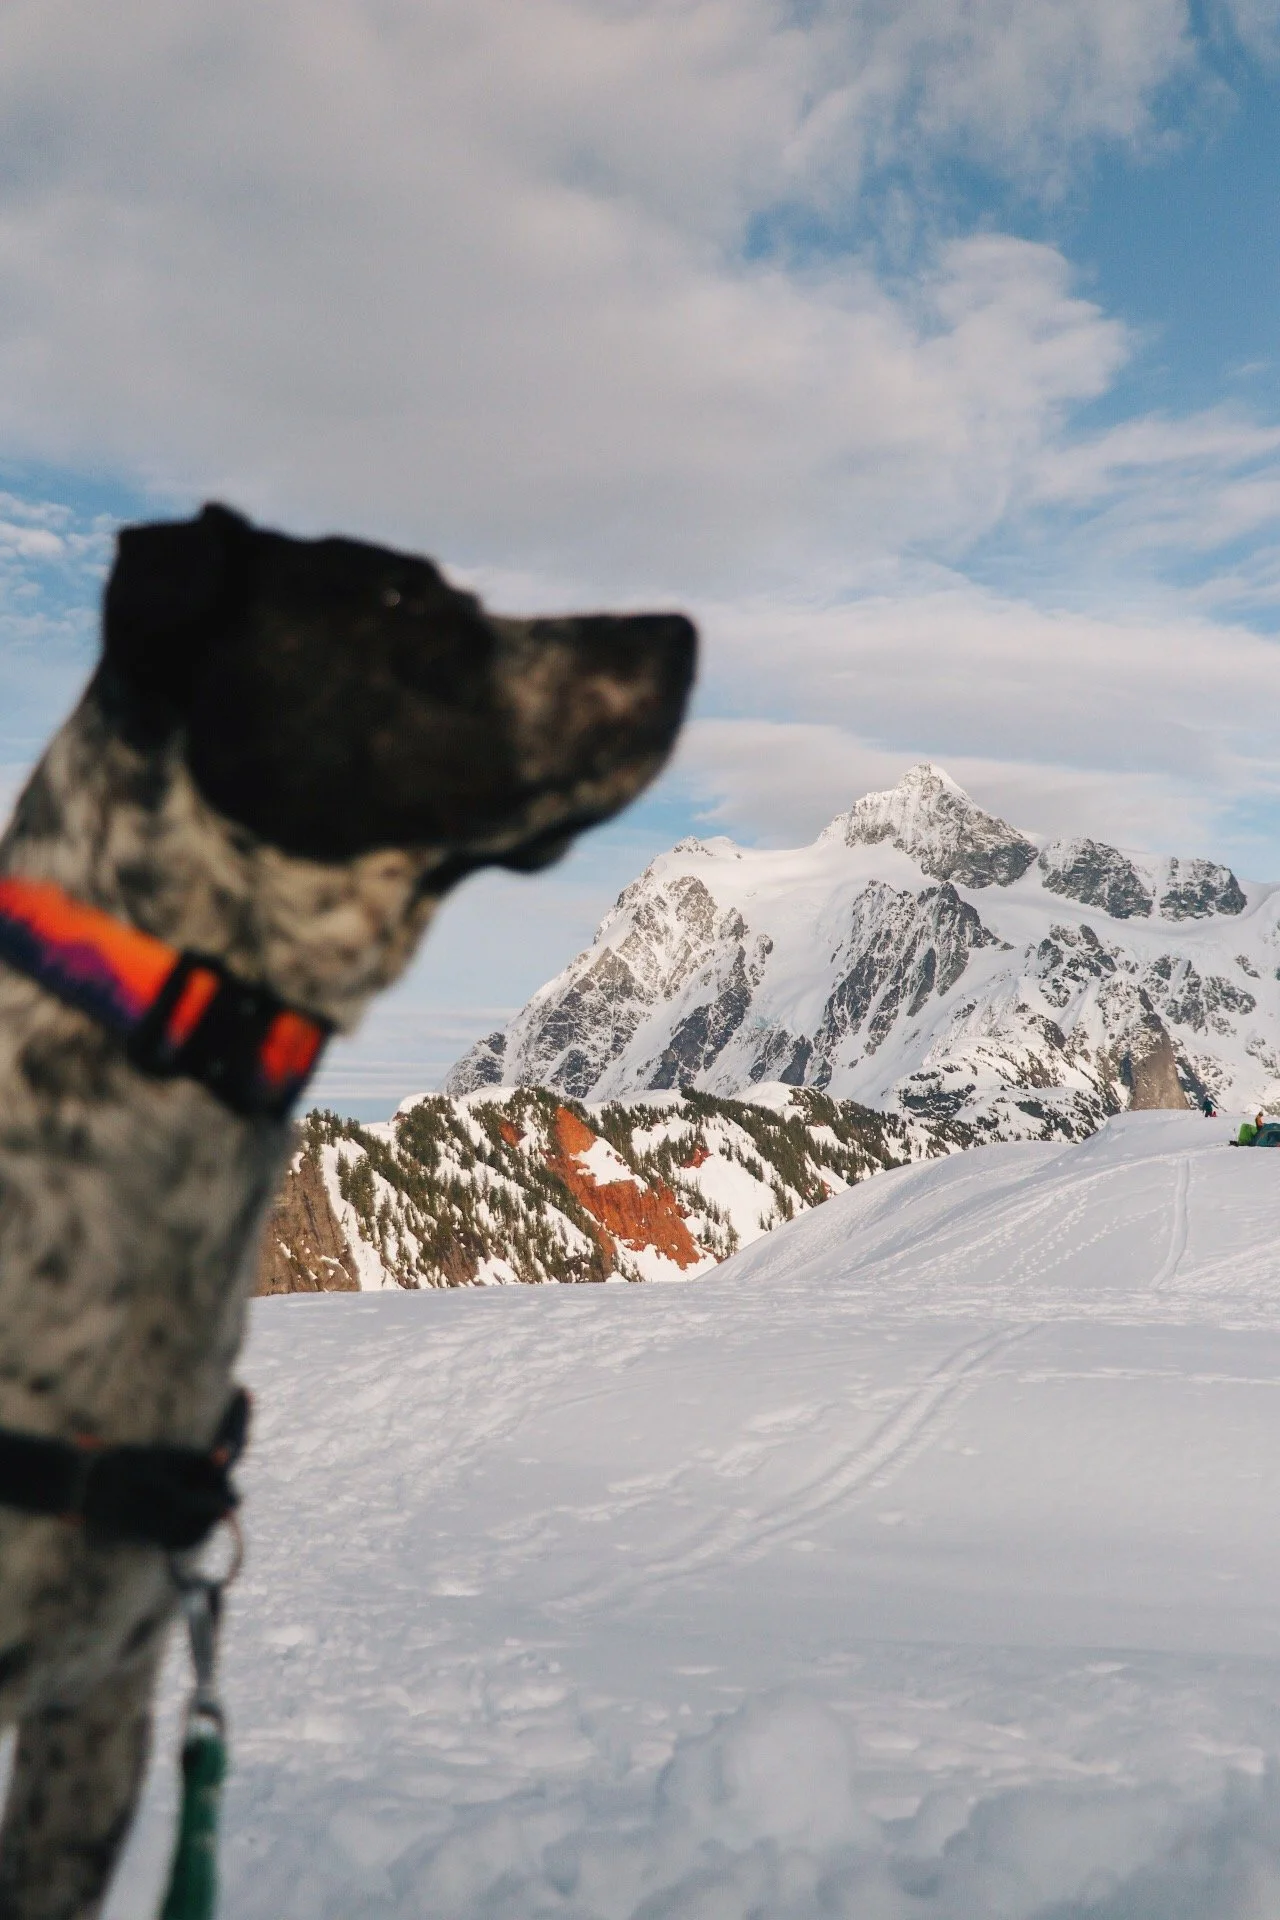
Tex enjoying his time in the snow and being a total champ!
Snow Camping at Artist Point: One of my First (and Best) Winter Overnights
I decided to reach out to a friend and see if she is interested in camping overnight in Artist Point. My dream was to experience sunset and sunrise up there and after three day trip attempts, I finally found a day with low avalanche risk and a good weather window to attempt this hike in the winter one more time.
The planning for this snow camping trip wasn’t too intimidating for me. I spent 3 nights sleeping on snow last year when I attempted to summit Mount Baker. I do have some experience when it comes to picking a spot for your tent and how to securely hunker it down in the snow so it doesn’t fly away while you are not in it.
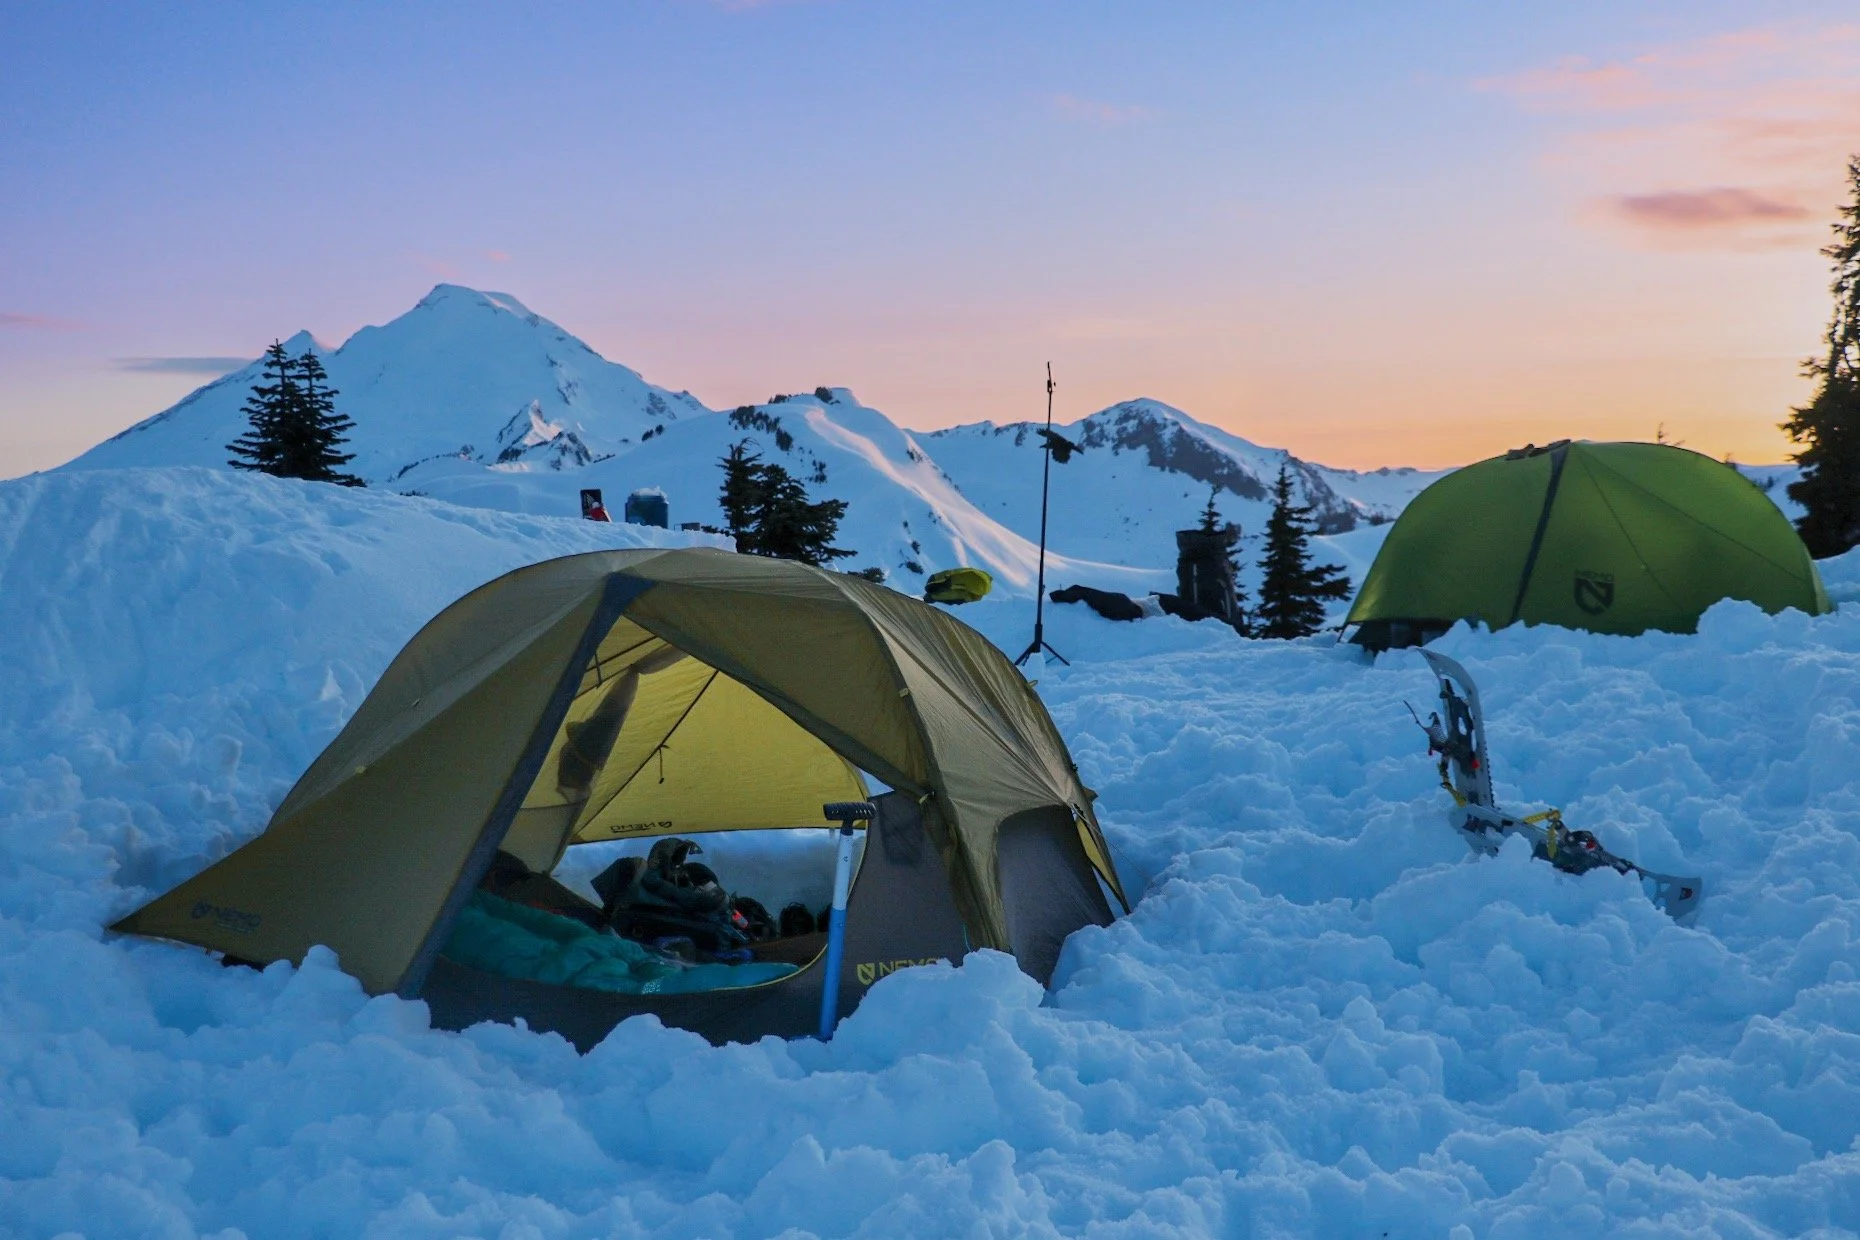
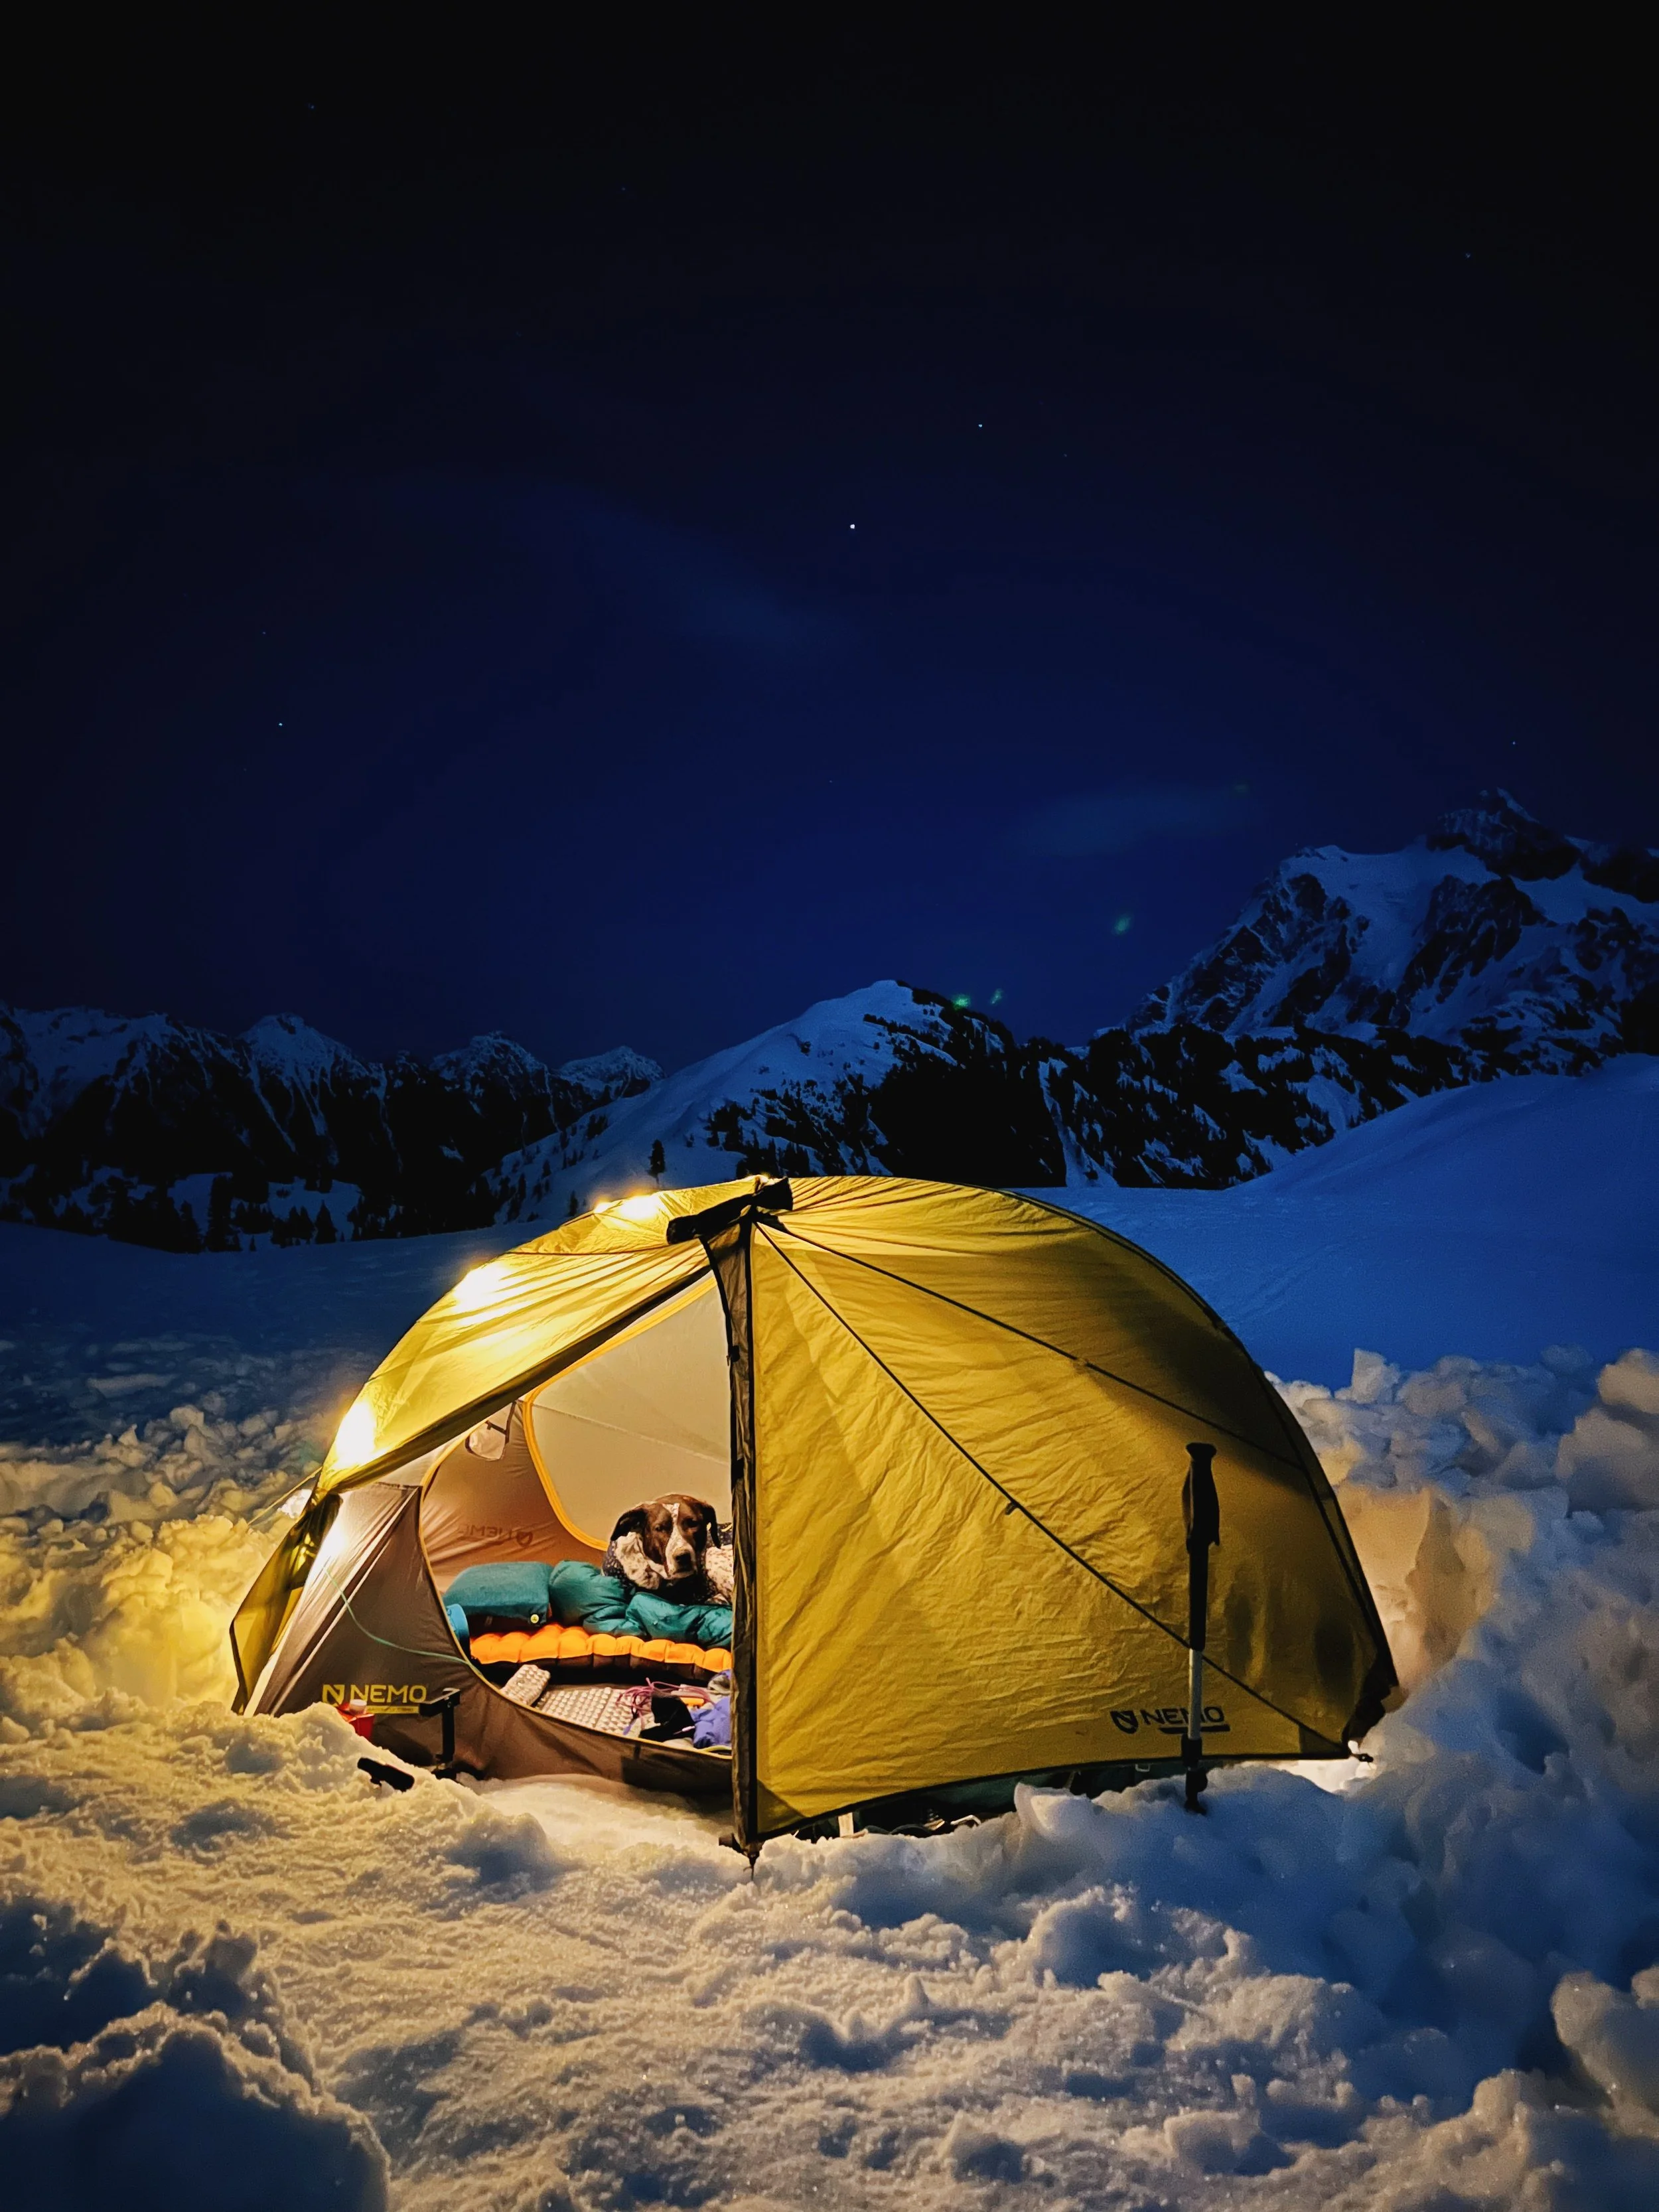
Camp at sunset - I could’ve dug a deeper platform but the forecast didn’t say high winds.
Where to Camp
Artist Point itself has plenty of flat and packed-down snow for setting up camp. I pitched my tent on a small plateau just below the actual highpoint, which gave me some wind protection but still had stunning views of Shuksan.
I was a little nervous because there wasn’t a designated area carved out here to camp. But the good news is, there is plenty of space to spread out and pitch your tent.
Camping Considerations
Wind Protection: The summit area can get hammered by wind. Look for terrain features (small ridges or tree islands if you’re lower) that can shield you.
Avalanche Safety: I wouldn’t camp near any slopes that could slide. Stick to ridgetops or flatter areas.
Prepping your Tent Site: You’ll need to stomp out a platform for your tent. In my case, I dug out a small area so I could get some extra protection from building ‘snow walls’ around my tent. I don’t know the proper term for this, if you do, please let me know! I borrowed a shovel from my friend. If you don’t have that, you can use your snowshoes to pack down the area.
A firm platform makes everything better. Snow can also melt around your tent and underneath you, the flatter your spot is, the better you’ll sleep.
Anchoring your Tent: Bring snow stakes. Regular tent stakes are pretty useless in the snow as they are not long enough to dig deep into the snow. What also helps is putting your stakes perpendicular to your tent, this creates extra stability.
I actually learned a lot about snow camping through friends and doing my own research. This article from REI gives you a good overview on how to get started. To make things even more cozy, one of my friends use his shovel to build out a seating area and also a ‘table’ so we could hang out while admiring Mount Baker from camp.
There were still some trees visible lower down near Heather Meadows if you want more wind protection, but honestly, camping up at Artist Point itself was incredible.
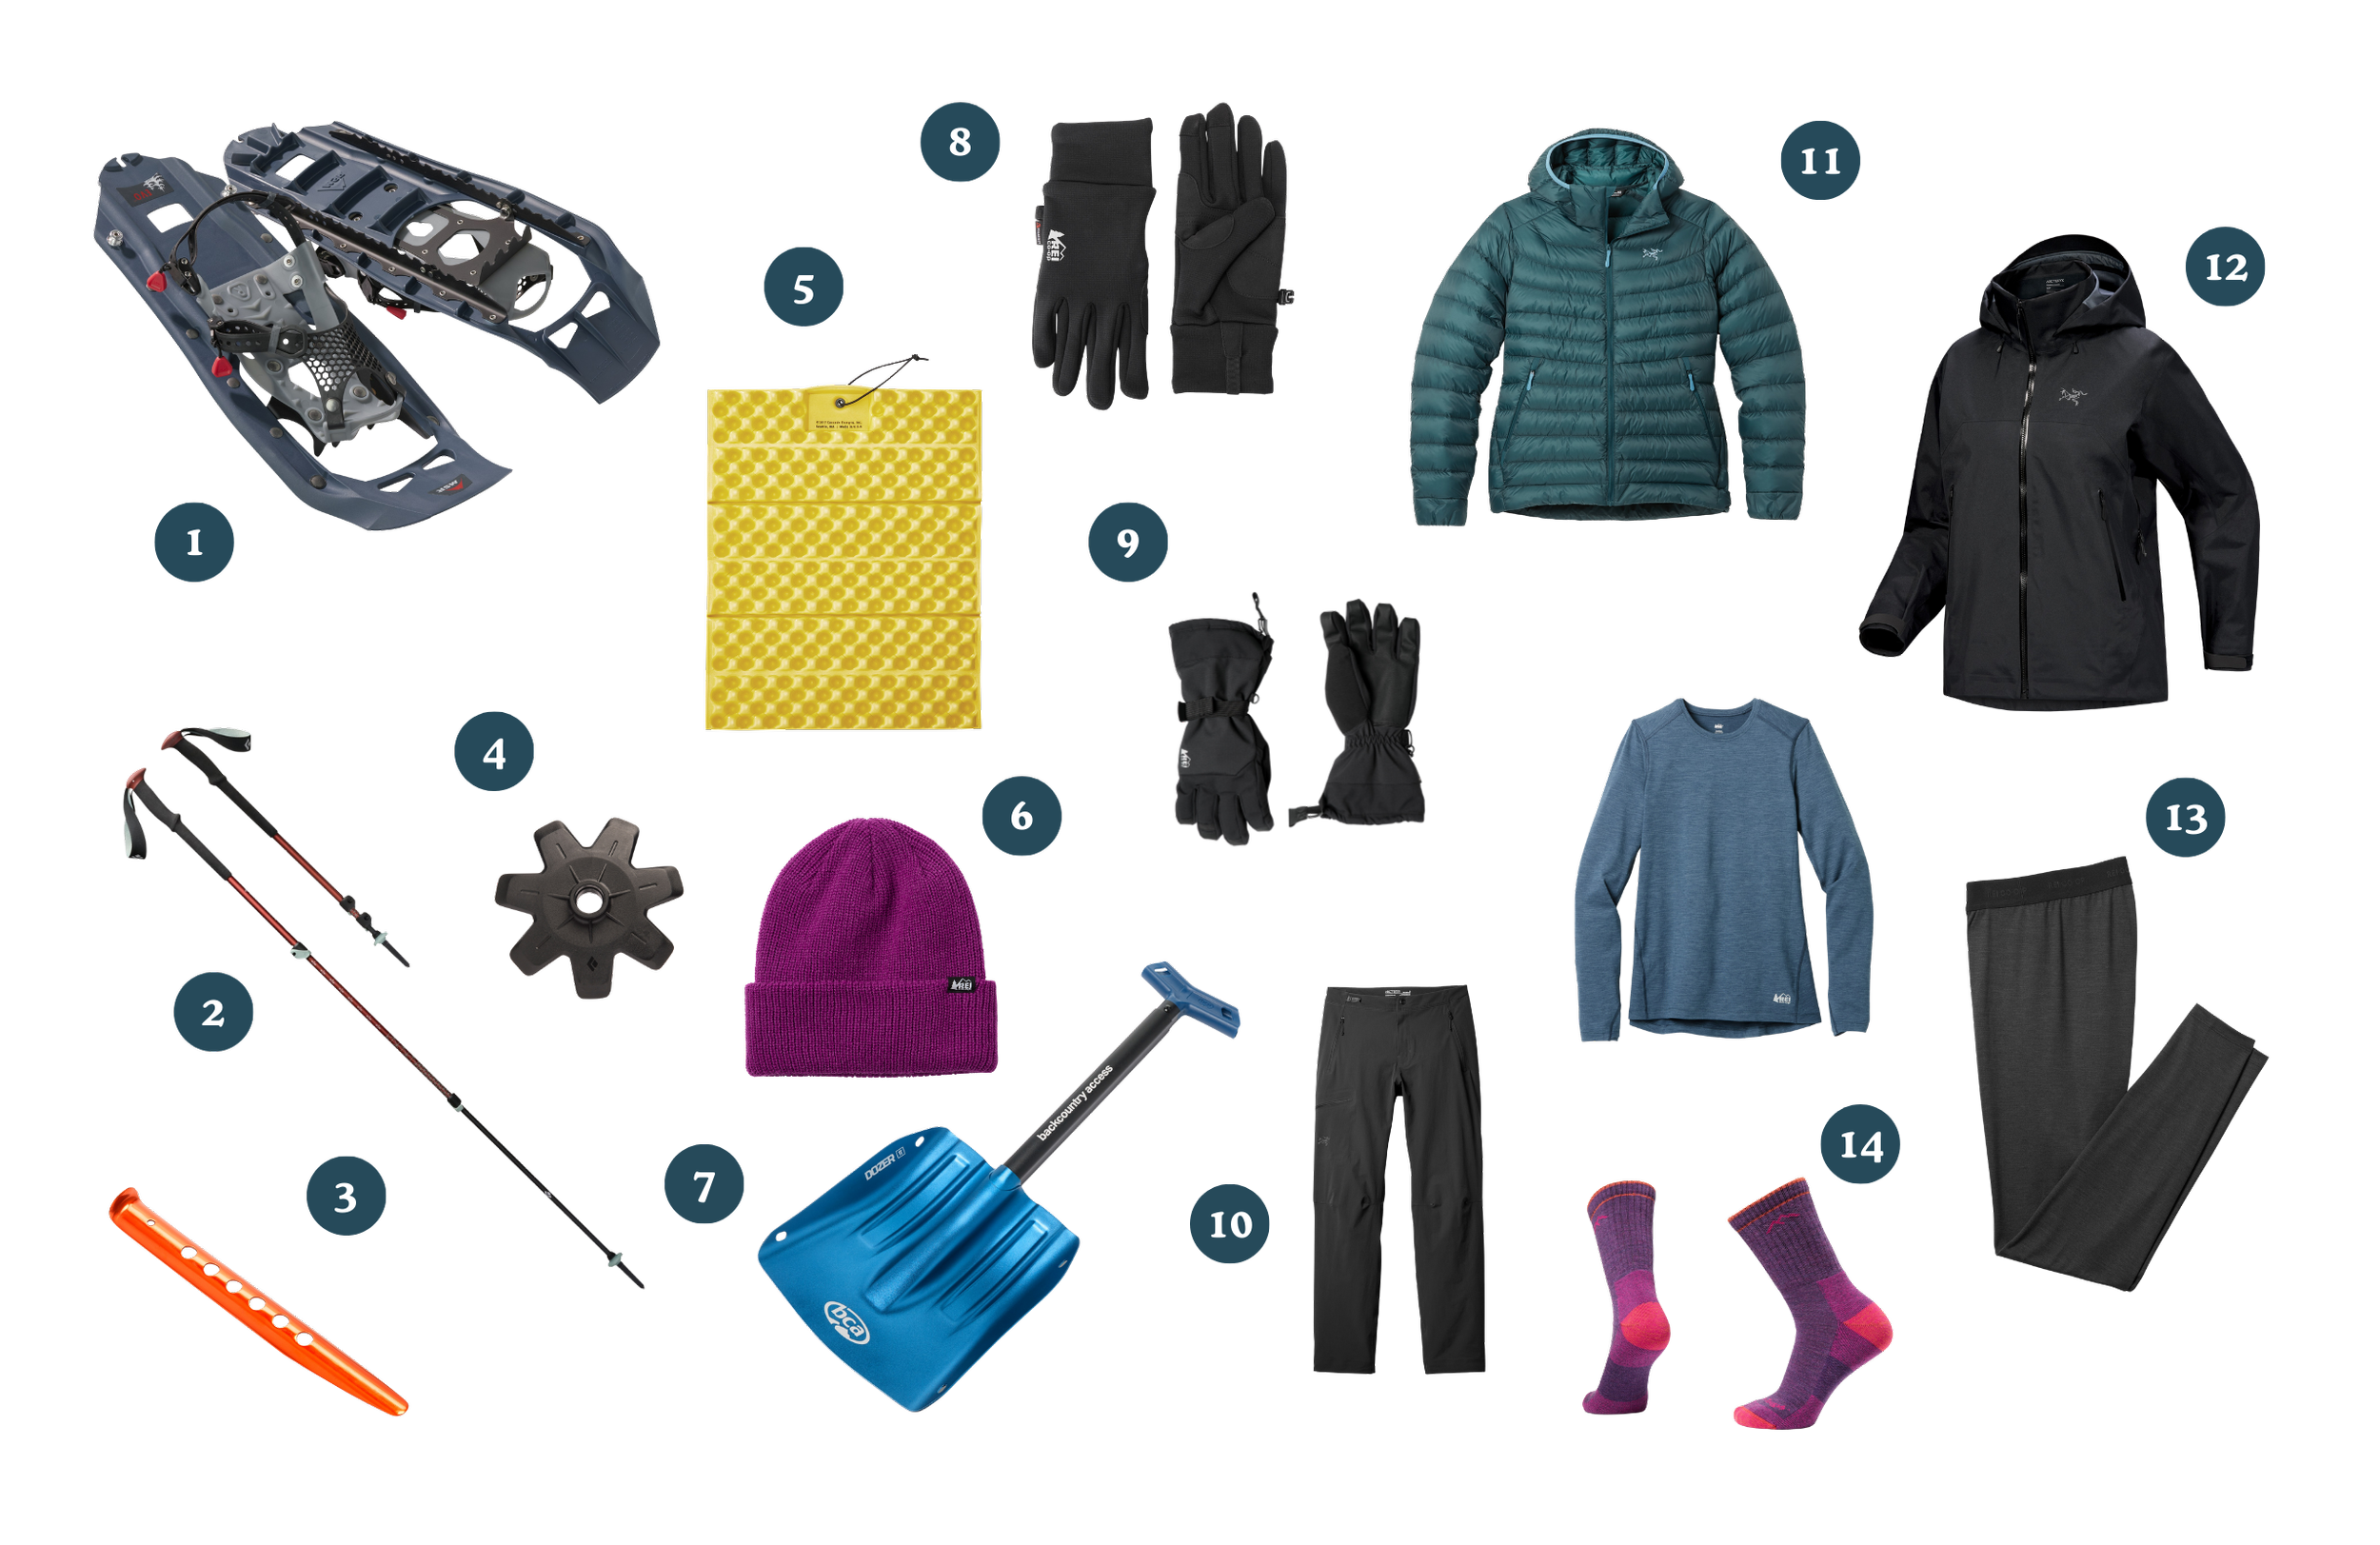
Gear List
😊 Heads up! Some of the links on this site are affiliate links, which means I may earn a small commission if you make a purchase through them — at no extra cost to you. I only recommend products and brands I personally use or believe in. Thank you for supporting this site and helping me keep the adventures going!
1. Snowshoes (I use the MSR Evo Trail Snowshoes)
2. Black Diamond Trail Trekking Poles
4. Black Diamond Snow Baskets (super important when traveling on snow!)
5. Therm-a-rest Seat Pad (essential for sitting on snow, really)
6. Beanie
7. Backcountry Access Shovel (you can use snowshoes to dig out camp but having a shovel makes it easier. REI also rents out shovels!)
8. REI Polartec Wind Pro Fleece Gloves 2.0
13. REI Midweight Long-Sleeve Base Layer Top
14. REI Heavyweight Merino Base Layer Bottoms
15. Darn Tough Hiker Micro Crew Cushion Socks
* Merino wool dries way faster than cotton. You can also get synthetic layers as well.
I’m not so much a snow camper as I’ve just started getting into it. So when I am packing for a snow camping, I bring along my gear essentials. My sleep system is set up the same way as I would in the summertime. You can check out that gear list over here.
For the winter, I am essentially packing more warm layers and some extra gear like a shovel, snow stakes and most definitely snowshoes to help me get to where I need to go.
A couple years back, I’ve been using the older version of the MSR Evo Trail Snowshoes and I really disliked the design on them. The straps kept loosening up and I had to re-strap them especially when traveling on deep snow. I like the design of the new MSR Evo Trail snowshoes a lot better. An essential I always carry with me are the Black Diamond Trail Trekking Poles with snow baskets. The snow baskets really help me stay afloat on deeper and soft snow, making it a lot easier to travel during winter conditions.
I know I included a lot of Arc’terxy clothing items here but I was gifted a lot of them and since I did a photoshoot with them a while back on the Maple Pass Trail, I was able to earn some ‘free’ items. Don’t feel like you have to get expensive gear. However, I must say that more expensive gear tends to last you longer and have a better product warranty in case something does happen. I do really like the Beta AR Jacket as it repels water and blocks wind quite effectively, especially important when the conditions in the mountains are always changing.
I’ve been working at REI for 5 years (and still going strong!) and they make some quality essentials. I love getting their baselayers and gloves. They don’t break the bank but still work very effectively.
Final Thoughts
Artist Point remains to be one of my favorite places in Washington state. It has also proven to be quite humbling. 3 turnarounds and one fall before I finally made it to the top taught me that the mountains always set the terms, not me. But that’s also what makes it so special. When conditions align and you earn those views, it feels like a gift.
This snow camping trip remains one of my favorite outdoor experiences. There’s something about waking up in a tent, surrounded by peaks, knowing you’re one of maybe five people bold enough to be up there, it’s pure magic. Even though we didn’t quite catch the sunrise of our lives, we still managed to enjoy a great sunset with Mount Baker and Shuksan looking right back at us.
If you go, take it seriously. Check the forecast. Bring the right gear. Be ready to turn around. And if you make it to the top, take a moment to just sit and soak it in. You earned it.
Every time I complete a winter adventure in the Mount Baker area, I reward myself with pizza and beer at North Fork Brewery. They have great pizza and I always love coming here. This time, my friends and I swung by Gunner’s Tex-Mex BBQ again for a post-hike beer and barbeque.
Life can’t get any better than this, really.


Resources
🏔️ Northwest Avalanche Center Forecast - Check this EVERY TIME before you go
🏔️ Artist Point on WTA - Trip reports and current conditions
🏔️ WSDOT Road Conditions - SR-542 status and chain requirements
🏔️ Sno-Park Permits - Where to buy and requirements
🏔️ Mount Baker-Snoqualmie National Forest - General info and closures
🏔️ North Fork Brewery - Post-adventure pizza and beer
🏔️ Graham's - Best breakfast burritos in Glacier